
Download Assets
Download Assets
This tutorial includes 4 sample images and 4 sample PSDs. Downloads are free with a PHLEARN account.
- Download the sample images and PSDs from every free tutorial on PHLEARN
- New free tutorials published every week
- One free account — sign up once, then download anything
Watch the Full Series
10 Days of AI in Photoshop & LightroomWatch all 10 tutorials free
description
Select Subject changed this. Cutting a person out of a photograph used to be the test of whether you could really use Photoshop — pen tool round the body, channels for the hair, an hour of refinement, and it still looked slightly wrong against the new background.
Select Subject does the isolation in one click. The less obvious and more useful part is that the same selection then loads into any adjustment layer: refine the edge, drop in a new background, brighten only the person, glow only behind them, or recolor their clothing — all from one selection Photoshop already made.
Continue Watching 10 Days of AI
JOIN 10 DAYS OF AI (FOR FREE!)
Ready to jump in? Sign up and we’ll email you a printable calendar and daily class schedule so you can get started right away!
Image Source
Select Subject Is a One-Click Cutout, and Then a Reusable Selection
Cutting a person out of a photograph used to be the test of whether you could really use Photoshop. Pen tool round the body, channels for the hair, an hour of refinement, and it still looked slightly wrong against the new background.
Select Subject does the isolation in a click. What’s less obvious — and considerably more useful — is that the same selection can be loaded into any adjustment layer afterwards. Once Photoshop knows where your subject is, brightening only them, glowing only behind them, or recoloring only their clothing all become two-click operations.
The Cutout Is Only Half of It
It Creates a Mask, Not a Deletion
Remove Background hides the background behind a layer mask rather than erasing pixels. Everything stays recoverable, and the mask stays editable.
Adjustments Inherit the Selection
Run Select Subject, then click an adjustment in the Adjustments panel, and that selection loads straight into the adjustment’s mask. This is the trick that makes the rest of this tutorial fast.
The Edges Still Need You
The AI gets the shape right. Halos from the old background, and the fine detail in hair, still want a minute of attention — and that minute is what separates a convincing cutout from an obvious one.
Isolate the Subject and Clean the Edge
-
Click Remove Background
In the Contextual Task Bar. Photoshop selects your subject and builds the layer mask in one action.
-
Double-Click the Mask and Open Select and Mask
This is the workspace where the edge actually gets fixed, and most people never open it.
-
Pull Shift Edge Slightly Inward
Under Global Refinements. Contracting the selection a little removes the pale halo left by the original background — the single most common tell that a cutout is a cutout. A small negative value is usually enough.
-
Paint the Hair With the Refine Edge Brush
Grab the Refine Edge Brush and paint over the complicated edges. It works out which strands are subject and which are background and removes the fringing automatically. This is the part that used to be channel work.
Put In a New Background
-
Add a Solid Color Fill Layer
Layer > New Fill Layer > Solid Color, then drag it below your subject in the Layers panel. Being a fill layer, the color stays editable by double-clicking the thumbnail.

-
Or Draw a Gradient Instead
The Gradient Tool (G) set to Radial, drawn on a layer beneath the subject. A radial gradient behind a person reads as a light source, which is why it looks better than a flat color for portraits.

-
Adjust It With Blend Modes and Position
Changing the gradient layer’s blend mode, or dragging its center around, changes the whole feel without redrawing anything.
Use the Selection Again to Enhance the Subject
-
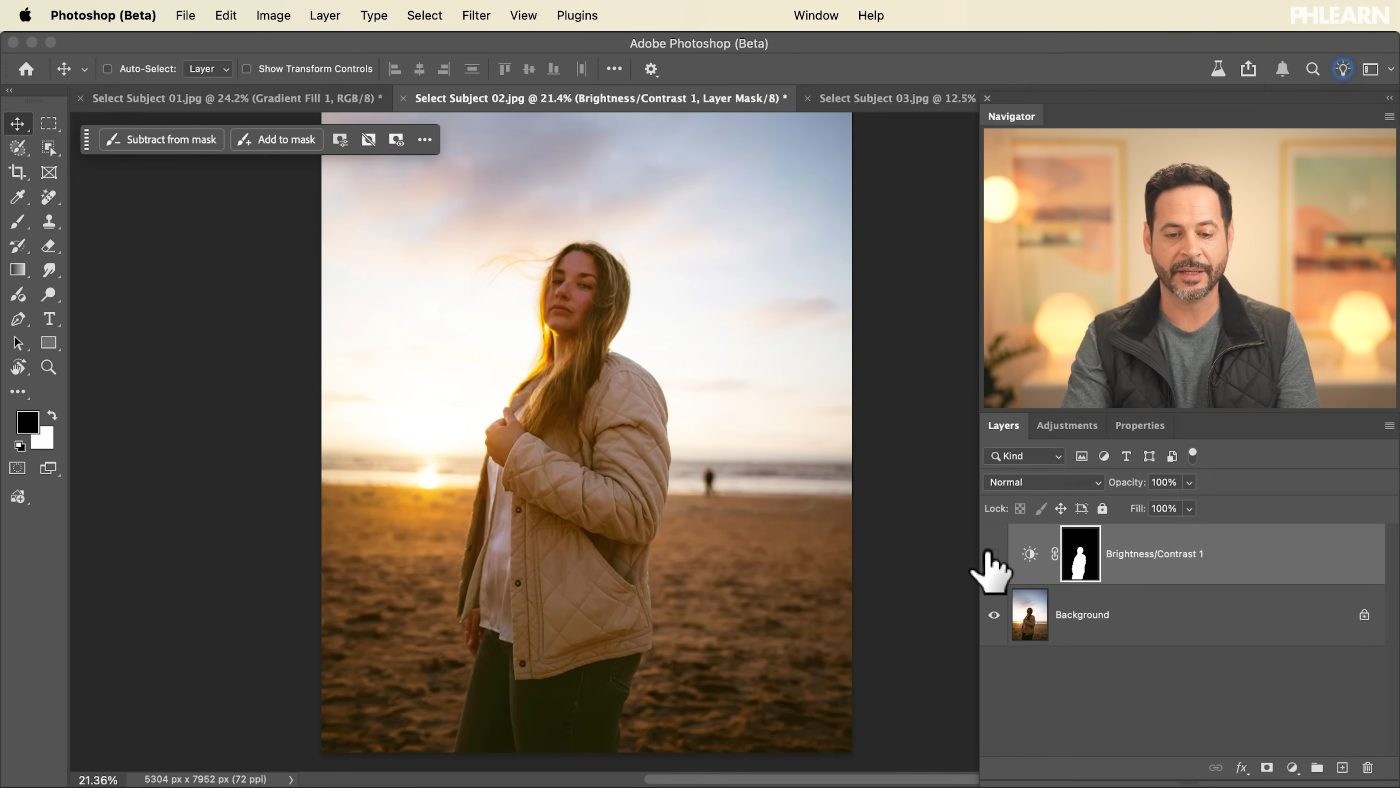
Run Select Subject, Then Click Brightness/Contrast
The selection loads into the adjustment’s mask automatically. Now brightness and contrast apply only to the person, leaving the background exactly as it was — the fastest way to make a subject sit forward.
-
Add a Glow Behind Them by Inverting the Mask
Select the subject again, draw a radial gradient, then click the gradient’s layer mask and press Cmd/Ctrl + I to invert it. The glow now falls everywhere except the subject — behind them rather than over them.
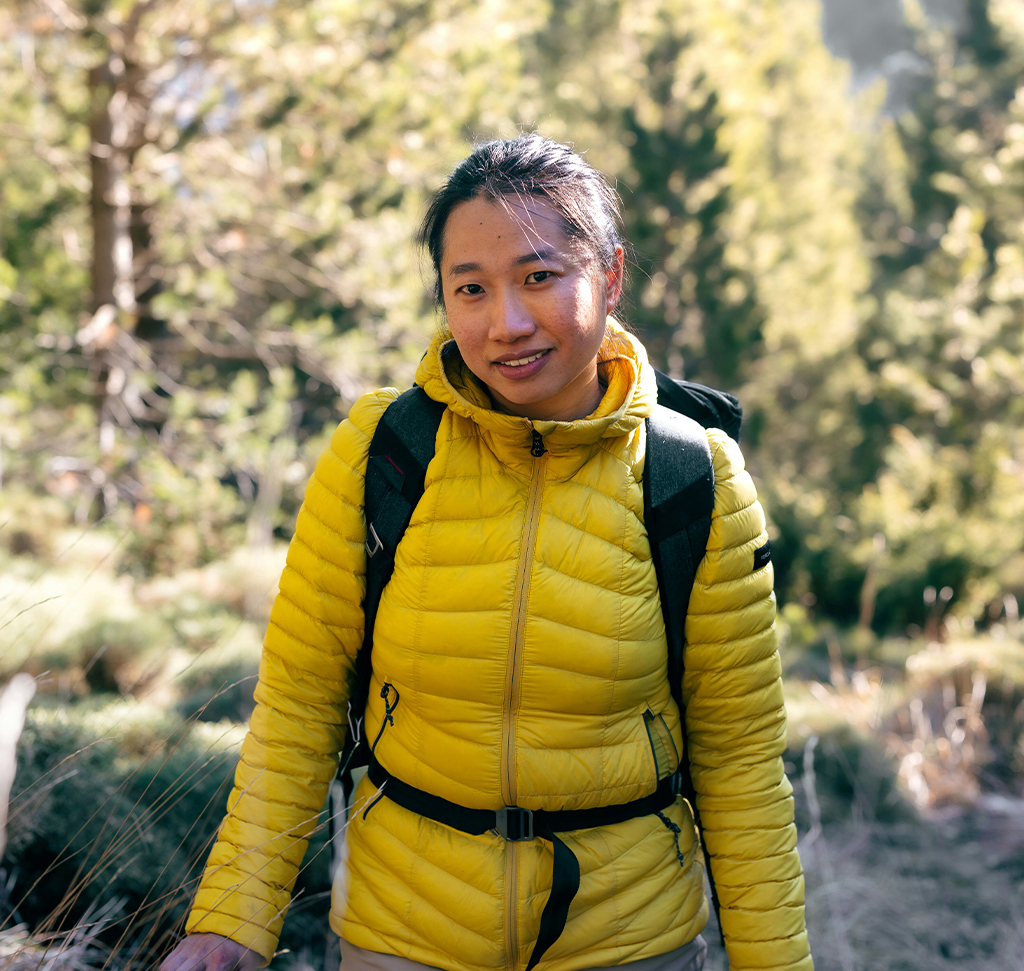
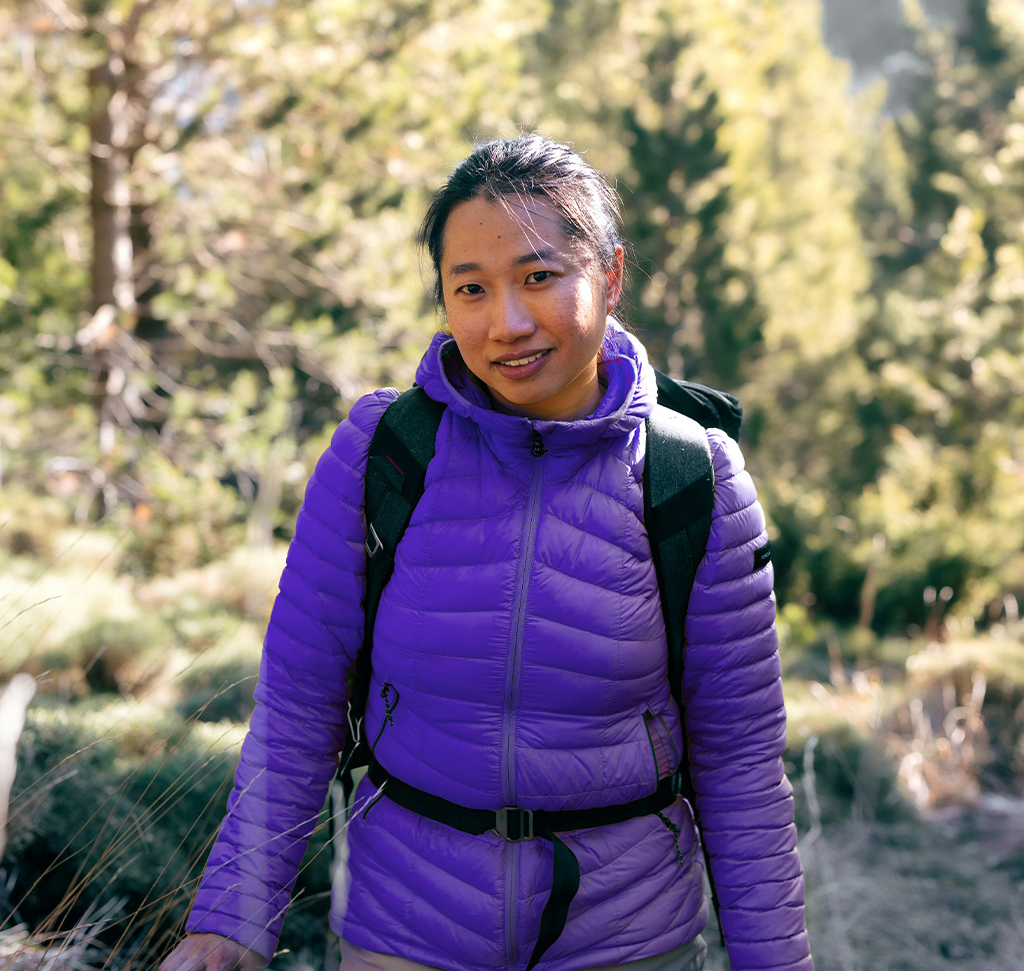
Change the Color of Their Clothing
-
Select Subject, Then Subtract What You Don’t Want
Grab the Selection Brush Tool in Subtract mode and paint away the skin and hands, leaving only the clothing selected. Starting from the whole subject and removing is much faster than selecting a garment from scratch.
-
Click Hue/Saturation in the Adjustments Panel
The clothing-only selection becomes the adjustment’s mask.
-
Target the Color Range, Then Move the Hue
In the Properties panel, switch from Master to the actual color of the garment — Yellows, say — and then drag Hue. Targeting the range rather than working on Master keeps the shift clean and stops it bleeding into anything with a similar tone.
What to Watch Out For
Skipping Select and Mask
The default cutout is good, not finished. Two minutes on Shift Edge and the Refine Edge Brush is the difference people actually notice.
Contracting the Edge Too Far
Overdo Shift Edge and you eat into the subject, which looks worse than the halo did. Small values.
Re-Selecting Manually When You Don’t Need To
Select Subject then an adjustment gives you a masked adjustment instantly. Painting that mask by hand is work you don’t have to do.
Using Master in Hue/Saturation
It shifts every color in the selection. Pick the specific range you’re changing.
Selection as a Starting Point, Not an End
The instinct with Select Subject is to use it once, get the cutout, and move on. The more useful habit is to treat it as a switch you can flip whenever you want an adjustment to affect the person and not the scene — or, inverted, the scene and not the person.
Almost every local adjustment in a portrait falls into one of those two categories. Which means a tool that sounds like it’s about background removal is really about being able to work on half of a photograph at a time, without ever drawing a mask.
Cut One Out, Then Keep Going
Click Remove Background, open Select and Mask, contract Shift Edge slightly, paint the hair with the Refine Edge Brush, drop a radial gradient underneath, then run Select Subject again and click Brightness/Contrast. Download the four free sample images and work through all of it — then use the same selection for a glow and a clothing color change, which is where the tool stops being a cutout. For selections and compositing done by hand, our PRO Photoshop Learning Path is where to go next.
Quick Reference: Keys, Menus and Settings
- Cut out the subjectContextual Task Bar > Remove Background
- Fix the edgeDouble-click the mask > Select and Mask; Global Refinements > Shift Edge slightly left; Refine Edge Brush on the hair
- New backgroundLayer > New Fill Layer > Solid Color, or G for a Radial gradient, below the subject
- Brighten the subjectSelect Subject, then Adjustments panel > Brightness/Contrast
- Glow behind themSelect Subject, drag a radial gradient, click its mask and press Cmd/Ctrl + I
- Recolor clothingSelection Brush in Subtract mode over face and hands, then Hue/Saturation > Yellows > Hue

Free Downloads
Follow Along on the Same Photos
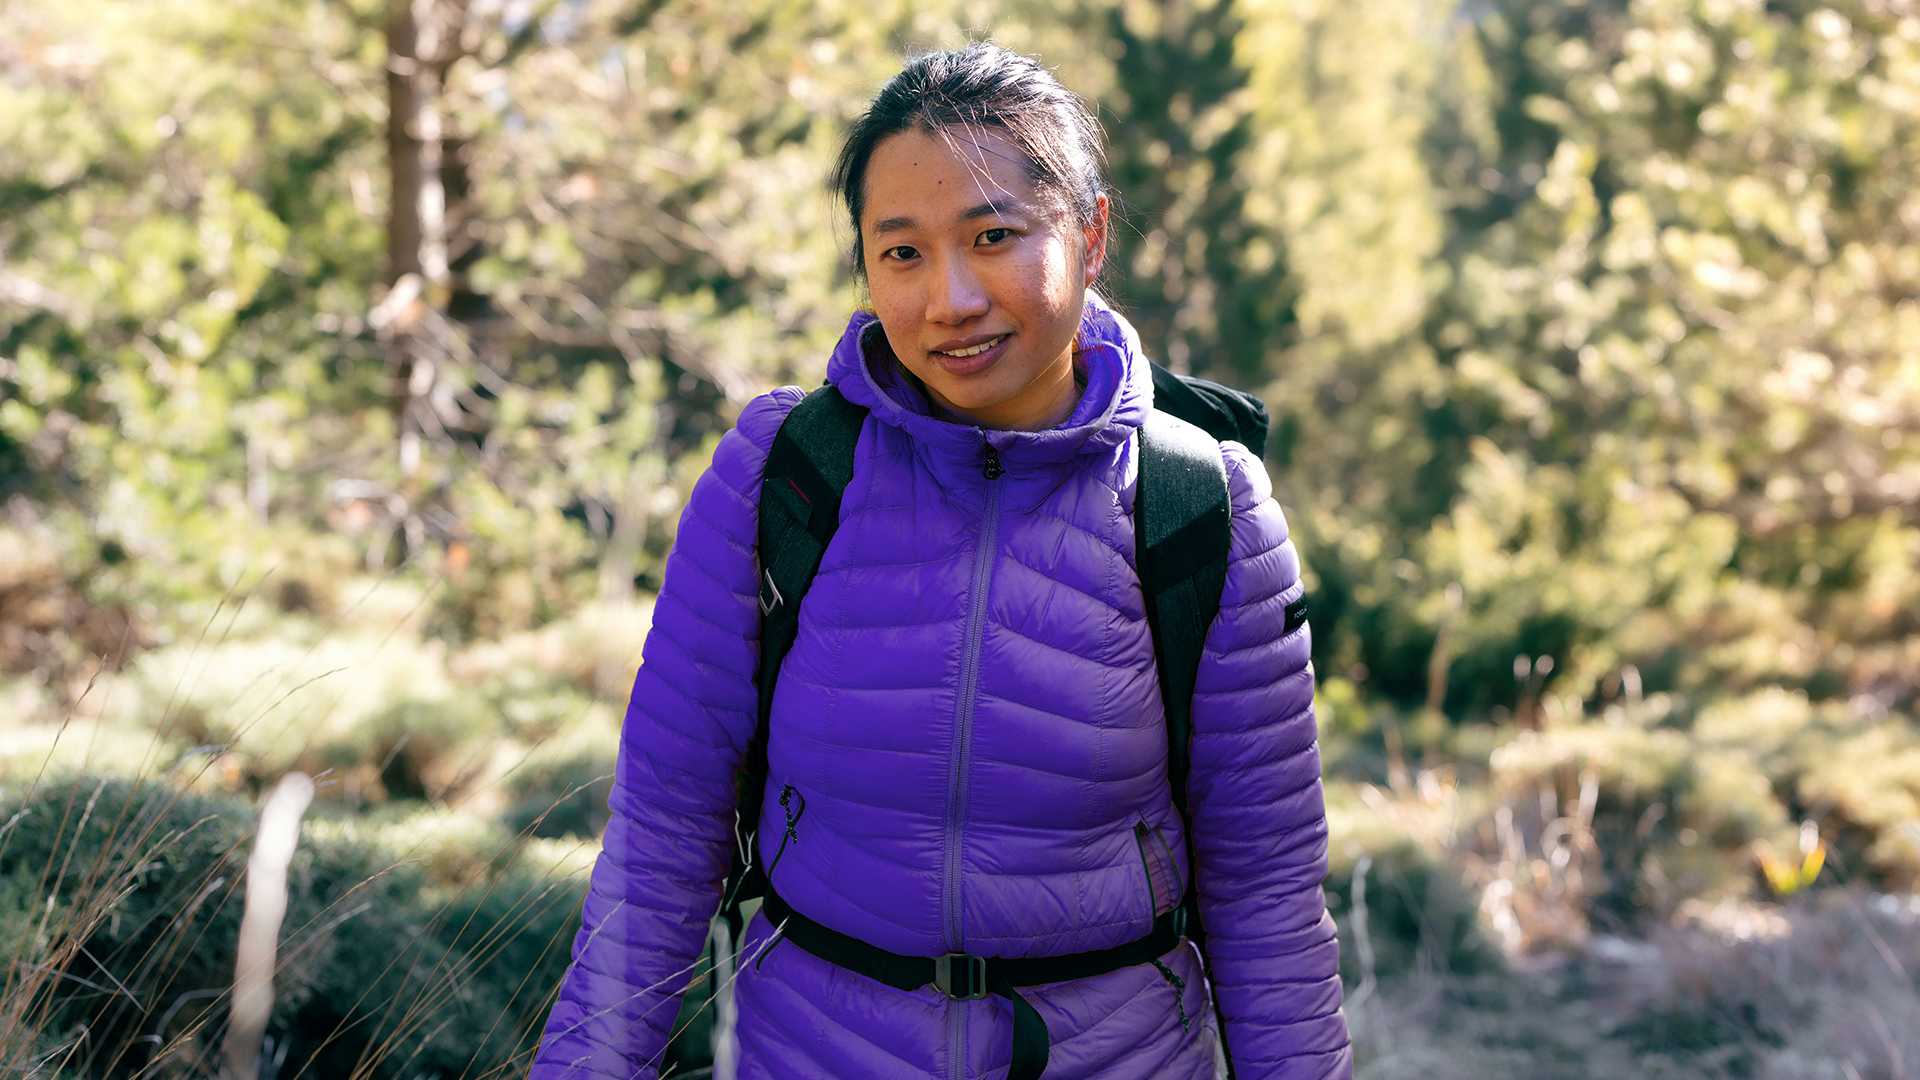
Get the four sample images and four PSDs from the video for the cutout, the new backgrounds, the glow and the clothing color change. Free with a PHLEARN account.
Select Subject in Photoshop: Common Questions
What’s the difference between Select Subject and Remove Background?
Both are in the Contextual Task Bar. Select Subject uses cloud-based AI to make a selection of your subject. Remove Background selects the subject and also creates a layer mask, leaving the background transparent.
How do I get rid of the halo around my cutout?
Double-click the layer mask and click Select and Mask (or go to Select > Select and Mask). Under Global Refinements, drag Shift Edge a little to the left to bring the edge in.
How do I clean up the edges around hair?
In Select and Mask, grab the Refine Edge Brush tool and paint over the hair where you see fringing. Photoshop recalculates that area in real time and removes the old background.
How do I put a solid color behind my subject?
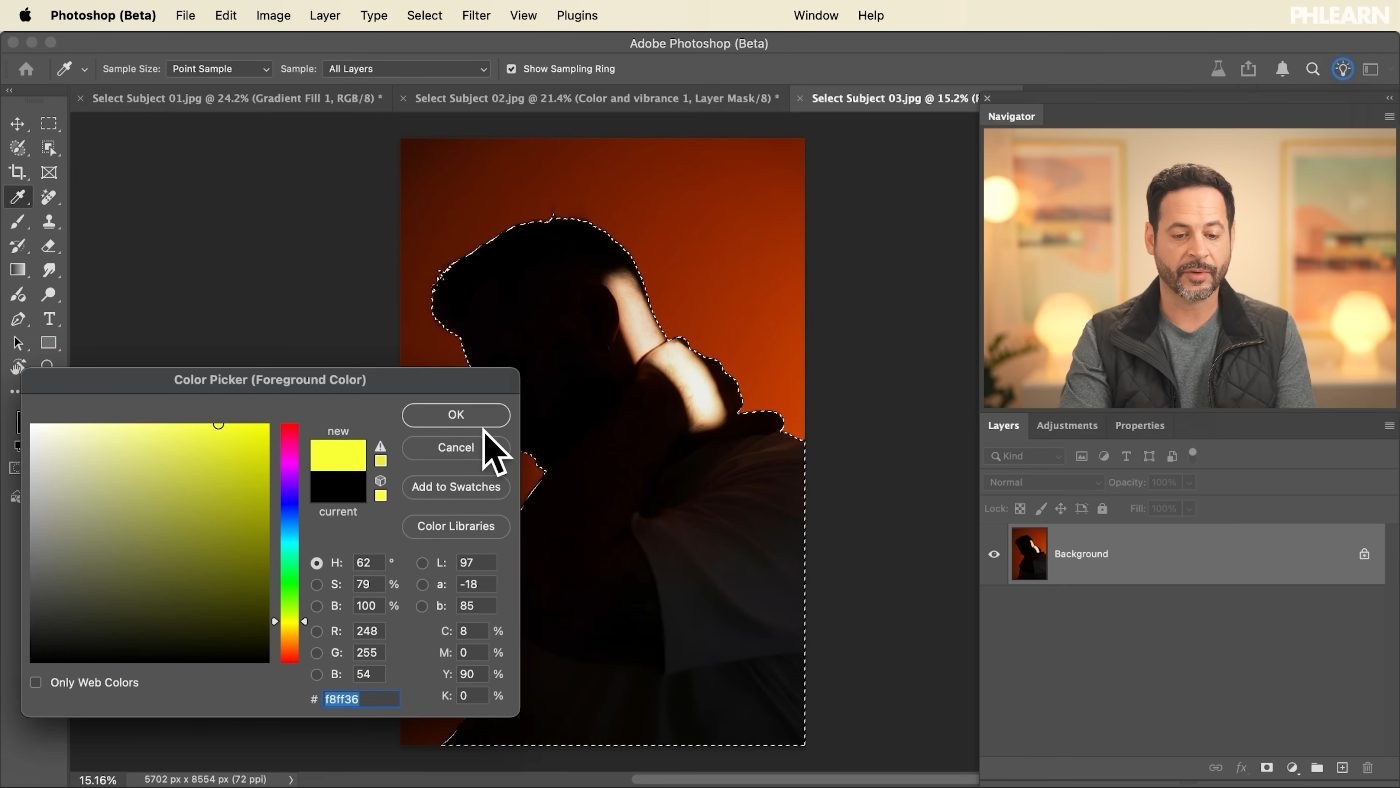
Go to Layer > New Fill Layer > Solid Color and drag it below your subject in the Layers panel. Double-click its thumbnail to change the color, or use the eyedropper to pick a color from the photo.
Should I use Gradient or Classic Gradient?
Aaron recommends Gradient, because you can change its colors at any time. Press G, pick a preset, choose Radial and drag it on a layer below your subject.
How do I brighten only my subject?
Click Select Subject, then click Brightness/Contrast in the Adjustments panel. The selection loads into the adjustment’s layer mask automatically, so only the subject changes. If the panel is hidden, go to Window > Adjustments.
How do I add a glow behind my subject?
Select Subject, then drag a foreground-to-transparent radial gradient. The selection loads into its mask, so click the mask and press Cmd/Ctrl + I to invert it. Try the Linear Dodge blend mode for a brighter glow.
How do I change the color of someone’s clothing?
Select Subject, then use the Selection Brush tool in Subtract mode to paint away the face and hands. Add a Hue/Saturation adjustment, switch from Master to the garment’s color (Yellows in the video) and drag Hue.
Why not change the Hue on Master?
Master shifts every color in the selection. Targeting the specific color range keeps the change on the garment.
Are the sample files free?
Yes, with a free PHLEARN account. You get 4 sample images and 4 sample PSDs, so you can reuse the same Select Subject selection four different ways.
Master Photoshop, Lightroom and Photography
Join PHLEARN PRO for $12.99 a month or $99.99 a year. Cancel anytime, with a 100% money-back guarantee.





