


Download Assets
This tutorial includes sample images. Downloads are free with a PHLEARN account.
- Free sample files with every tutorial on PHLEARN
- New tutorials published every week
- Unlimited downloads with your free PHLEARN account
description
A moon dropped into a night photo gives itself away in two ways: it covers the subject, and it is sharper than the rest of the frame. This Quick Tip selects the subject first so the moon can sit behind them, uses Screen blend mode to drop the black background out automatically, then softens the moon with a light Gaussian Blur to match the atmospheric haze around it.
Enjoying This Free Tutorial?
We publish a new free tutorial every week, each one with sample images and PSDs you can download and follow along with. Sign up and they land straight in your inbox, along with early word on sales, events and subscriber-only offers.
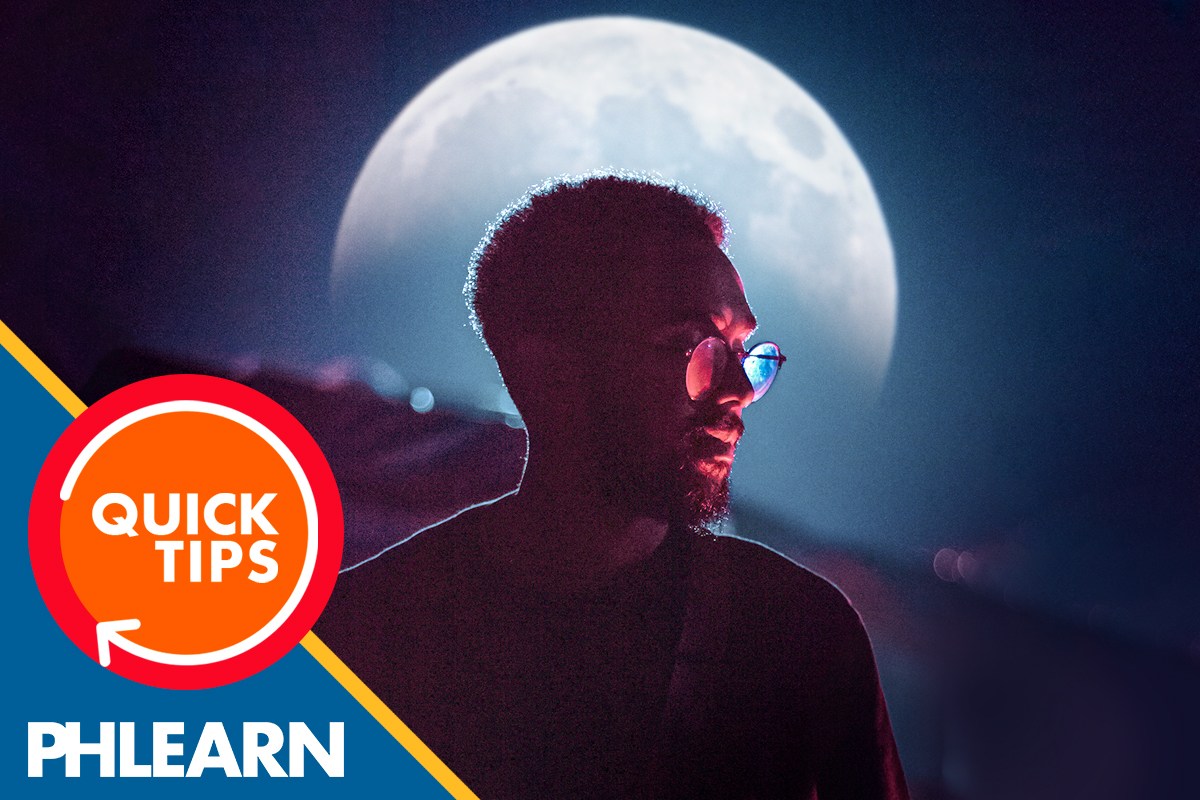
How to Add a Moon to a Photo in Photoshop
This Quick Tip composites a separate moon image onto a night photo using Select Subject, a Screen blend, and Gaussian Blur, so the moon looks like a natural part of the original scene rather than a pasted-in graphic.
Selecting the Subject in the Photo
On the original photo, Select and then Subject is used to automatically select the person or main subject in the frame before the moon is brought in, so it can later be placed behind that subject without covering it.
Why the Subject Is Selected First
Selecting the subject before adding the moon layer means the moon can be dropped in and masked around that existing selection, rather than trying to trace around the subject by hand after the moon image is already in place.
Placing the Moon Image
A separate moon image is brought into the document on its own layer, positioned in the sky area of the photo where the moon should appear relative to the subject and the rest of the scene.
Choosing a Believable Position
Because the moon is placed manually rather than shot in the original scene, its position is chosen relative to the subject and any other elements already in frame, so it reads as part of the original composition rather than sitting somewhere that looks pasted on.
Setting the Moon Layer to Screen
The moon layer’s blend mode is changed to Screen, which drops out the black background around the moon and leaves only the bright moon itself visible against the night sky underneath.
Why Screen Mode Fits a Moon Shot
Like a Milky Way image, a moon photographed at night is typically a bright subject against a black background, so Screen mode is a natural fit: it lets the black drop away automatically instead of requiring the black background to be manually selected and deleted.
Softening the Moon with Gaussian Blur
Filter, then Blur, then Gaussian Blur is applied to the moon layer to soften its edges slightly, since a moon shot with a long lens is often sharper than what a night sky naturally looks like through atmospheric haze in a wider photo.
Matching the Rest of the Scene
A moon that stays perfectly crisp while the rest of the night photo has natural atmospheric softness can look obviously composited. A light Gaussian Blur brings the moon’s sharpness closer in line with the rest of the image, helping it sit naturally in the sky instead of standing out.
More Free Photoshop Tutorials
- How to Add the Milky Way in Photoshop
- How to Replace a Sky in a Photo in Photoshop
- Select Subject and Refine Edges in Photoshop
Why This Technique Works
Select Subject handles the tricky part of isolating the person so the moon can be placed behind them, Screen mode does the work of blending the moon into the sky without manual masking, and Gaussian Blur is the small finishing touch that keeps the added moon from looking sharper than everything else in frame.
Final Thoughts
Adding a moon to a night photo comes down to selecting the subject first, dropping in the moon on a Screen-mode layer so the black background disappears, and softening it slightly with Gaussian Blur so it matches the rest of the scene.
Related Tutorials
From the Magazine View all
Stories, interviews and guides for photographers, new every week.
 BusinessHow to Compete With AI: Give Your Clients MoreEveryone has the same tools now, and your clients know it. The way to compete is to give them more.
 EditingLightCraft vs Lightroom: Is the Free Clone Any Good?The free clone on the same RAW files: what matches, what breaks and who should switch.
 EditingHow to Tell If a Photo Is AI, and Prove Yours Is RealThe tells that still work in 2026, why detectors disagree, and how to prove your own photos.
Master Photoshop, Lightroom and Photography
Join PHLEARN PRO for $12.99 a month, or $99.99 a year (save 36%). Cancel anytime, with a 100% money-back guarantee.





