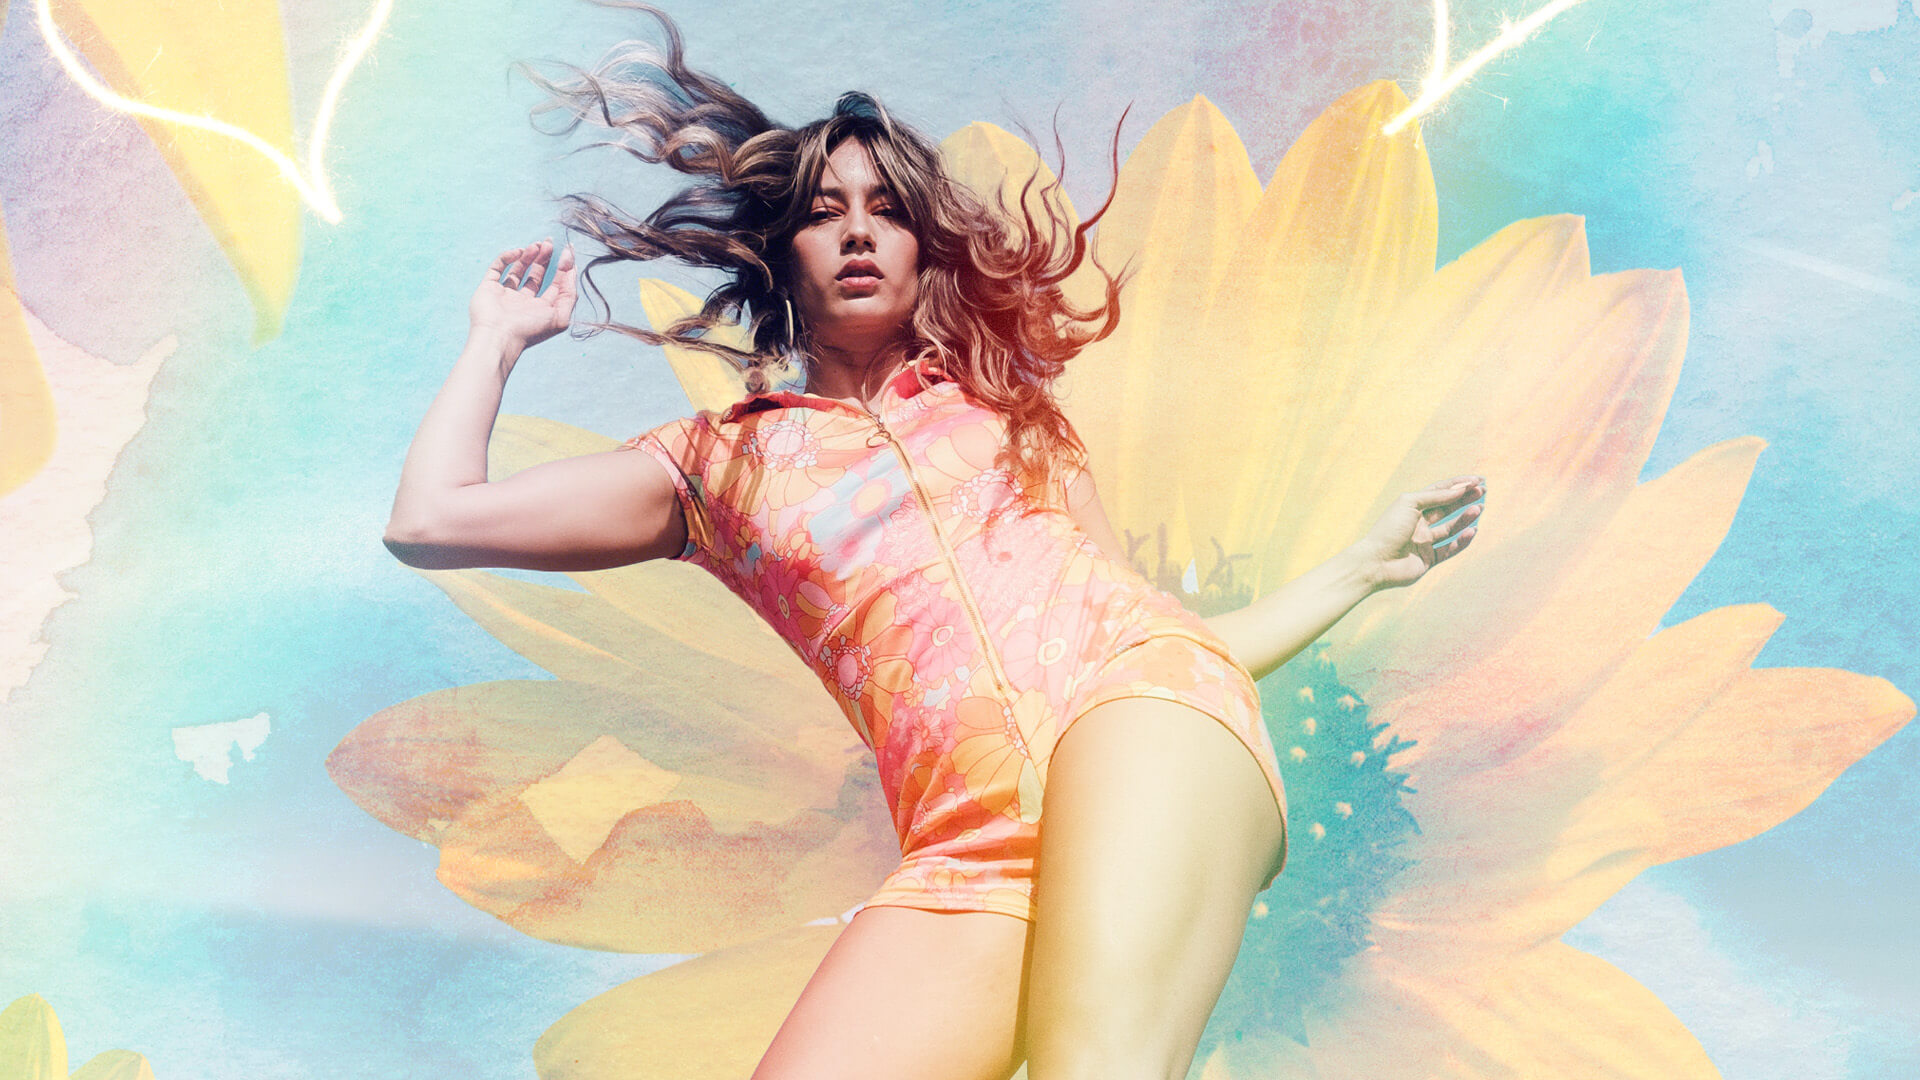

Download Assets
This tutorial includes 8 sample images and 1 PSD file. Downloads are free with a PHLEARN account.
- Download the sample images and PSDs from every free tutorial on PHLEARN
- New free tutorials published every week
- One free account — sign up once, then download anything
description
Learn how to make an artistic photo collage in Photoshop from a subject and a handful of stock images. Cut out the subject and flowers with Select Subject and the Object Selection tool, layer graphics behind and around the subject, and use the Overlay blend mode to pull color from a texture image. Then add a watercolor texture, lift sparks and a rainbow off their black backgrounds with Screen and Levels, and keep every element on its own editable layer.
Enjoying This Free Tutorial?
We publish a new free tutorial every week, each one with sample images and PSDs you can download and follow along with. Sign up and they land straight in your inbox, along with early word on sales, events and subscriber-only offers.
Image Source
Photos via Pexels: Heart Sparks, Sparks, Texture, Floor, Rainbow, Sunflower 01, Sunflower 02, and Subject
How to Make an Artistic Photo Collage in Photoshop
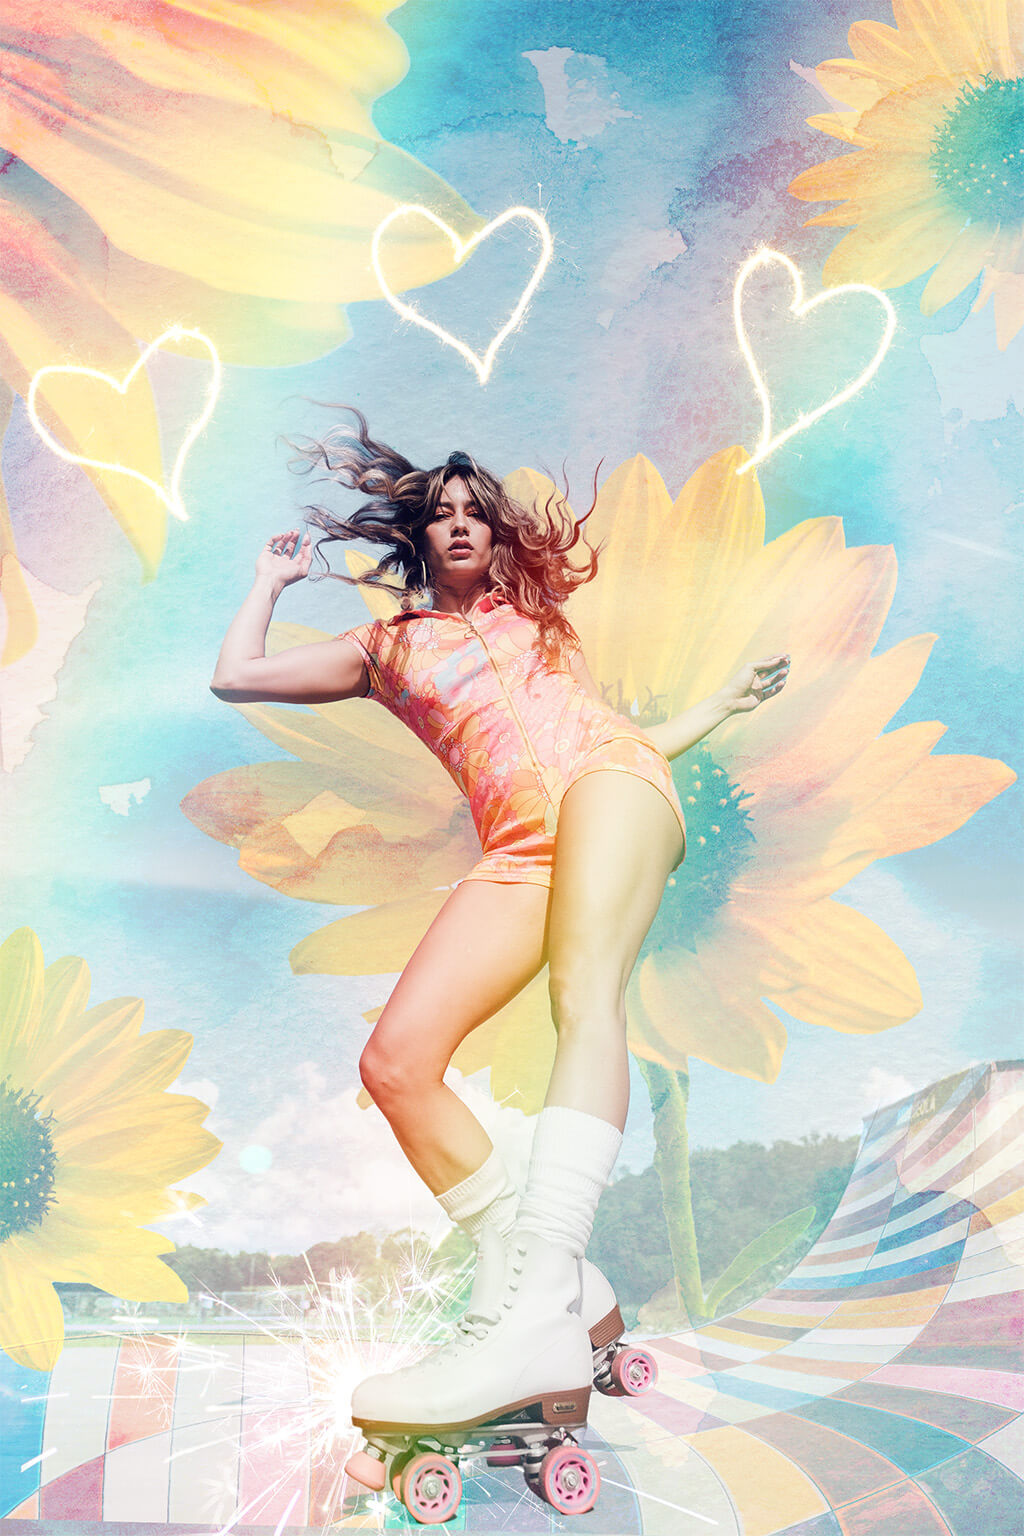
Not every composite needs to look realistic — sometimes the more fun approach is fully graphic, mixing a subject with flowers, colored overlays, sparks, and rainbows into one bold, stylized image. This tutorial builds exactly that kind of layered, artistic collage using stock images and a handful of blend modes.
Cutting Out Your Subject with Select Subject
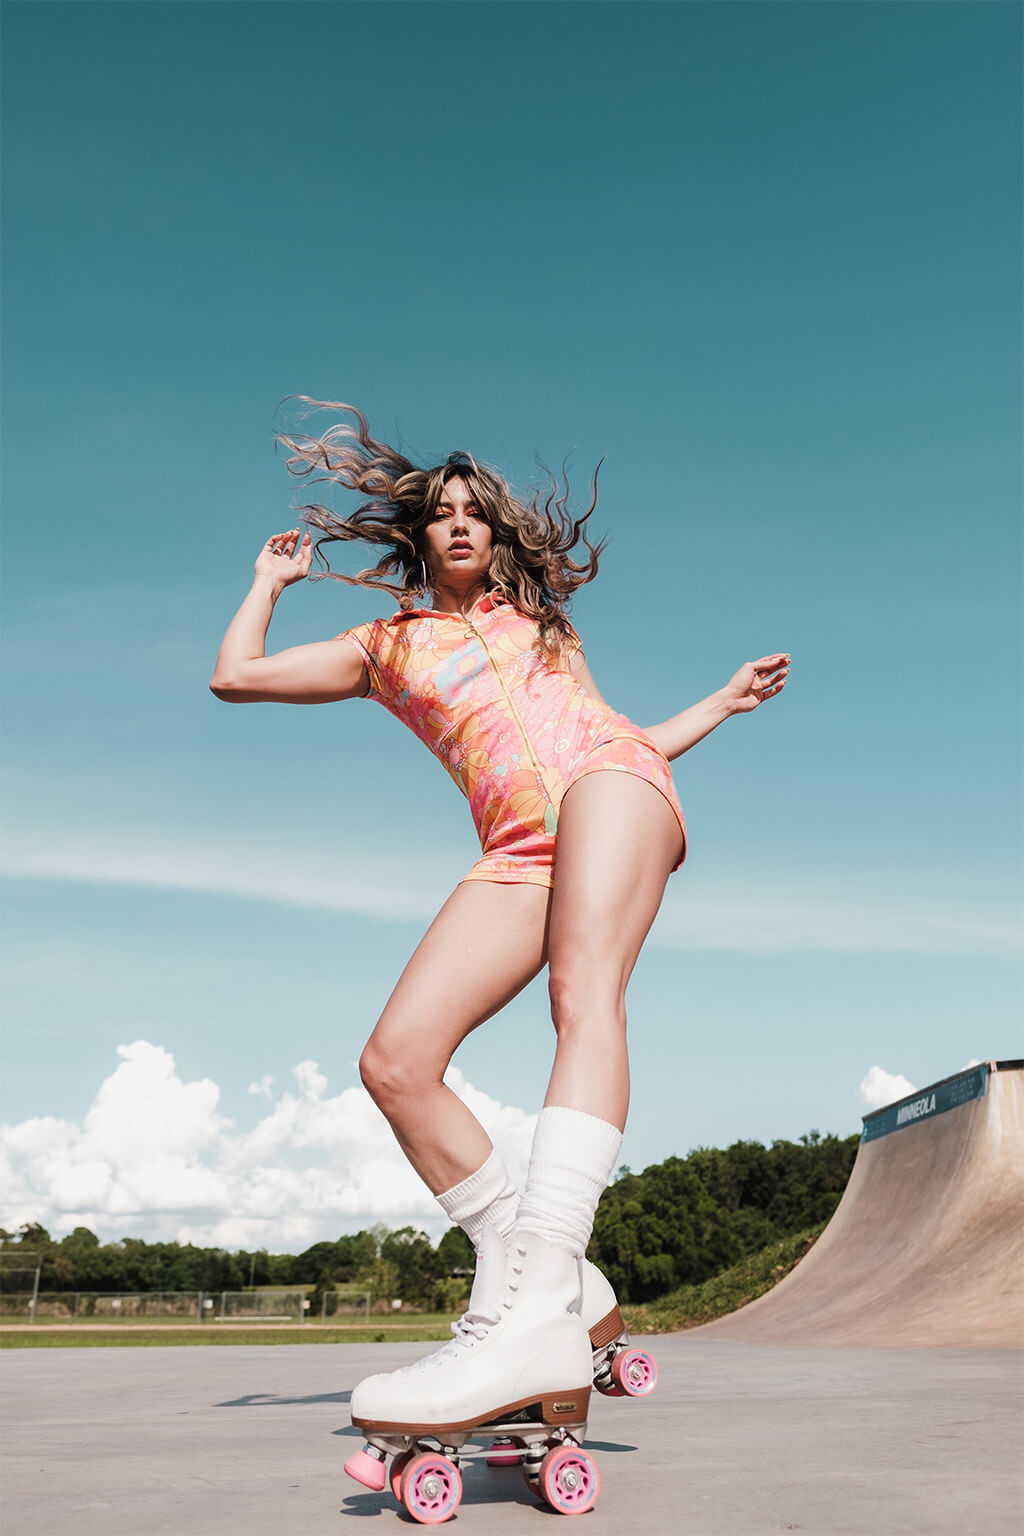
Go to Select > Subject to generate an automatic selection of the person in the photo, then duplicate the background layer and click the layer mask icon to load that selection directly into a mask. Placing this masked duplicate at the very top of the layer stack means anything added underneath it will automatically appear behind the subject.
Using Select Subject on Non-Human Elements Like Flowers
Select Subject isn’t limited to people — running it on a stock photo of a flower or plant works the same way, isolating the flower from its background so it can be masked out and dropped into the composite as its own graphic element.
When Select Subject Struggles: Switching to the Object Selection Tool
Select Subject doesn’t always get a clean result on the first try. When it doesn’t, the Object Selection tool (grouped with the Quick Selection and Magic Wand tools) offers a more reliable alternative — turning on Object Finder at the top of the screen highlights everything the tool can identify, and clicking directly on the desired object selects just that one item.
Layering Stock Graphics Behind and Around the Subject
With a few cut-out flowers or graphic elements ready, Free Transform (Cmd/Ctrl+T) resizes and repositions each one, and Cmd/Ctrl+J duplicates an element to fill any remaining empty space — rotating or restretching each duplicate keeps the arrangement from looking obviously repeated.
Using the Overlay Blend Mode to Add Color from a Texture Image
A colorful stock image — even something unrelated, like a photo of a building’s paint job — can become a pure color-and-light overlay by changing its blend mode from Normal to Overlay, which blends its highlights and shadows into whatever sits beneath it while letting the underlying image’s own detail show through.
Warping an Image to Follow the Scene
Free Transform, followed by right-click > Warp, lets a flat rectangular image bend and curve to follow the shape of the scene beneath it — dragging the corner and edge anchor points reshapes the overlay into a flowing line rather than a stiff rectangle. A layer mask, painted with black wherever the overlay spills somewhere unwanted (like into the sky), cleans up the result without needing a perfect warp.
Adding a Watercolor Texture and Experimenting with Blend Modes
A stock watercolor texture, stretched to cover the frame, adds another layer of graphic interest once its blend mode is changed from Normal to something that lets the image underneath show through — Lighten, in this case, with opacity lowered until the balance between texture and photo feels right.
Scrolling Through Blend Modes to Find the Right Look
Clicking the blend mode dropdown and scrolling through the options one at a time is a genuinely useful way to explore what’s possible without needing to know in advance what each mode does — different images and textures respond differently, so trying several is often faster than guessing.
Isolating Light from a Dark Background with the Screen Blend Mode
Stock images of sparks or lit elements almost always come on a black background. Dragging one into the composite and switching its blend mode to Screen makes any pure black in the image completely invisible, leaving only the bright sparks themselves floating over the photo.
Using Levels to Clean Up a Screen Blend
If a Screen-blended image still shows faint traces of its original background, a Levels adjustment (Cmd/Ctrl+L) with the black point pushed further in makes the darks darker still, which the Screen blend mode then renders fully invisible — a simple fix for cleanly isolating light elements from any dark source photo.
Adding Rainbows and Light Elements Above the Subject
The same Screen-and-Levels combination works for any bright element on a dark background, including a stock photo of a rainbow — placed above the subject in the layer stack this time, with a quick layer mask to hide any leftover sky, it reads as a pure ribbon of color weaving through the composite rather than a rectangular photo.
Keeping the Whole Composite Non-Destructive and Easy to Rearrange
Every element in this kind of collage lives on its own separate layer with its own mask, transform, and blend mode, which means anything — a flower, a spark, a rainbow — can be moved, restretched, warped, or turned off entirely at any point without disturbing anything else in the composite.
More Free Photoshop Tutorials
To explore more graphic and compositing techniques like these, check out these related tutorials:
- Colorful Portraits: Mix Graphics and Photos in Photoshop
- Create an Eye-Catching Double Exposure Effect in Photoshop
- Photoshop 2025: The Updated Select Subject Tool
Why This Blend-Mode Approach Works
Overlay, Lighten, and Screen each interact with dark and light pixels differently, which is exactly what makes them useful for very different jobs in the same composite — Overlay for blending color and contrast into a scene, Screen for lifting pure light off a black background, and Lighten for letting a texture sit on top without erasing what’s underneath. Combining several of them, each confined to its own masked layer, is what turns a handful of unrelated stock images into one cohesive graphic style.
Final Thoughts
An artistic collage like this doesn’t need to chase realism — it needs a subject cleanly isolated, a handful of stock elements chosen for color and shape, and blend modes picked deliberately for how each one reacts with dark and light. Because everything stays on its own layer, the whole piece can keep evolving well after the first pass.
Related Tutorials






Enjoying This Free Tutorial? Go Further with PRO.
200+ PRO courses. 1,000+ practice files. One membership.

Unlimited access to every PRO course
New PRO courses every month
Layered PSDs and RAW files to follow along
100+ Lightroom Presets, LUTs, Actions and Brushes
Stream in up to 4K, with captions and chapters
Watch on any device: desktop, tablet or phone
4.93 average from 3,900+ reviews · 2M+ students