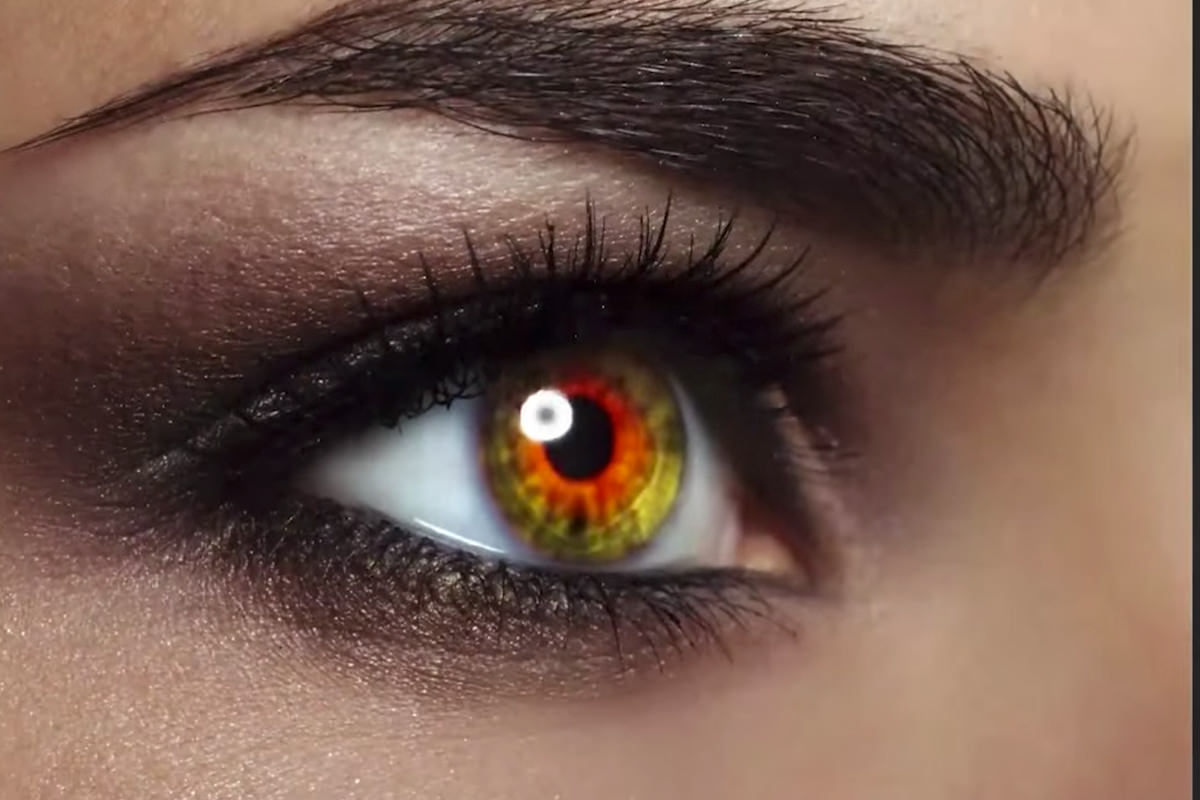

description
Changing eye color in Photoshop starts with a careful, slightly blurred selection around the iris, then builds up brightness, color, edge darkening, and fine channel detail entirely inside a group restricted to that one selection. This tutorial takes a dark brown eye through several believable color variations, plus one more stylized fantasy effect with painted flecks, all on the same underlying setup.
Enjoying This Free Tutorial?
We publish a new free tutorial every week, each one with sample images and PSDs you can download and follow along with. Sign up and they land straight in your inbox, along with early word on sales, events and subscriber-only offers.

How to Change Eye Color in Photoshop
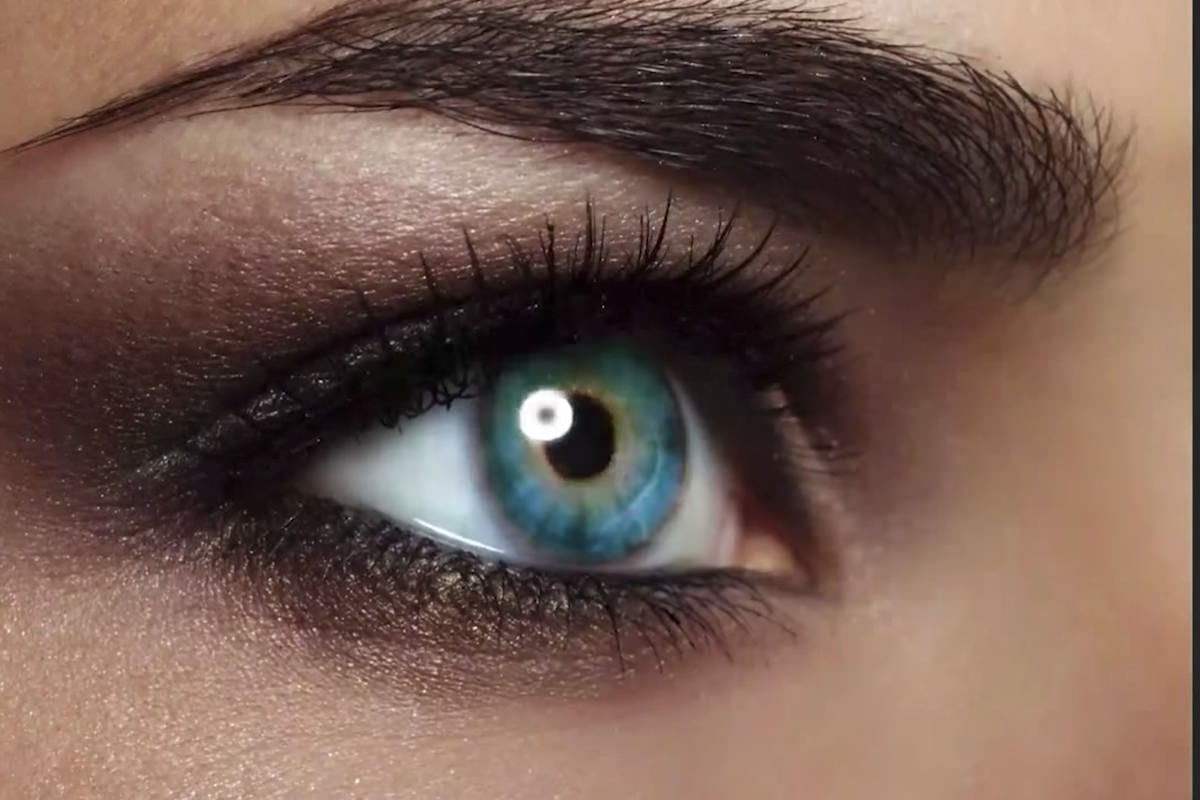
Changing eye color in Photoshop starts with a careful selection around the iris, then builds up brightness, color, and small realistic details entirely inside a group restricted to that one selection. This tutorial takes a dark brown eye through several believable color variations, plus one more stylized fantasy effect, all using the same underlying technique.
Making and Refining a Selection Around the Eye
A slightly undersized elliptical selection, softened with blur, fits the natural, imperfect edge of a real eye better than a hard-edged shape.
-
Draw an Elliptical Selection Around the Eye
Select the Elliptical Marquee tool and draw a selection slightly smaller than the eye itself, holding the spacebar to reposition the selection while still drawing it.
-
Preview the Selection on a Curves Layer
Add a Curves adjustment layer, brighten it heavily so the selection is easy to see, and load the selection onto its layer mask.
-
Apply a Gaussian Blur to the Selection
Go to Filter > Blur > Gaussian Blur and apply an amount that softens the selection’s edge to roughly match the eye’s own soft boundary.
-
Rotate and Reposition the Selection as Needed
Press Cmd/Ctrl+T to rotate or reposition the blurred selection until it lines up correctly with the eye.
Creating a Group to Restrict Every Layer to the Eye
Loading the finished selection mask onto a group, rather than recreating it on every new layer, keeps every future adjustment automatically confined to just the eye.
-
Group Any Layer to Start
Press Cmd/Ctrl+G on any layer to create a new group.
-
Transfer the Layer Mask to the Group
Hold Alt/Option and drag the existing layer mask from the Curves layer onto the group to copy it there.
-
Reset the Original Layer’s Mask to Full White
Click the original Curves layer’s mask and press Shift+Delete to fill it with white, since the group mask now handles the restriction instead.
Why Grouping Layers With a Shared Mask Simplifies Eye Edits
Without a shared group mask, every new layer added to build up color and detail would need its own selection recreated from scratch. Loading the mask onto the group instead means any layer placed inside it, whether it’s a curves adjustment, a hue/saturation layer, or hand-painted detail, is automatically restricted to just the eye.
Brightening Dark Eyes With a Clipped Curves Layer
Dark eyes need to be lightened first before a new color reads clearly, while naturally light eyes like blue or green can usually skip this step entirely.
-
Brighten the Iris With the Existing Curves Layer
Use the curves adjustment layer already inside the group to brighten the iris enough to reveal detail for a new color.
-
Skip This Step for Already-Light Eyes
Move directly to changing color for eyes that already start out light, such as blue or green.
Why Dark Eyes Sometimes Need a Photography Fix, Not a Photoshop One
An eye that’s so dark it holds almost no visible detail at all is usually a lighting problem from the original shoot rather than something Curves alone can fully fix. Adding a reflector below a subject during a portrait, to bounce light up into eyes lit mainly from above, helps them show more natural detail and shine before any Photoshop work even begins.
Changing Eye Color With Hue/Saturation
A Hue/Saturation adjustment layer, placed inside the same restricted group, is what actually shifts the eye to a new color.
-
Add a Hue/Saturation Layer Inside the Group
Add a Hue/Saturation adjustment layer inside the eye group, relying on the group’s existing mask rather than creating a new one.
-
Drag the Hue Slider to a New Color
Drag the Hue slider to shift the eye toward a new color, such as blue.
-
Lower Saturation for a Believable Result
Reduce the saturation somewhat, since an eye that’s too vividly saturated rarely looks real.
Refining the Layer Mask for a Believable Edge
The group mask often still includes small areas, like the very center of the eye or the eyelashes, that shouldn’t be affected by the new color.
-
Paint Black Over Areas to Exclude
Paint black on the group’s layer mask over areas like the center highlight of the eye and the eyelashes, so the color change doesn’t affect them.
-
Paint White to Extend the Mask if Needed
Paint white on the mask around the edges if the color effect needs to extend slightly further to look believable.
Darkening the Edges for a Realistic Look
Real eyes, blue eyes especially, tend to darken slightly toward their outer edge, a detail worth checking against reference photos before recreating it.
-
Research Reference Photos for the Target Color
Search for reference images of the target eye color to study details like edge darkening and color variation before continuing.
-
Add a Curves Layer to Darken the Edges
Add a Curves adjustment layer, drag the midpoint down to darken it, invert the mask, and paint white with a soft brush around the outer edge of the iris.
Why Reference Photos Matter When Choosing a New Eye Color
Real eyes rarely consist of one single flat color all the way through, they tend to have variation like darker edges or a warmer tone near the center. Looking at actual reference photos of the target color before making adjustments is what makes it possible to recreate those small, specific details rather than guessing at a flat, unconvincing color.
Adding Color Detail With Individual Curves Channels
Adjusting the individual Red, Green, and Blue channels inside a Curves layer, rather than just the combined RGB curve, adds subtle color variation like the warm tones often seen near the center of blue eyes.
-
Add Another Curves Layer for Detail
Add a new Curves adjustment layer inside the group specifically for adding color detail.
-
Adjust Individual Color Channels
Switch between the Blue, Green, Red, and RGB channels, pulling each up or down to introduce subtle warmth or coolness.
-
Mask the Detail to a Specific Area
Invert the layer mask and paint white with a soft brush only where the added color detail, such as warmth near the center of the iris, should appear.
Creating Additional Color Variations by Duplicating the Group
Duplicating the entire finished group makes it fast to try several completely different eye colors without rebuilding the selection or layer structure each time.
-
Duplicate the Entire Group
Duplicate the whole eye group and hide the original so only the new copy is visible.
-
Adjust the Hue/Saturation Layer for a New Color
Change the Hue slider inside the duplicated group’s Hue/Saturation layer to a different color, such as green, and adjust saturation to taste.
-
Fine-Tune the Curves Layers to Match
Adjust the edge-darkening and channel-detail Curves layers inside the duplicate so they suit the new color rather than the previous one.
Adding Sparkle Flecks for a Stylized Effect
A final, more playful variation adds small painted flecks of light, blurred slightly and recolored, for a fantasy-style eye rather than a strictly realistic one.
-
Paint Small Flecks With a Hard, Small Brush
Add a Curves layer, invert its mask, and use a small hard-edged brush to paint irregular white flecks scattered across the iris.
-
Blur the Flecks Slightly
Apply a small Gaussian Blur to the flecks so they read as part of the eye rather than an obvious painted mark.
-
Adjust Color and Brightness to Taste
Use additional adjustment layers to shift the flecks brighter, darker, or toward different colors like red or magenta for a more stylized result.
More Free Photoshop Tutorials
To build on the selection and masking techniques used here, check out these free tutorials:
- How to Select Subjects and Refine Edges in Photoshop
- Three Ways to Use Blend If in Photoshop
- Curves vs Levels in Photoshop: What the Difference Actually Is
Why This Approach Works
Loading one selection onto a group’s mask, instead of recreating a mask on every new layer, is what makes it possible to stack up brightness, color, edge darkening, and fine detail without any of it leaking outside the eye. Checking real reference photos before choosing a new color is what separates a believable eye color change from an obviously flat, artificial one. Duplicating the entire finished group is what makes trying multiple color variations fast, since the selection and layer structure never need to be rebuilt from scratch.
Final Thoughts
From a brightened, color-shifted blue eye to a more realistic green and a playful, flecked fantasy variation, all three results came from the exact same group-based technique applied slightly differently. Once the selection and group are set up correctly, changing eye color becomes mostly a matter of experimenting with Hue/Saturation and Curves until the result looks right.
New Free Tutorials View All »











Enjoying This Free Tutorial? Go Further with PRO.
Unlock Full Sample Files, PSDs, and Hundreds of Masterclasses!

Download full project assets, original PSDs, and RAW images for every lesson
Unlimited access to our complete library of PRO Photoshop & Lightroom courses
Instant 4K Ultra HD streaming on all devices, anytime, anywhere
Full access to our entire library of Photoshop Actions, Presets, and LUTs
Flexible monthly and annual membership plans
Cancel anytime with zero hassle or commitments