

description
One snowflake photo is enough to paint a whole blizzard. This tutorial preps the source image as pure black on pure white with Levels so the brush shape comes out crisp, then layers in spacing, size, angle and roundness jitter, scattering on both axes, and brightness variation, before painting three depth layers at different brush sizes.
Enjoying This Free Tutorial?
We publish a new free tutorial every week, each one with sample images and PSDs you can download and follow along with. Sign up and they land straight in your inbox, along with early word on sales, events and subscriber-only offers.
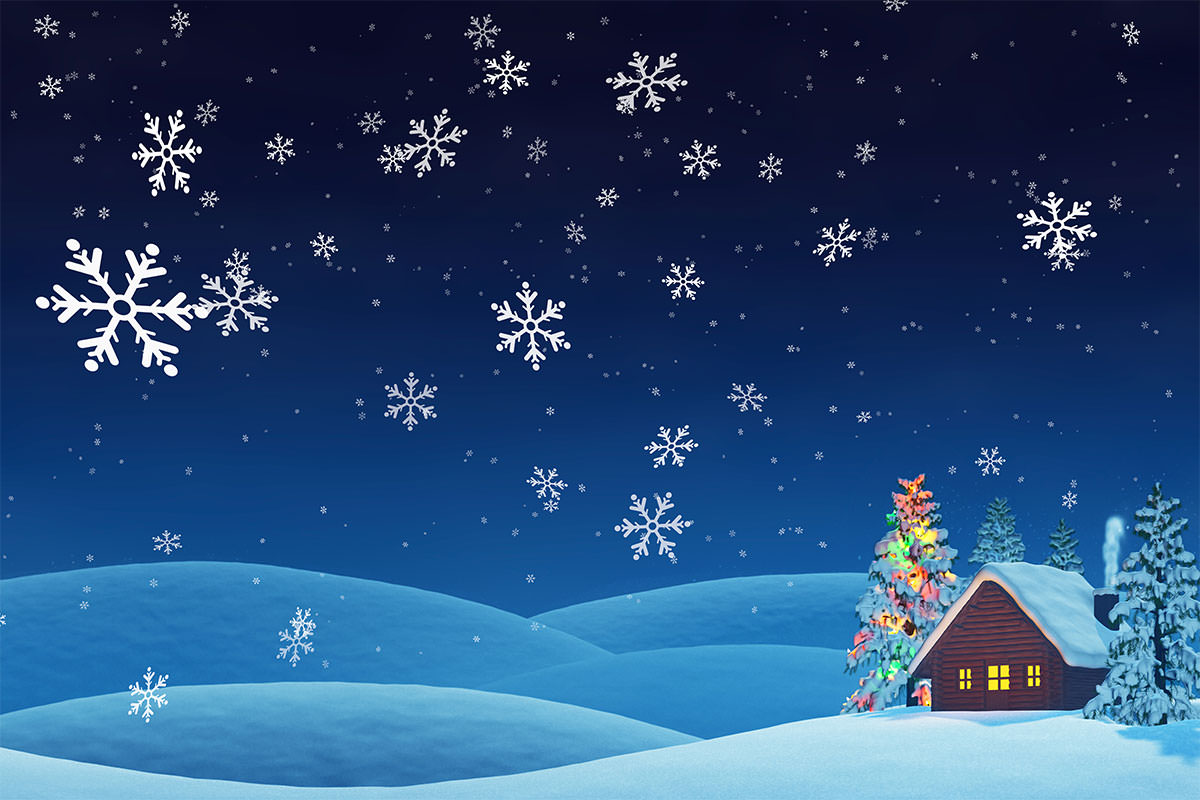
A single stock photo of a snowflake can become a fully randomized brush capable of painting an entire falling blizzard, once its shape is prepared correctly and its brush settings are dialed in. This tutorial preps a snowflake image as a clean black-and-white brush shape, builds in randomized size, angle, and scattering, then paints layered snowflakes at different depths to finish the effect.
Resizing the Source Image for a Brush
Keeping a brush shape’s source image around 1,000 pixels wide avoids the performance slowdowns that come with an unnecessarily large brush.
-
Find a Snowflake Image
Use a snowflake photo from a stock image site or another source with proper usage rights.
-
Resize the Image to About 1,000 Pixels Wide
Go to Image > Image Size and reduce the width to around 1,000 pixels, letting the locked proportions adjust the height automatically.
Preparing a Pure Black-and-White Brush Shape
A brush shape needs a completely black subject on a completely white background, and Levels can push the existing black-and-white image cleanly to those two extremes.
-
Desaturate the Image
Go to Image > Adjustments > Desaturate to remove all color from the image.
-
Open Levels
Press Cmd/Ctrl+L to open the Levels dialog.
-
Set the White Point on the Background
Click the white point eyedropper and click on the background to force it to pure white.
-
Set the Black Point on the Snowflake
Click the black point eyedropper and click on the snowflake itself to force it to pure black.
Why a Brush Shape Needs Pure Black and White
A brush preset only reads the darkness of each pixel to determine where it paints, so any gray left in either the background or the subject would make the resulting brush look soft or incomplete. Pushing the background to pure white and the subject to pure black with Levels guarantees a crisp, fully opaque brush shape once it’s defined.
Defining the Snowflake as a Brush Preset
Define Brush Preset turns the prepared black-and-white image directly into a reusable brush shape stored inside Photoshop.
-
Go to Define Brush Preset
Go to Edit > Define Brush Preset.
-
Name and Save the Brush
Give the new brush a name, such as Snowflake, and click OK.
Adjusting Spacing and Shape Dynamics for Size Variation
The Brush Settings panel’s spacing and shape dynamics options break up an otherwise repetitive, connected brush stroke into individually varied snowflakes.
-
Open the Brush Settings Panel
Go to Window > Brush to open the Brush Settings panel and preview the brush’s behavior.
-
Increase Spacing
Raise the Spacing value under Brush Tip Shape to separate individual snowflakes instead of one continuous stroke.
-
Enable Size Jitter Under Shape Dynamics
Click Shape Dynamics and increase Size Jitter so painted snowflakes vary between large and small.
-
Enable Angle and Roundness Jitter
Increase Angle Jitter and Roundness Jitter under Shape Dynamics so snowflakes appear to fall at different angles and orientations.
Scattering Snowflakes Randomly Across the Canvas
The Scattering option spreads brush marks out across a wide area from a single stroke, turning one click-and-drag into a randomized field of snowflakes.
-
Enable Scattering on Both Axes
Click Scattering, increase the amount significantly, and check Both Axes to spread snowflakes randomly in every direction from the brush stroke.
-
Readjust Spacing if Needed
Return to Brush Tip Shape and fine-tune spacing if the scattered snowflakes feel too close together.
Why Scattering Sells the Illusion of Falling Snow
A brush without scattering would only place snowflakes directly along the path the cursor travels, which reads as an obvious painted line rather than natural snowfall. Scattering breaks that direct path apart, spreading snowflakes randomly across a wide area from just one motion, which is what makes the result look like snow actually falling rather than a deliberate brush stroke.
Adding Brightness and Opacity Variation for Realism
Color Dynamics and opacity jitter add subtle brightness and transparency differences between individual snowflakes, mimicking how real snow varies in visibility and distance.
-
Enable Brightness Jitter Under Color Dynamics
Click Color Dynamics and increase Brightness Jitter so some snowflakes appear brighter and others darker.
-
Enable Opacity Jitter Under Transfer
Turn on Opacity Jitter so some snowflakes appear fully visible while others look more transparent.
Why Separate Layers Beat Painting Everything at Once
Painting every snowflake at one size on a single layer would leave every flake reading as though it’s sitting at the same distance from the camera, flattening the sense of depth. Splitting the work across separate background, midground, and foreground layers instead lets each size group be adjusted, moved, or hidden independently, while still combining into a single convincing snowfall.
Painting Separate Background, Midground, and Foreground Layers
Painting the same brush at different sizes on separate layers creates the illusion of snowflakes falling at different distances from the camera.
-
Paint Small Snowflakes for the Background
On a new layer, right-click to reduce brush size significantly, then paint small, distant-looking snowflakes.
-
Paint Larger Snowflakes on a Midground Layer
Add a new layer, increase brush size with the close bracket key, and paint medium-sized snowflakes closer to the camera.
-
Paint the Largest Snowflakes for the Foreground
Add another new layer, increase brush size further, and paint the largest snowflakes as if they’re closest to the camera.
Saving the Finished Brush for Future Use
Saving the fully configured brush as a new preset preserves every scattering and jitter setting, ready to reuse the following year without rebuilding it from scratch.
-
Open the Brush Panel Menu
Go to Window > Brush, then click the panel menu icon in the top right.
-
Save as a New Brush Preset
Choose New Brush Preset, give it a distinct name to mark it as the finished version, and click OK.
-
Delete the Original Unconfigured Brush if Desired
Right-click the Brush tool, hold Alt/Option to reveal the scissors icon over the original unconfigured brush, and click to delete it.
More Free Photoshop Tutorials
To build on the brush and layering techniques used here, check out these free tutorials:
- How to Select Subjects and Refine Edges in Photoshop
- Three Ways to Use Blend If in Photoshop
- Curves vs Levels in Photoshop: What the Difference Actually Is
Why This Approach Works
Preparing the source image as pure black on pure white is what allows Photoshop to define a clean, fully opaque brush shape in the first place, rather than something soft or partially transparent. Layering in spacing, shape dynamics, and scattering is what turns that single static shape into something that behaves like genuinely randomized falling snow instead of a repeated stamp. Painting the same brush at different sizes across separate background, midground, and foreground layers is what creates a believable sense of depth, since real snow doesn’t all appear the same size regardless of distance from the camera.
Final Thoughts
Turning one snowflake photo into a fully randomized, depth-aware falling snow effect takes only a handful of brush setting adjustments, and saving the finished brush as a preset means it’s ready to use again with a single click next time. The same approach works for building any kind of scattered, randomized brush effect, not just falling snow.
New Free Tutorials View All »











Enjoying This Free Tutorial? Go Further with PRO.
Unlock Full Sample Files, PSDs, and Hundreds of Masterclasses!

Download full project assets, original PSDs, and RAW images for every lesson
Unlimited access to our complete library of PRO Photoshop & Lightroom courses
Instant 4K Ultra HD streaming on all devices, anytime, anywhere
Full access to our entire library of Photoshop Actions, Presets, and LUTs
Flexible monthly and annual membership plans
Cancel anytime with zero hassle or commitments