
Download Assets
This tutorial includes 1 sample image, 1 sample PSD and 1 PDF guide. Downloads are free with a PHLEARN account.
- Download the sample images and PSDs from every free tutorial on PHLEARN
- New free tutorials published every week
- One free account — sign up once, then download anything
Free PDF Guide · 4 Pages
This Tutorial as a Step-by-Step PDF
Every step from the video in order: the Smart Object setup, the Objects brush, adding each person to the same mask, the two ways to grab the ground, the adjustments and the subtract gradient. Keep it next to your keyboard.
description
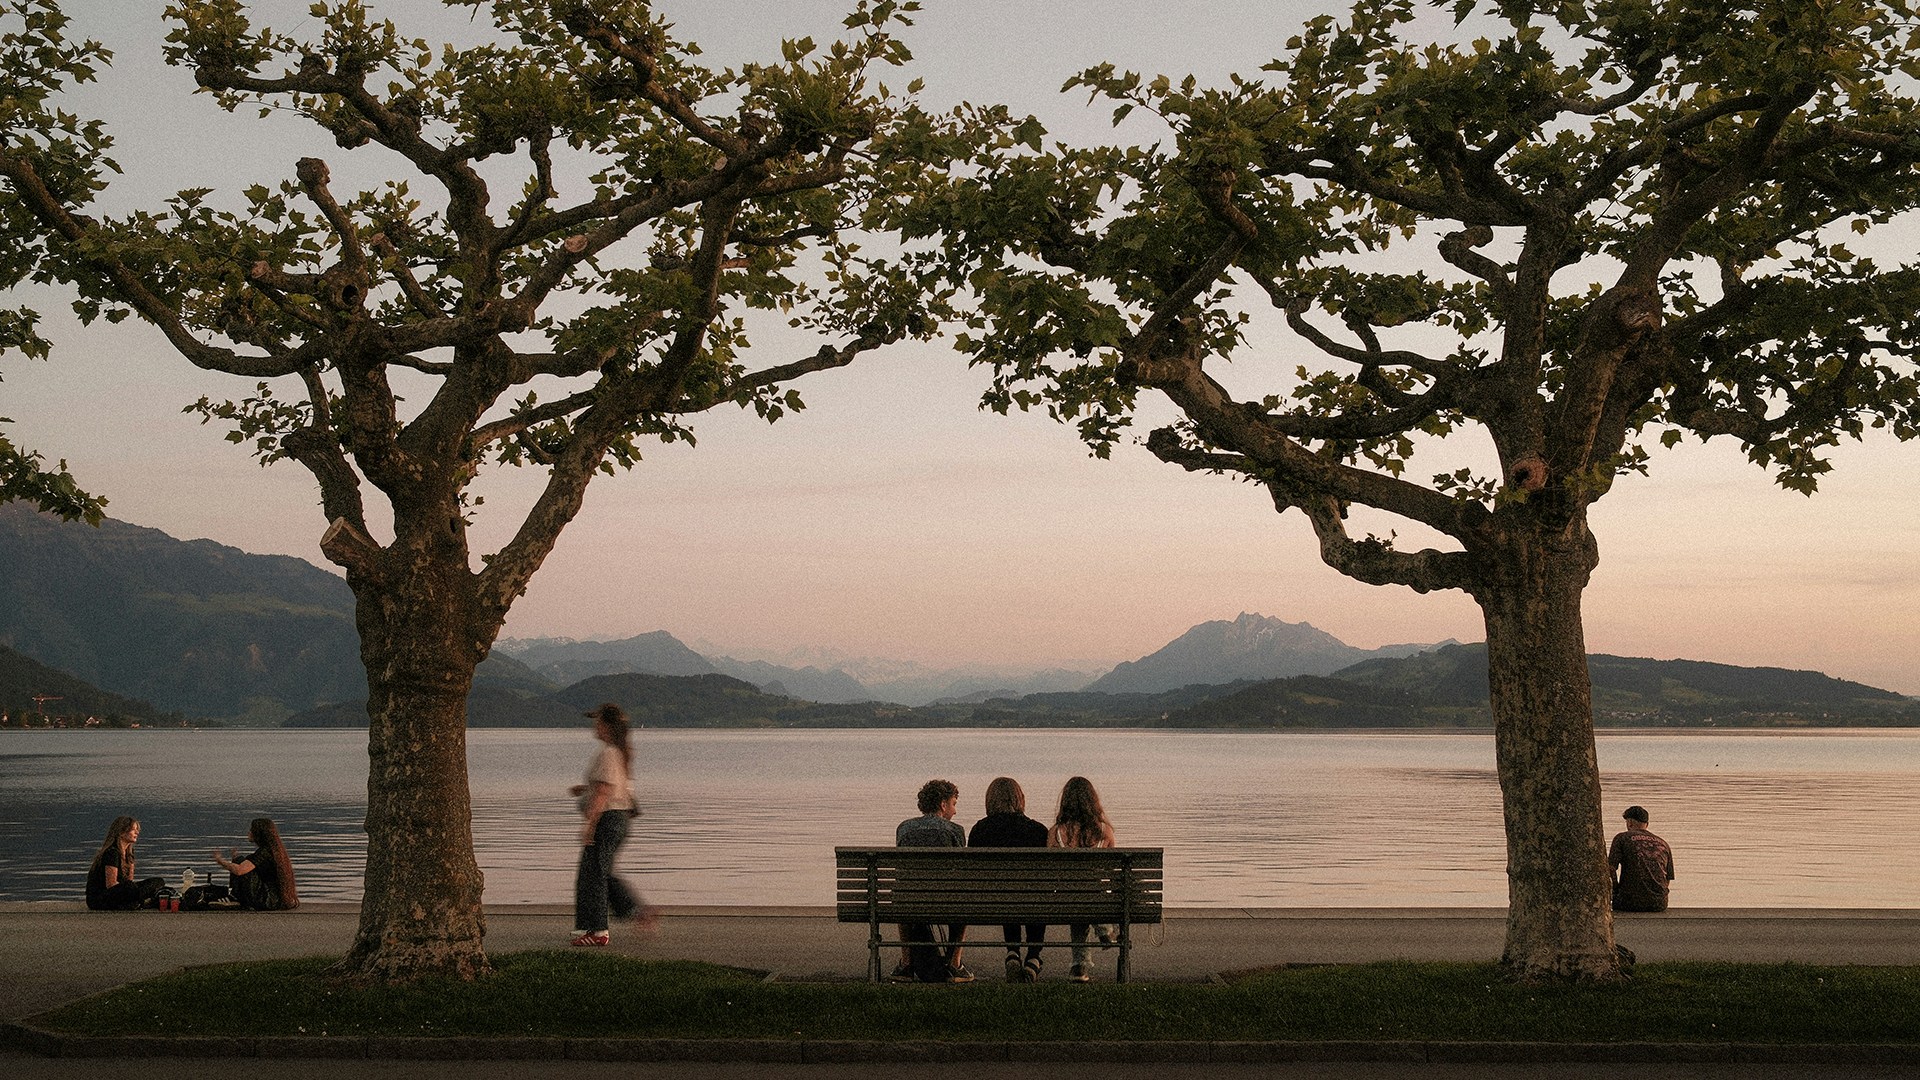
Learn how object masking rescues dark foregrounds and balance your exposure without touching the background. In this quick tutorial, we explore the incredible precision of the updated Camera Raw object masking tool, showing you a fast, clean way to easily isolate complex details like fine trees and people in Photoshop 2026.
Enjoying This Free Tutorial?
We publish a new free tutorial every week, each one with sample images and PSDs you can download and follow along with. Sign up and they land straight in your inbox, along with early word on sales, events and subscriber-only offers.
Image Source
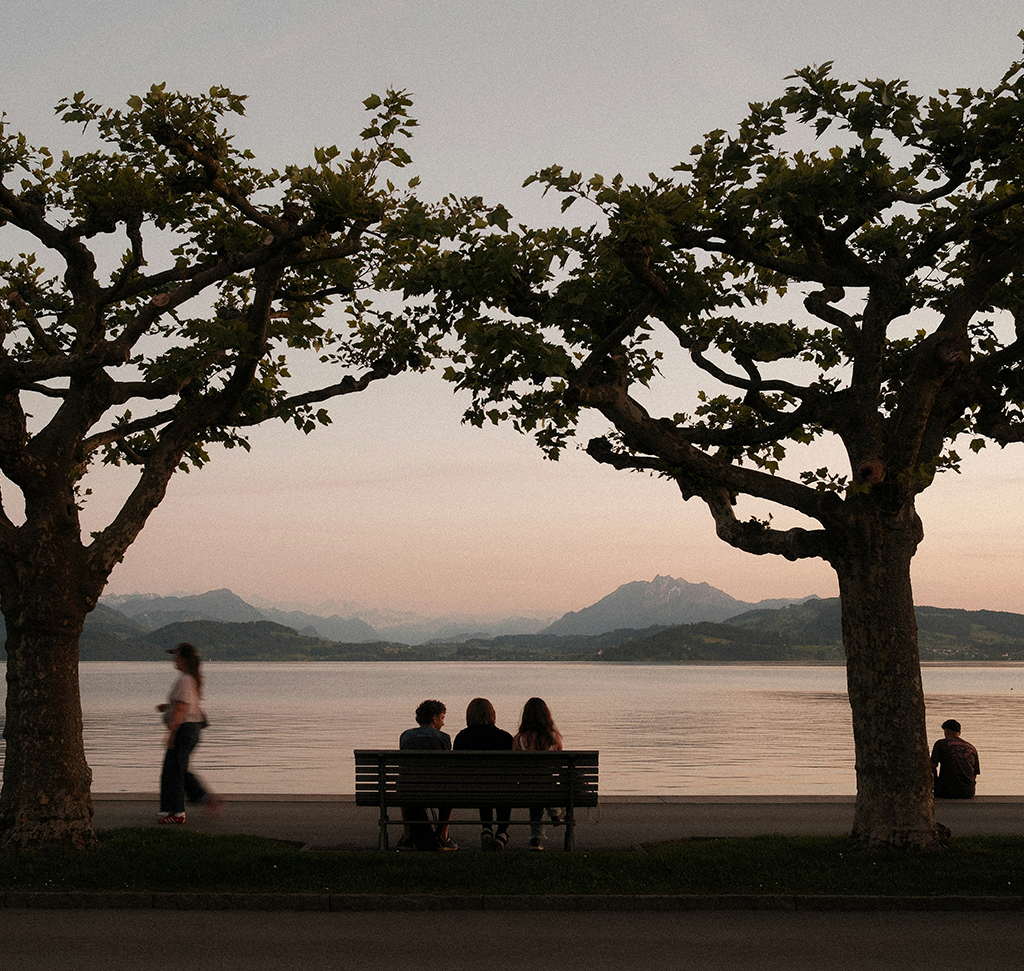
Photos by Ilia Bronskiy via Unsplash

Object Masking in Photoshop: Smarter Selections, Instantly
Object masking in Camera Raw is the rare AI feature that earns its place: it doesn’t invent pixels, it doesn’t spend credits, and it doesn’t take the creative decisions away from you. All it does is the tedious part — turning a scribble into a pixel-perfect mask around detailed foliage, a bench full of people, or a walking figure caught mid-stride.
This tutorial takes a landscape with a beautifully exposed background and a foreground buried in shadow, and lifts just the foreground back into the light. One mask, one Camera Raw session, and every step of it stays editable long after you’ve clicked OK.
What Makes This Worth Doing
Selections That Used to Take Hours
Masking a tree line by hand — every branch, every gap between leaves — was once an afternoon’s work with channels and a lot of patience. Camera Raw’s object selection reads the shape you’re pointing at and builds the mask itself, down to the foliage. Your job is to be roughly right; the tool handles precise.
AI That Assists Rather Than Generates
This is selection AI, not generative AI. Nothing is being synthesized, no credits are consumed, and the actual editing — exposure, color, contrast — is still entirely yours. It removes the busywork and hands the creative control straight back.
Set Up for Non-Destructive Editing
Before opening Camera Raw, convert your layer to a Smart Object. This one step is what lets you reopen the exact same mask days later and change your mind about any of it.
-
Select the Background Layer
Click your background layer in the Layers panel so it’s the active layer. Everything that follows will be applied to it as an editable filter rather than baked into the pixels.
-
Convert for Smart Filters
Go to Filter > Convert for Smart Filters. A small badge appears in the corner of the layer thumbnail confirming it’s now a Smart Object. Skip this and every Camera Raw adjustment becomes permanent the moment you click OK.
-
Open the Camera Raw Filter
Go to Filter > Camera Raw Filter. It works on JPEGs just as well as it does on raw files — you don’t need a raw original to use any of this.
Build the Object Masking Selection With Object Selection
Camera Raw is essentially Lightroom’s develop module living inside Photoshop, and its masking panel is where the 2026 update really shows up.
-
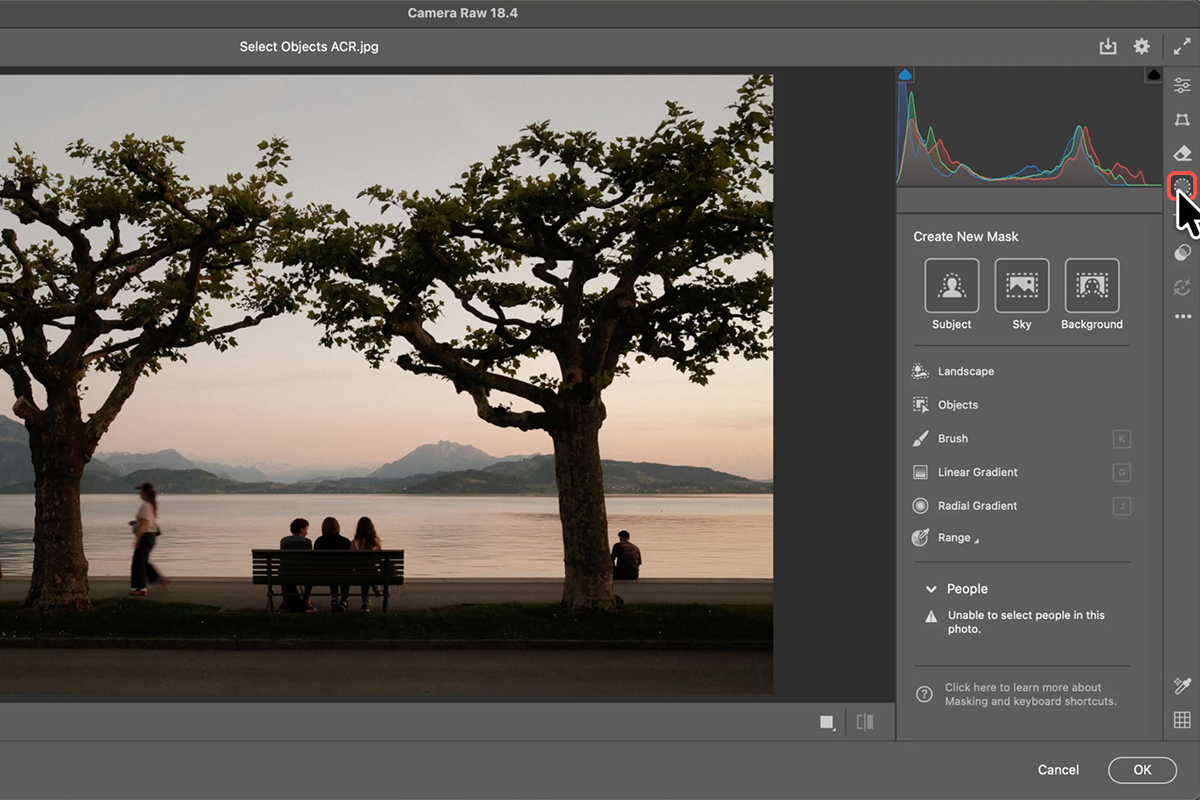
Open Masking and Choose Objects
In the right-hand panel, open Masking and select Objects. You’ll get a brush — no tablet or special hardware required, a trackpad is fine.
-
Scribble Over What You Want
Paint roughly over the trees. Not carefully — roughly. Cover the general area and let go. The mask that snaps into place follows the actual foliage, gaps and all, not the shape you drew.
-
Check It With the Overlay
Toggle Show Overlay off and on to see the mask against the real image. This is the step people skip, and it’s the one that tells you whether the selection is genuinely clean or just looks clean under a red tint.
Add Every Other Subject to the Same Mask
The important idea here is that you’re building one mask, not a stack of them. Everything in the foreground goes into a single selection so a single set of sliders controls all of it.
-
Use Add > Select Objects
With the mask still active, click Add, choose Select Objects, and paint over the next subject — the man in the foreground, the people on the bench, the figure walking past. Each one joins the same mask, and the tool picks up details like a trailing leg or motion blur on its own.
-
Shrink the Brush for Tight Subjects
For a single person in a crowded frame, size the brush down before painting. A smaller brush gives the tool a clearer signal about which object you mean when several are close together.
-
Delete Any Object You Added by Mistake
Every addition is listed separately in the panel — Object 1, Object 2, and so on. Hover the list to see which is which, then delete just that entry. You don’t lose the rest of the mask, which is the whole reason this beats a flat selection.

Two Ways to Grab the Ground
The ground is the part object selection doesn’t handle cleanly, and there are two routes to it. Worth trying both, because the newer one doesn’t automatically win.
The New Way: Select Landscape
Add > Select Landscape breaks the whole scene into named components — sky, mountains, vegetation, artificial ground, natural ground. Hover each to preview what it covers. In this frame, the ground you want is split across two of those categories, so you’d need both.
The Old Way: A Linear Gradient
Add > Linear Gradient, then click and drag upward from the bottom of the frame. It takes two seconds and lands exactly where you want it. This is one of those cases where the traditional tool simply does the job better — a good reminder that knowing the classic techniques still pays off. If you want to go deeper on that toolset, our PRO course on masking and coloring in Lightroom covers the same logic applied across a full edit.
Make the Adjustments
With the mask built, everything in the sliders now applies only to the foreground. The background stays exactly as it was.
-
Lift the Exposure
Raise Exposure until the foreground reads properly, then use Highlights and Shadows to shape it. Detail starts appearing in the people and the tree trunks that simply wasn’t visible before.
-
Warm the Color
Push Temperature warmer. Shadowed foregrounds tend to go cool and blue, and correcting that is usually what makes the lift read as natural rather than as an edit.
-
Pull Saturation Back
Brightening shadows almost always over-saturates them. Drop Saturation slightly to bring it back in line with the rest of the frame.
-
Add Contrast Last
A touch of Contrast at the end restores the punch that lifting the shadows flattened out.
-
Subtract a Gradient to Keep the Base Dark
If the very bottom of the frame now looks too bright, go to Subtract > Linear Gradient and drag upward from the bottom edge. The adjustment fades out toward the base of the image, so the detail rises out of shadow instead of sitting in a uniformly lifted block.
-
Press V to Hide the Pins
Pins and tool overlays clutter your view when you’re judging the result. Press V — or use the panel menu and turn off Show Pins and Tools — to see the image clean.
Finish Back in Photoshop
Click OK in the bottom right and Camera Raw applies the whole thing as a Smart Filter, updating your document automatically.
Clean Up With the Remove Tool
Any leftover distraction — a stray figure, a sign, a piece of litter — comes out with the Remove Tool, which also costs no credits. Our guide to the latest Remove Tool update covers what changed in the 2026 build.
Reopen the Mask Any Time
This is the payoff for converting to a Smart Object at the start. Double-click “Camera Raw Filter” under Smart Filters in the Layers panel and you’re back inside Camera Raw with that exact mask intact. Change the exposure, adjust the color, add another object — then click OK and the document updates again. The same principle applies across the whole program, and our PRO guide to non-destructive editing is built entirely around it.
Where People Get Stuck
Forgetting the Smart Object
Running the Camera Raw Filter on a normal layer works fine right up until you want to change something. Then the mask is gone and you’re starting over. Convert first, every time.
Making a Separate Mask per Object
It’s tempting to build one mask per person. Don’t — you end up managing five sets of sliders that all need to match. Add each subject to the existing mask so one exposure adjustment covers the whole foreground consistently.
Lifting Shadows and Stopping There
Raising exposure on a shadowed area leaves it cool and over-saturated. Temperature and Saturation are not optional polish here; they’re what stops the corrected area from looking pasted in.
Why This Approach Holds Up
What makes object masking genuinely useful isn’t that it’s fast — it’s that it’s precise in exactly the places manual selection is slowest. Foliage, hair, motion blur, overlapping figures: all the cases where a hand-drawn selection either takes an hour or looks wrong. Handing those to the tool while keeping every creative decision in your own hands is the right division of labor.
And because the whole thing lives on a Smart Filter, nothing about it is a commitment. The mask, the sliders, the gradient — all of it is still sitting there waiting the next time you open the file.
One Mask, Many Uses
Convert to a Smart Object, open Camera Raw, scribble over your subjects, and let the tool build the selection. Add the ground with whichever method fits the frame, adjust exposure and color, and subtract a gradient if the base needs to stay dark. Download the free sample image and PSD and work through it once — then try it on a backlit portrait or a dim interior, where the same one-mask approach solves the same problem just as neatly.
Quick Reference: Keys, Menus and Settings
- Make it editableFilter > Convert for Smart Filters, then Filter > Camera Raw Filter
- Select the treesMasking > Objects, then paint roughly over them with the brush
- Add each personIn the same mask: Add > Select Objects, paint over the person; make the brush smaller for one person
- Remove a wrong objectClick the object in the mask list and delete it
- Grab the groundAdd > Linear Gradient dragged up from the bottom, or Add > Select Landscape > Natural and Artificial Ground
- Fade it at the bottomSubtract > Linear Gradient, dragged up from the bottom edge
- Hide the pins and overlayV, or the mask menu > Show Pins and Tools; Show Overlay toggle
- Reopen the mask laterDouble-click Camera Raw Filter in the Layers panel
- Full screenF
Mac first, then Windows where they differ.

Free Downloads
Follow Along on the Same Photo
Get the sample image, the finished PSD and the PDF guide, and build the same object mask in Camera Raw. Free with a PHLEARN account.
Object Masking: Common Questions
Does object masking in Camera Raw use generative credits?
No. It’s AI-powered, but it only helps make the selection. It doesn’t create pixels or edit for you, and it doesn’t use any credits. The Remove tool used at the end doesn’t either.
Where is the Objects mask?
In Camera Raw (Filter > Camera Raw Filter in Photoshop), open Masking on the right and choose Objects. It works on JPEGs as well as raw files.
How precisely do I need to paint?
Not precisely at all. Aaron paints a deliberately sloppy loop around the trees on a laptop trackpad and the mask comes back with every leaf. Toggle Show Overlay to check it.
How do I add several people to the same mask?
Stay in the same mask, click Add > Select Objects and paint over each person in turn. If it grabs something you didn’t want, select that object in the list, delete it, and paint again with a smaller brush.
What are the two ways to select the ground?
The old way: Add > Linear Gradient dragged up from the bottom. The new way: Add > Select Landscape, then pick Natural Ground and Artificial Ground. In this photo the gradient worked better, which is why it pays to know both.
What adjustments does the mask get?
With the mask selected, raise Exposure and work the highlights and shadows so the foreground matches the background, then warm the temperature a little, lower saturation and add some contrast. The background was already well exposed, so it stays untouched.
How do I fade the effect out at the bottom of the frame?
In the same mask, choose Subtract > Linear Gradient and drag up from the bottom. The foreground darkens toward the bottom while the people and trees keep their new exposure.
Can I change the mask after clicking OK?
Yes, because the layer was converted to a Smart Object first. Double-click Camera Raw Filter in the Layers panel, open Masking and the same mask is there to adjust. Click OK and Photoshop updates.
Are the sample files free?
Yes, with a free PHLEARN account. You get the sample image, the finished PSD and the PDF guide.
Master Photoshop, Lightroom and Photography
Join PHLEARN PRO for $12.99 a month or $99.99 a year. Cancel anytime, with a 100% money-back guarantee.





