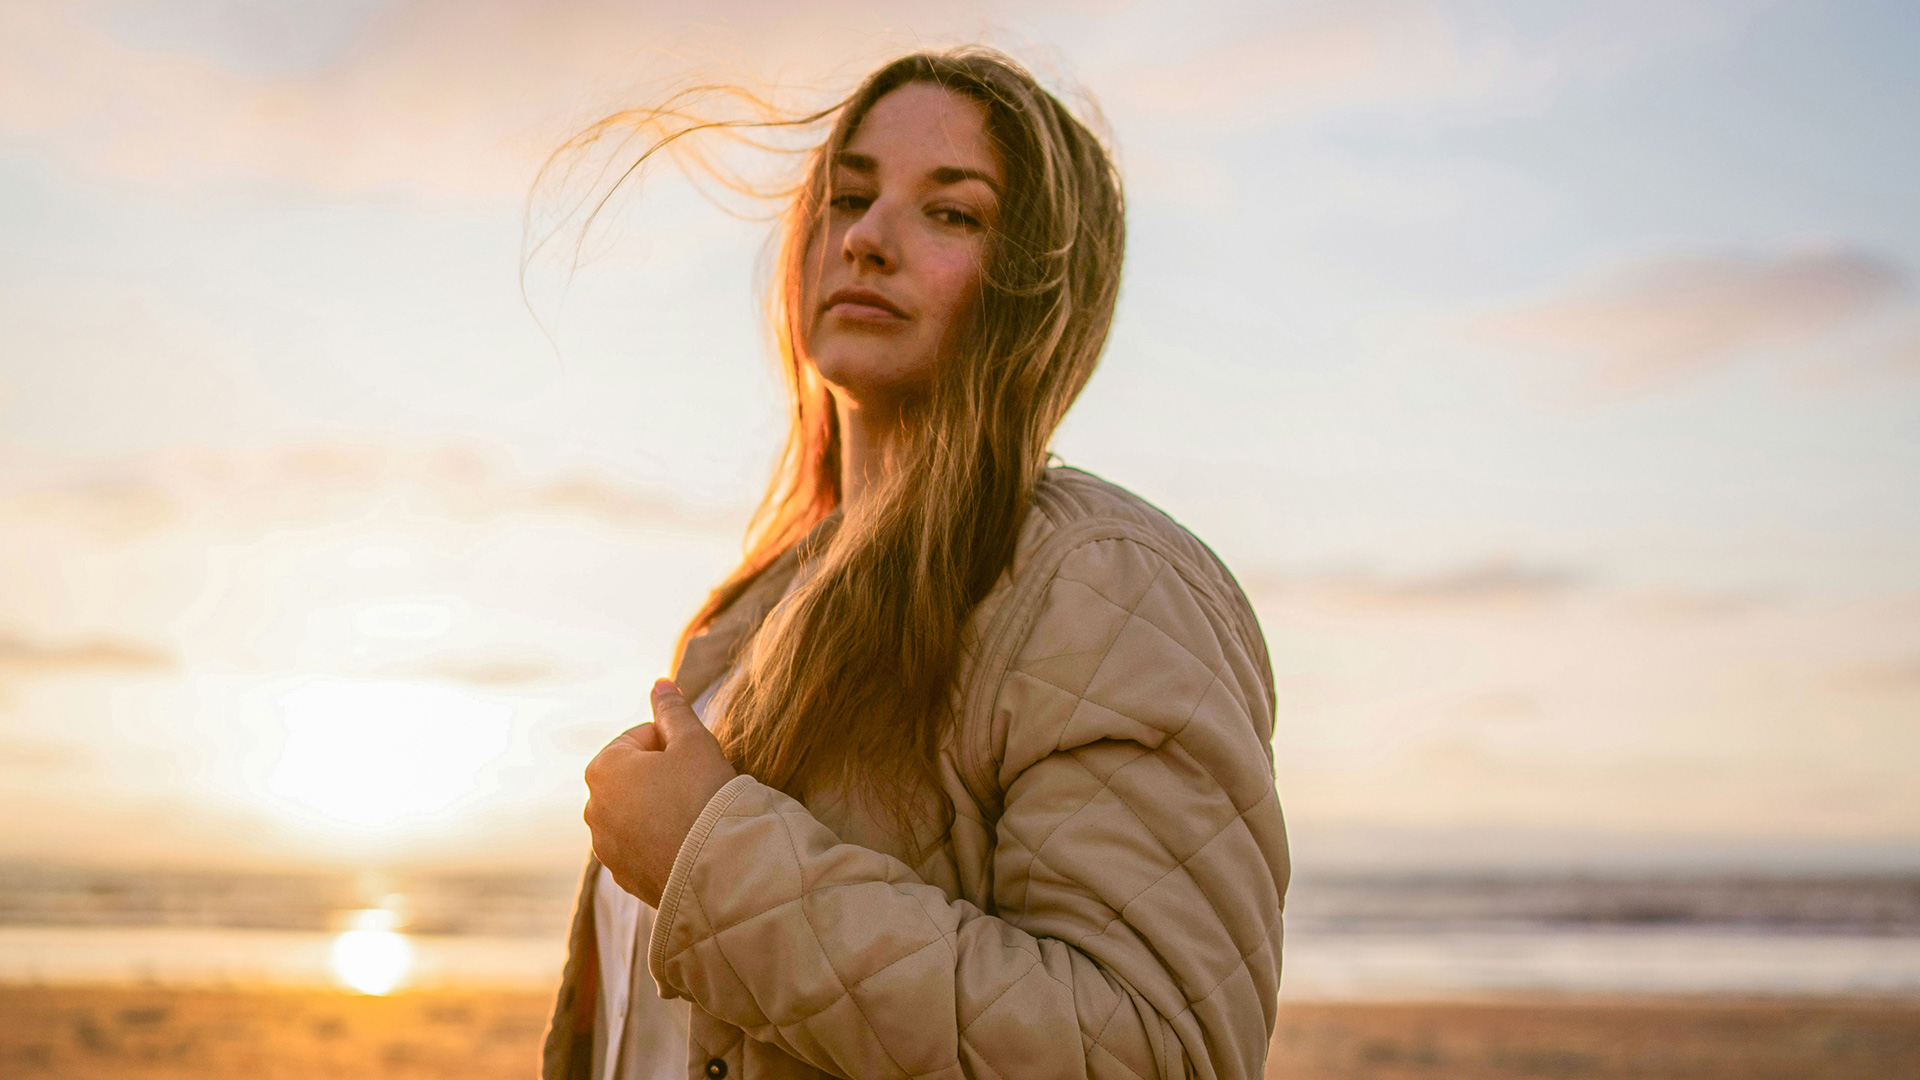

Correct exposure properly and the photograph stops looking flat. The most common exposure problem is not a photograph that is too dark. It is a photograph where the sky is right and the person is not — two different exposures needed in one frame, which no single slider can solve.
Day 22 fixes exactly that inside the Camera Raw filter: Auto for the overall balance, an AI mask that finds the person for the local work, Point Color for their skin tone, and removal and horizon straightening thrown in without leaving the panel.
This is Day 22 of 30 Days of Photoshop, 2025 Edition — our most-watched series, rebuilt from the ground up for today’s tools.
Free practice files
Practice Files for This Tutorial
The sample image and the layered PSD from the video, so you can follow every step on the same files.
This tutorial includes 1 sample image and 1 sample PSD.
Create a free PHLEARN account to download, or log in if you already have one. One account gets you the files for every free tutorial.
Watch the Full Series
30 Days of Photoshop · 2025 EditionOur most-watched series, updated for 2025 — watch all 30 free
description
Continue Watching 30 Days of Photoshop
JOIN 30 DAYS OF PHOTOSHOP (FOR FREE!)
Image Source
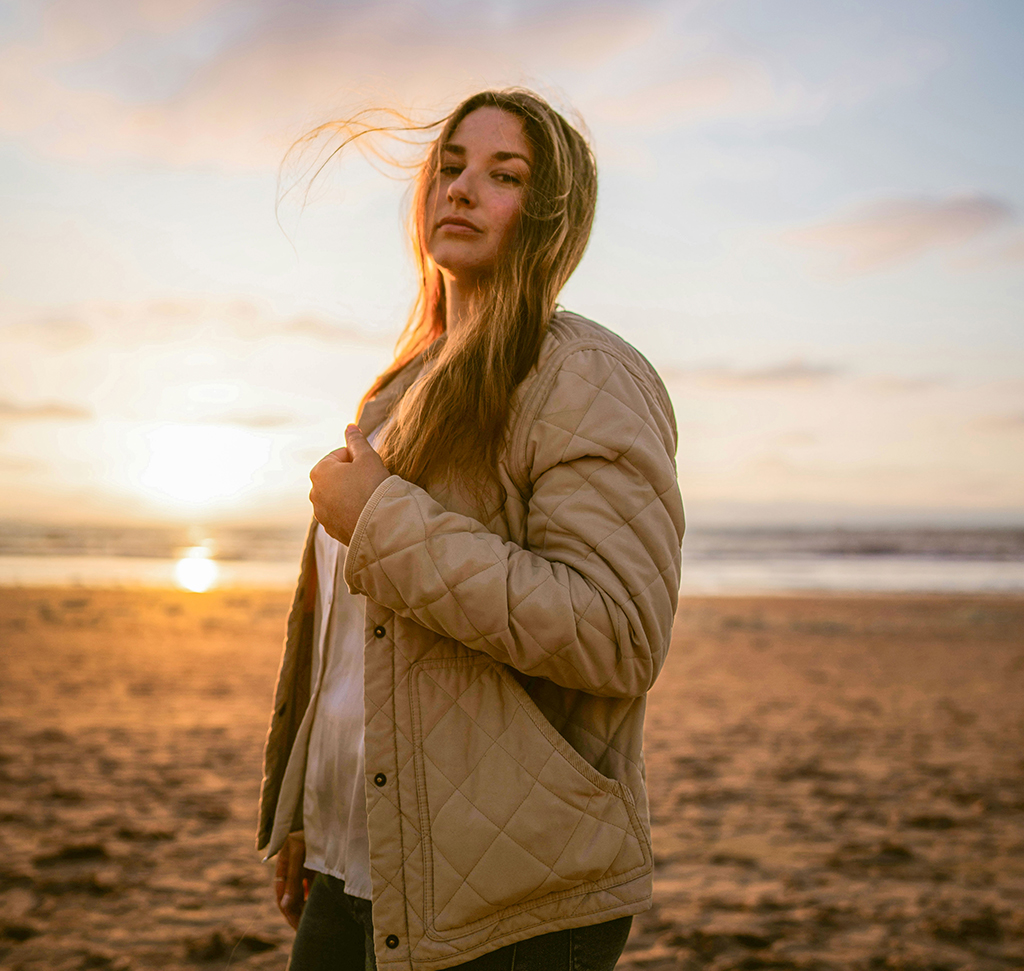
Correct Exposure, Don’t Just Brighten
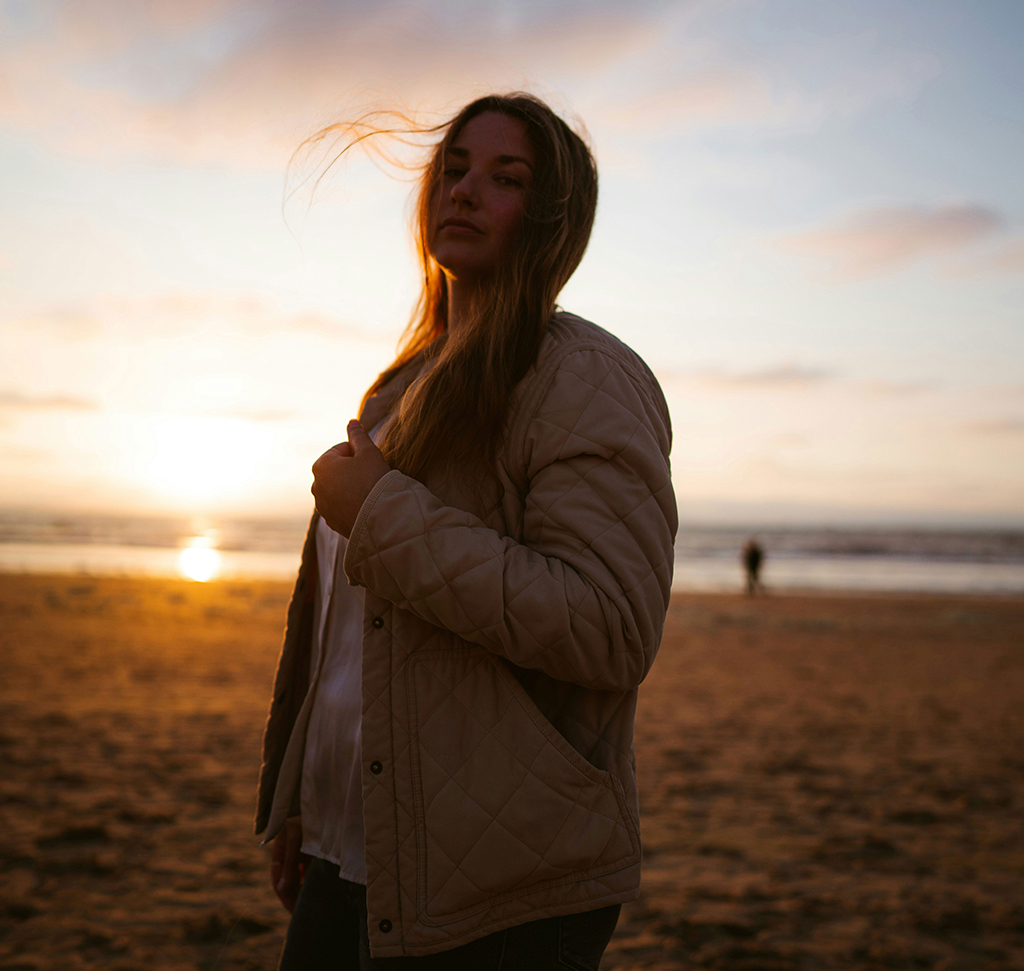
Most photos that look “off” are not badly composed or badly lit. They are just unevenly exposed — a face a stop too dark against a sky a stop too bright, or a subject that disappears into a background because both landed in the same tonal range. Fixing that used to mean building a stack of adjustment layers and hand-painting masks into them.
The Camera Raw filter changes the maths on that. It gives you the entire Lightroom-style exposure toolkit inside Photoshop, including AI masking that finds a person and separates their face, hair, clothes and skin for you, and it does all of it inside one editable layer. This lesson walks the whole sequence on a single portrait: convert, auto, mask, correct, clean up, straighten, and fine-tune one specific color.
Convert First, Then Filter
Before you open the filter, right-click the layer and choose Convert to Smart Object. It takes one second and it is the difference between an edit you can revisit and an edit you are stuck with.
With the Smart Object selected, go to Filter > Camera Raw Filter. Camera Raw opens in its own full-screen workspace: the image in the middle, the tool strip down the right edge, and the panels — Basic, Curve, Detail, Color Mixer, Color Grading, Optics, Geometry — stacked underneath. Nothing you do in here is committed until you hit OK, and even then it stays editable because the layer is smart.
If Smart Objects are still new to you, Day 16 covers what they actually do and why they underpin almost every non-destructive workflow.
Start With Auto, Then Argue With It
The Auto button at the top of the Basic panel is a genuinely good starting point now. It reads the histogram and sets exposure, contrast, highlights, shadows, whites and blacks in one move. Treat its result as a first draft rather than an answer.
-
Click Auto and Look at What It Changed
Watch which sliders moved and by how much. Auto usually opens the shadows and pulls the highlights back, which is the right instinct on most photos but often goes a little further than you want on a face.
-
Set Overall Brightness With Exposure
Exposure moves everything at once and is the slider to settle first. Get the image to roughly the right brightness before you touch anything else, because every slider below it behaves differently depending on where exposure sits.
-
Recover the Ends With Highlights and Shadows
Highlights pulls back the brightest areas and Shadows lifts the darkest. These two are for recovering detail, not for creating contrast — push them too far in opposite directions and the image goes flat and grey.
-
Set the True Black and White Points
Whites and Blacks define the actual ends of the tonal range. Hold Alt/Option while dragging either one and the preview turns into a clipping view, so you can see the exact moment detail starts to disappear.
-
Finish With Texture, Clarity and Vibrance
Texture works on fine detail, Clarity on midtone contrast, and Vibrance raises the muted colors without wrecking the saturated ones. Small numbers here go a long way, especially on skin.

People Masks Find Your Subject and Its Parts
Click the Masking icon in the tool strip and Camera Raw offers Subject, Sky, Background, Objects, Brush, Linear Gradient, Radial Gradient and, when there is a person in frame, People. The People option is the one that saves the most time, because it does not just cut the person out — it breaks them into parts.
The Whole Person
Choose People and Camera Raw shows you a thumbnail of every person it detected. Click one and you can mask that entire person in a single click, which is enough when the whole subject needs to come up or down together.
The Individual Parts
Under that thumbnail sit separate checkboxes for Face Skin, Body Skin, Eyebrows, Eye Sclera, Iris and Pupil, Lips, Teeth, Hair, Facial Hair and Clothing. Tick only what you need. Selecting Face Skin and Body Skin together gives you every bit of visible skin and nothing else — no eyes, no lips, no hair — which is the mask you want for almost any skin-tone correction. These features need an internet connection the first time they run, since the detection happens in the cloud.
Press Y to toggle the red mask overlay on and off so you can confirm the selection landed where you think it did before you start moving sliders.

Adjust Exposure and Color Inside the Mask
With a mask active, the whole Basic panel comes back — but now every slider affects only the masked area. This is where the real correction happens.
On an underexposed subject, raise Exposure inside the person mask until they read correctly against the background, then use Shadows to open up whatever the light did not reach. Because the background is excluded, you can push much further than you could globally before anything looks wrong.
The same logic applies to color. Inside a Face Skin and Body Skin mask, small moves on Temperature, Tint and Saturation correct a color cast on the subject without shifting the background at all. And you can build as many masks as you need — one for the person, one for the background, one radial gradient over a face — each with its own complete set of adjustments.
Remove a Distraction Without Leaving Camera Raw
You do not have to close the filter to clean something up. The Remove tool sits in the same tool strip, with Heal, Clone and a generative Remove mode.
Brush over the distraction — adjust the brush size with the bracket keys as you go — and let go. Camera Raw generates a replacement and offers several variations you can cycle through with the arrows, so if the first result is not convincing you can take the second or third instead of undoing and trying again. Each removal is stored as its own item in the list, so any one of them can be deleted later without disturbing the others.
For heavier cleanup work, Day 11 goes through removing distractions in Photoshop proper.
Straighten the Horizon With Geometry
Open the Geometry panel and you get lens-correction style controls: Auto, Level, Vertical, Full and a Guided mode where you draw the lines yourself. On a photo with a visible horizon, Level or Auto usually gets it in one click.
Straightening rotates the image, which means it crops in slightly at the edges. Tick Constrain Crop and Camera Raw trims to the largest clean rectangle automatically instead of leaving you with transparent corners.
Point Color Fixes One Color Only
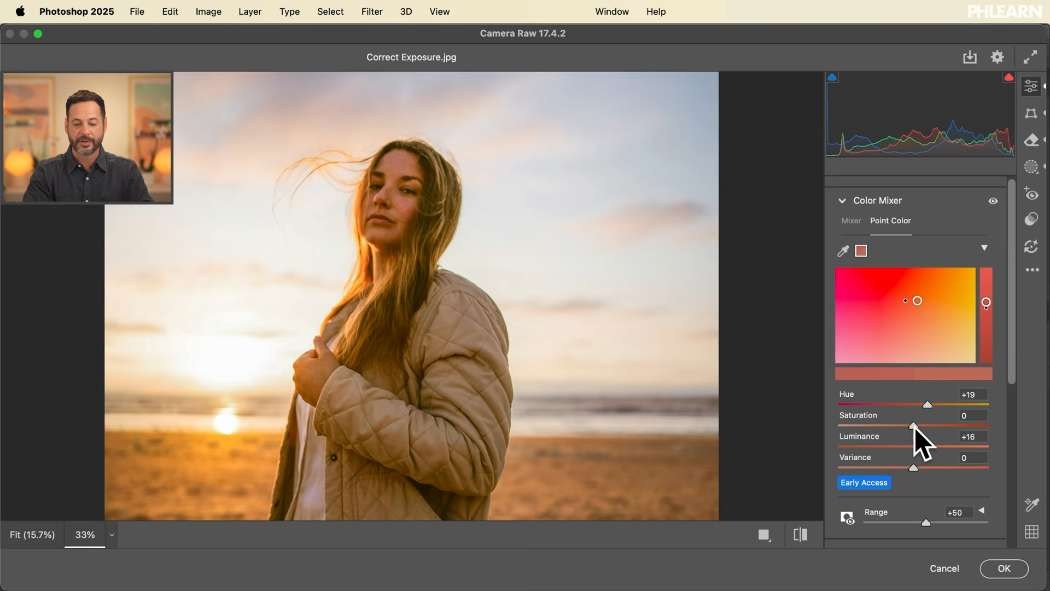
The Color Mixer panel has a Point Color mode that is the most precise color tool in Camera Raw. Click the eyedropper, click a color in the image, and Camera Raw builds a selection around exactly that color — then gives you three sliders that affect nothing else.
Hue
Shifts the sampled color around the color wheel. This is how you correct a skin tone that has gone too orange or too magenta, without touching the rest of the frame.
Saturation
Raises or drops the intensity of that one color. Dropping it to the minimum removes the color entirely, which is a fast way to check that your sampled range is actually covering what you think it is.
Luminance
Brightens or darkens only the pixels carrying that color. Useful when a shirt or a wall is the right hue but the wrong brightness relative to everything around it.
There is also a Range control that widens or narrows how much of the surrounding color gets included. Start narrow, then open it up until the correction covers the whole area cleanly without bleeding into its neighbors. We have a dedicated tutorial on the Point Color tool if you want to spend more time with it.
Everything Reopens
Click OK and you are back in Photoshop with the filter listed under the Smart Object in the Layers panel. Double-click Camera Raw Filter there and the entire session reopens exactly as you left it — every slider, every mask, every removal still live and still editable.
That is the reason for the Smart Object conversion at the start. A week later you can go back and decide the subject was half a stop too bright, change one number, and everything downstream updates. There is a white filter mask next to it as well, so you can even paint the whole Camera Raw result back out of parts of the image with a black brush.
Run the Whole Sequence
Download the sample files and go through the order once end to end: convert to a Smart Object, open the Camera Raw filter, click Auto and refine the Basic sliders, add a People mask and correct the subject, remove one distraction, straighten with Geometry, then use Point Color on a single color that is bothering you. Click OK, then double-click the filter to prove to yourself that it all reopens.
Yesterday, Day 21 covered color grading, which is where you go once exposure is correct. Tomorrow, Day 23 continues the series. If you want the full professional workflow around raw processing and tonal control, our PRO course Master Adobe Camera Raw goes considerably deeper than a single day can.
Quick Reference: Keys, Menus and Settings
- Set it upFilter > Convert for Smart Filters, then Filter > Camera Raw Filter
- First draftAuto in the Edit panel, then refine Exposure, Shadows and Vibrance
- Check clippingHold Alt/Option while dragging Whites or Blacks
- Mask the personMasking > People, select the person or parts, Create; Y toggles the overlay
- Remove a distractionRemove tool, [ and ] for brush size, paint over it
- StraightenGeometry > Auto or Level, with Constrain Crop ticked
- Fix one colorColor Mixer > Point Color, eyedropper on the color, then Hue, Saturation, Luminance
Image source
Free Downloads
Follow Along on the Same Photo
Get the underexposed portrait and a layered PSD with the Camera Raw edit, people mask and point color fix still editable. Free with a PHLEARN account.
Correcting Exposure in Camera Raw: Common Questions
Why not just brighten the whole photo?
Most problem photos are unevenly exposed: the sky looks fine but the subject is too dark. Brightening everything fixes one part and spoils the other, so you correct the whole image first, then the subject on its own.
Do I need a smart object before using the Camera Raw Filter?
Yes. Choose Filter > Convert for Smart Filters, then Filter > Camera Raw Filter. Afterwards you can double-click Camera Raw Filter in the Layers panel and every slider, mask and removal reopens, still editable.
Is the Auto button in Camera Raw any good?
It is a strong first draft. On the sample it brought the highlights down, lifted the shadows and added a little vibrance. Then adjust Exposure, Shadows or Vibrance yourself until it looks right.
How do I set the black and white points without losing detail?
Hold Alt/Option while you drag the Whites or Blacks slider. The preview turns into a clipping view, so you can see exactly where detail starts to disappear.
How do I brighten only the person in the photo?
Open Masking, choose People, select the person and click Create. With that mask active, Exposure, Shadows, Temperature and the other sliders affect only the person, not the background.
Can Camera Raw select just the skin?
Yes. Under the person’s thumbnail, tick Face Skin and Body Skin, or other parts such as Eyebrows, Lips, Hair and Clothing. People detection needs an internet connection.
How do I fix skin that looks too orange or magenta?
Go to Color Mixer > Point Color, click the eyedropper on the face, then nudge Hue, Saturation and Luminance. Only that sampled color changes. Inside a person mask, Temperature and Tint also work.
Can I remove a distraction without leaving Camera Raw?
Yes. Pick the Remove tool, paint over the distraction and let go. If the fill is not convincing, cycle through the other variations instead of undoing.
How do I straighten a crooked horizon in Camera Raw?
Open the Geometry panel and click Auto or Level. Tick Constrain Crop so Camera Raw trims the edges instead of leaving empty corners.
Are the sample files free?
Yes, with a free PHLEARN account. You get 1 sample image and 1 sample PSD: the underexposed portrait and the layered file with the Camera Raw edit, people mask and point color fix left editable.
Master Photoshop, Lightroom and Photography
Join PHLEARN PRO for $12.99 a month or $99.99 a year. Cancel anytime, with a 100% money-back guarantee.





