
Download Assets
Download Assets
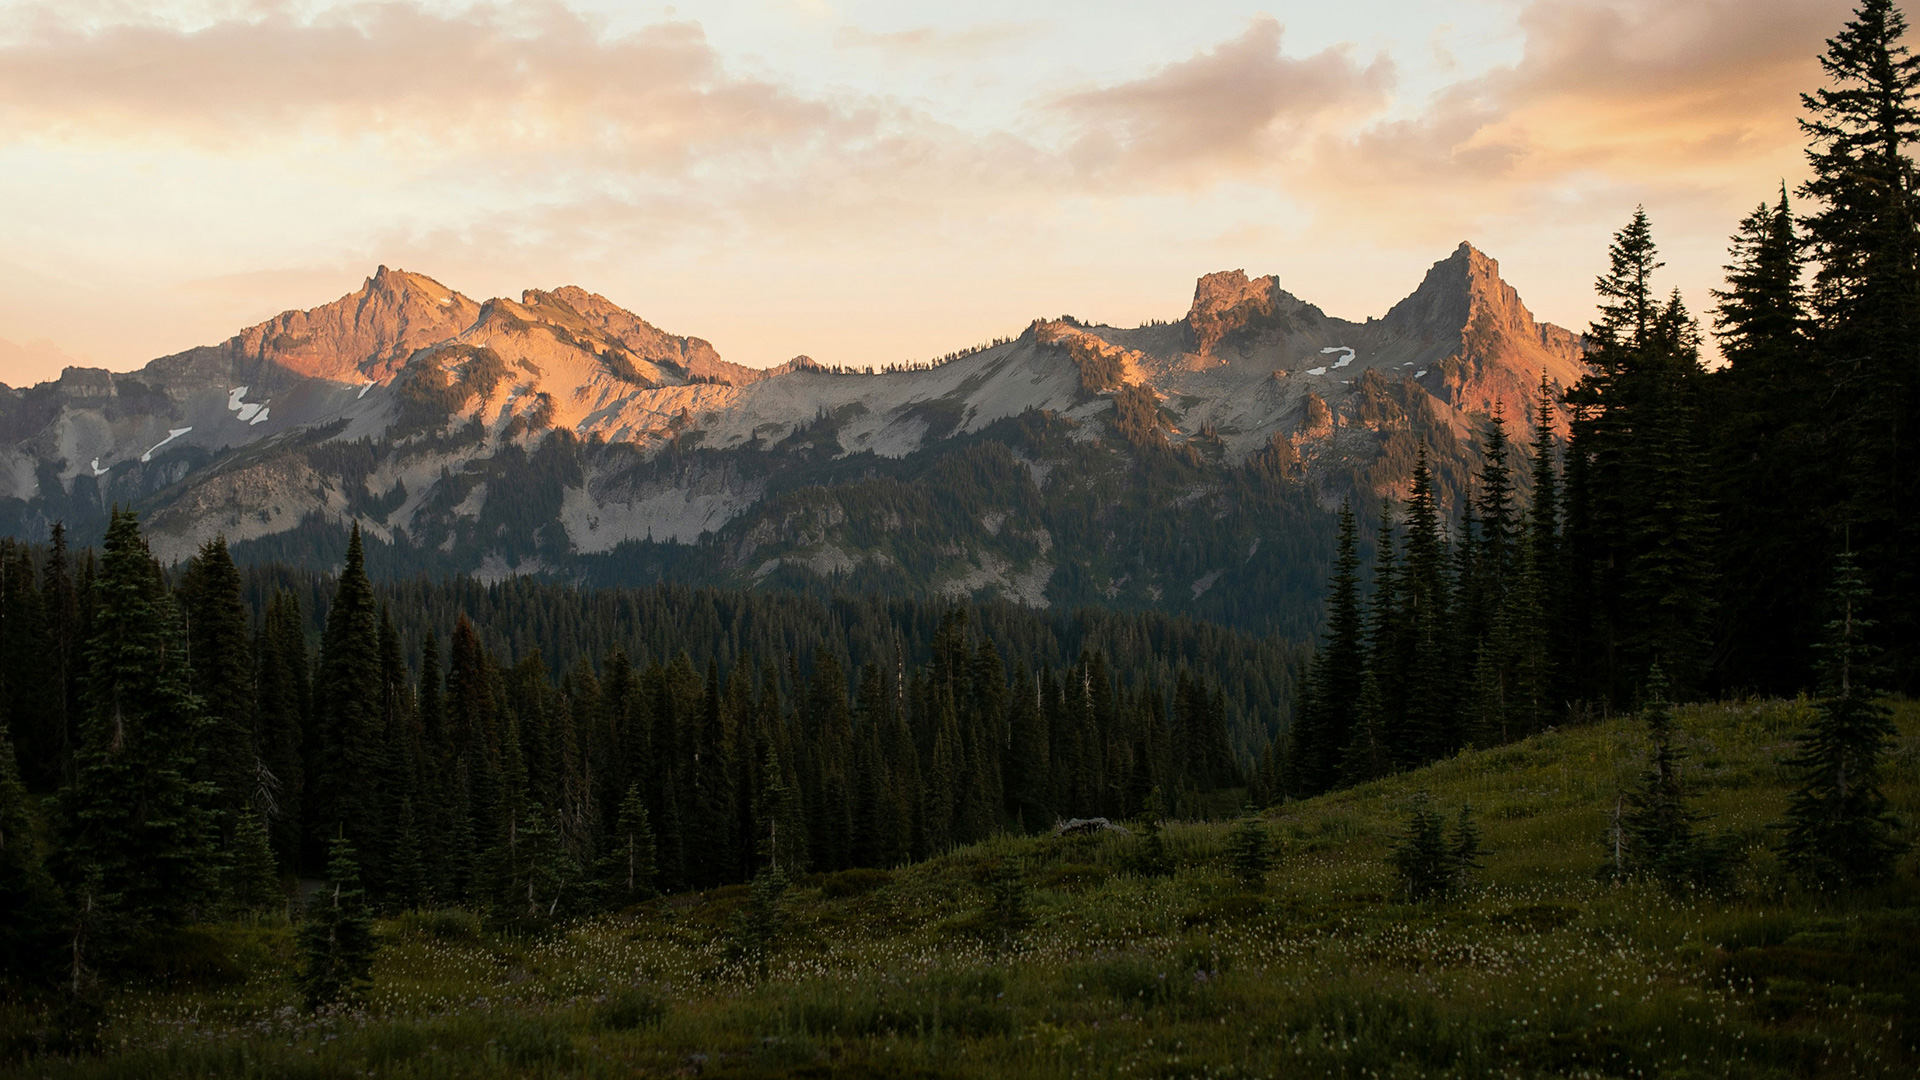
This tutorial includes 2 sample images and 1 sample PSD. Downloads are free with a PHLEARN account.
- Download the sample images and PSDs from every free tutorial on PHLEARN
- New free tutorials published every week
- One free account — sign up once, then download anything
Watch the Full Series
30 Days of Photoshop · 2025 EditionOur most-watched series, updated for 2025 — watch all 30 free
description
Sky replacement is a matching problem, not a selection problem. Select Sky solved the hard part years ago — Photoshop will cut a sky out cleanly in one click — and yet most sky replacements still look obviously fake.
They fail on light and colour, not selection. A realistic sky replacement is a matching problem: read the direction of the light already in the photograph and its colour temperature, choose a sky that agrees with both, then blend with clipped Color Balance and Levels — and grade the land to match, because the sky lights the scene too.
This is Day 27 of 30 Days of Photoshop, 2025 Edition — our most-watched series, rebuilt from the ground up for today’s tools.
Continue Watching 30 Days of Photoshop
JOIN 30 DAYS OF PHOTOSHOP (FOR FREE!)
Ready to jump in? Sign up and we’ll email you a printable calendar and daily class schedule so you can get started right away!
Image Source
Realistic Sky Replacement Is a Matching Problem, Not a Selection Problem
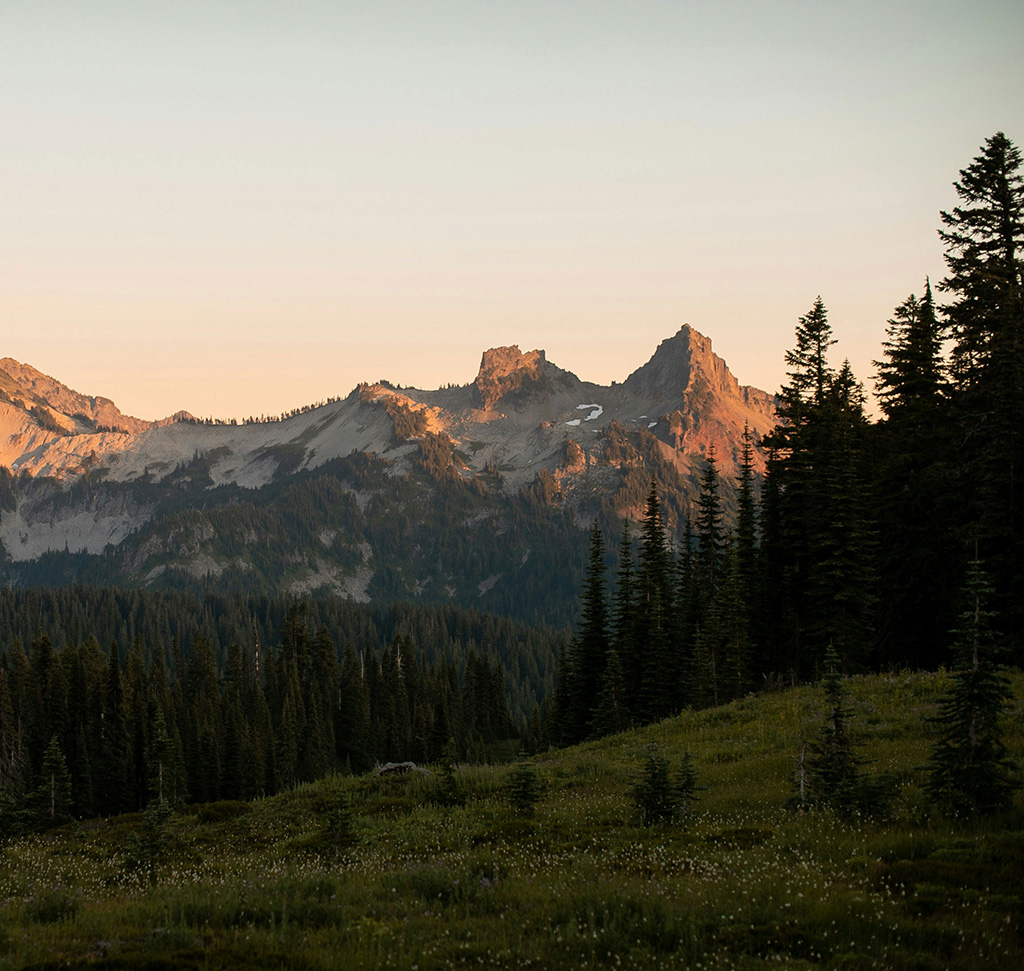
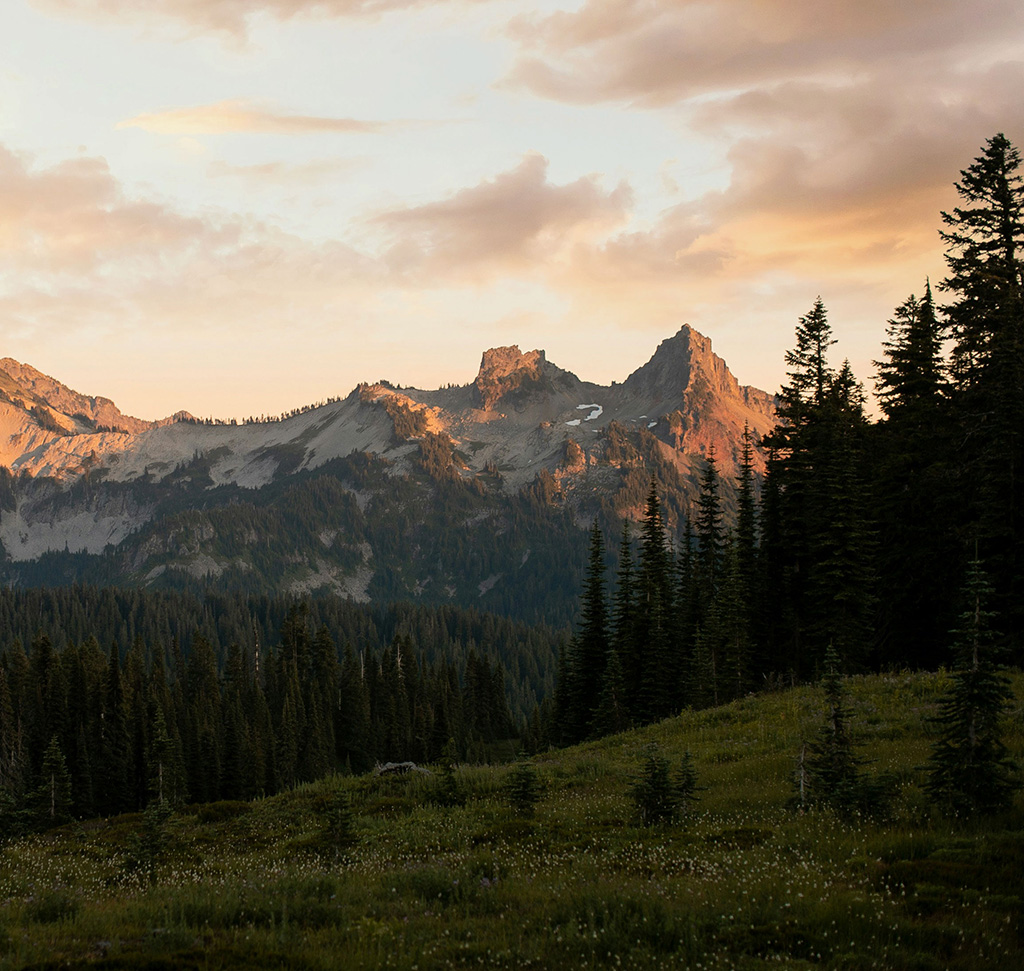
Sky replacement looks solved: Select Sky handled the hard part years ago. Photoshop will cut a sky out cleanly in one click, which means the selection is no longer where sky replacements fail — and yet most of them still look obviously fake.
They fail on light and colour. A realistic sky replacement is a matching job: the new sky has to agree with the direction of the light already in the photograph and with its colour temperature, and everything below the horizon has to be pulled towards the new sky’s cast. Get that right and nobody looks twice at the edge.
Choose the Sky Before You Cut Anything
Find the Light Direction First
Look at where the highlights sit on your subject and your landscape. If the light is coming from the right, a sky whose sun is on the left will read as wrong no matter how clean the mask is.
Then Match the Colour Temperature
Warm, low-sun photograph, warm sky. Cool overcast photograph, cool sky. This is the single decision that does the most work, and it happens before Photoshop is involved at all.
A Flip Is Allowed
If the sky is right in every way except which side the light is on, flip it horizontally. It’s the cheapest fix in the whole process and it rescues a lot of otherwise unusable skies.
Put the New Sky In
-
Drag Your Sky Image Onto the Photograph
It arrives on its own layer above the background. Leave it there for now — you’ll position it once the mask exists.

-
Run Select Sky on the Background, Then Add a Layer Mask
With the selection live, click the layer mask icon on the new sky layer. The sky now sits exactly in the old sky’s shape, around every branch and rooftop, without you drawing anything.

-
Unlink the Mask So You Can Move the Sky
Click the chain icon between the layer thumbnail and its mask. Now Cmd/Ctrl + T repositions and scales the sky while the mask stays welded to the horizon. Right-click to flip horizontally if the light needs to come from the other side.
-
Fade the Bottom Edge With a Gradient on the Mask
Real skies get hazier and lighter towards the horizon. A soft black-to-white gradient painted on the lower part of the mask stops the new sky from meeting the land as a hard line.
Match the Color and the Light
-
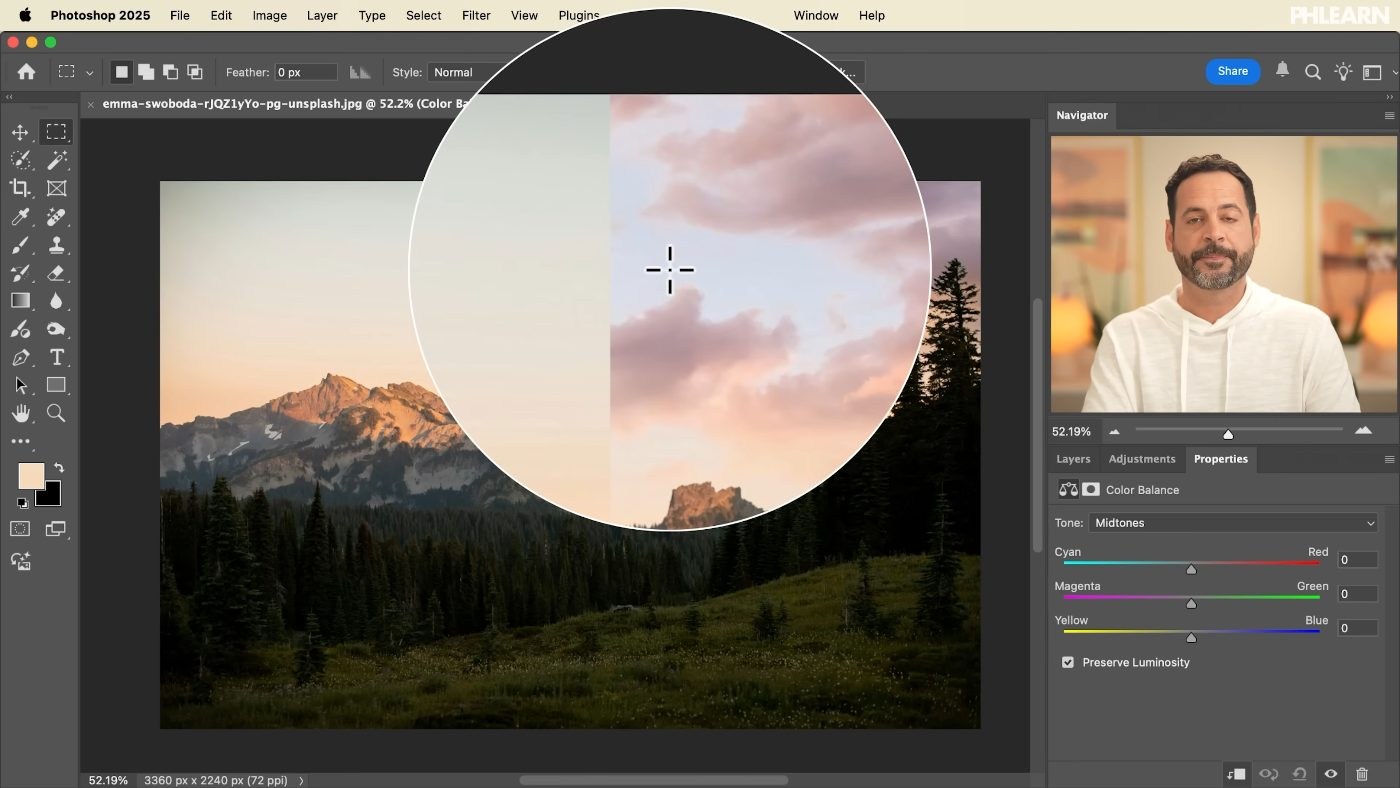
Add a Color Balance Layer Clipped to the Sky
Hold Alt/Option and click between the two layers to clip it, so the adjustment affects only the sky. Push the yellows, reds and blues until the new sky sits inside the photograph’s palette rather than next to it.

-
Add a Clipped Levels Layer for Brightness and Contrast
A sky that’s brighter or punchier than the scene below it will always look pasted on. Bring its tonal range down to meet the landscape.
-
Remember the Sky Lights the Scene Too
This is the step people skip. The sky’s colour dictates the cast on everything under it — if you drop in a warm sunset, the land needs to warm up as well, or the photograph will quietly announce that the top half came from somewhere else.
Where Sky Swaps Give Themselves Away
A realistic sky replacement fails in a small number of predictable ways, and all five are visible before anyone looks at the mask.
The Light Comes From Two Directions
Shadows in the landscape point one way, the sun in the new sky sits the other. Flip the sky or choose a different one — no adjustment layer fixes this.
The Sky Is Too Bright
Stock skies are usually more dramatic than the scene you’re putting them into. Clipped Levels, brought down.
The Horizon Is a Hard Line
No atmospheric haze. Gradient on the mask, fading the sky out as it approaches the ground.
Only the Sky Changed
The colour cast stops dead at the horizon. Grade the lower half towards the new sky as well.
The New Sky Is Doing Too Much
A quiet photograph with a spectacular sky reads as a composite. Restraint is usually more convincing than drama.
Why the Automatic Version Isn’t Enough
Photoshop has a one-click Sky Replacement command, and it does a reasonable job of the mask and a rough job of everything else. It’s a fine starting point and a poor finishing point, because the part it can’t judge is the part that matters — whether this particular sky belongs above this particular photograph.
That judgement is the actual skill here, and it’s why a realistic sky replacement starts in the folder of sky images rather than in the Layers panel. Matching a subject to a background is the same problem in a different arrangement: two images, one light source, and the job of convincing the viewer there was only ever one photograph.
Swap One Sky Properly Today
Pick a photograph with a flat sky and work out where its light is coming from before you go looking for a replacement. Drag the new sky in, Select Sky on the background, layer mask, unlink the mask, flip if you need to, then gradient the bottom edge. Finish with clipped Color Balance and Levels, and then grade the land to match. Download the free sample images if you’d rather practise on ours. For the full landscape workflow, our PRO course Advanced Landscape Editing in Photoshop & Adobe Camera Raw takes it further.
Quick Reference: Keys, Menus and Settings
- Mask the skySelect > Sky on the background, then the layer mask icon on the new sky layer
- Move it freelyClick the chain icon to unlink the mask
- Flip and scaleCmd/Ctrl + T, right-click > Flip Horizontal
- Fade the horizonCmd/Ctrl + G, mask the group, G for a black to white linear gradient
- CompareHalf-black group mask for a split view; Shift-click a mask to disable it
- Match colorColor Balance, Alt/Option-click to clip; Midtones, Highlights, Shadows
- Match lightLevels clipped to the sky: gray point and white point

Free Downloads
Follow Along on the Same Photos
Get the original mountain photo, the replacement sky, and a layered PSD with the masks and color matching built. Free with a PHLEARN account.
Sky Replacement in Photoshop: Common Questions
How do I choose a sky that will look realistic?
Match the light in the original photo. Check which side the highlights and shadows fall on and how warm the light is, then pick a sky with similar color and direction. Avoid a bright blue midday sky on a warm sunset photo.
What if the light in the new sky comes from the wrong side?
Flip it. Press Cmd/Ctrl + T, right-click and choose Flip Horizontal. You can also scale the sky as big or small as you like.
How do I mask the new sky into the photo?
Hide the sky layer, click the background and choose Select > Sky. Then click the sky layer and click the layer mask icon, and the new sky fills only the old sky’s shape.
How do I move the sky without moving the mask?
Click the chain icon between the sky and its layer mask to unlink them. Now the sky moves on its own while the mask stays on the horizon.
How do I get rid of the hard line at the horizon?
Group the sky with Cmd/Ctrl + G and add a mask to the group. Press G for the Gradient tool, choose a black to white linear gradient and drag upward from the horizon so the new sky fades out.
How can I compare the new sky with the original?
Group again, add a mask and fill half of it with black using the Rectangular Marquee. You see the old and new skies side by side while you match them. Shift-click that mask to switch it off.
Why does my new sky look too blue, and how do I fix it?
Add a Color Balance layer and Alt/Option-click between it and the sky to clip it, so only the sky changes. Move the sliders for Midtones, Highlights and Shadows until the sky gets close to the original colors.
How do I match the brightness of the new sky?
Add a Levels layer clipped to the sky. In the video, the gray point is moved to brighten and the white point to darken the highlights. Placing Levels under the Color Balance layer often looks better.
Why not use Photoshop’s one-click Sky Replacement?
It does a reasonable job of the mask but a rough job of the light and color. It can’t judge whether a sky belongs above your photo, which is the part that makes it look real.
Are the sample files free?
Yes, with a free PHLEARN account. You get 2 sample images and 1 sample PSD: the original photo, the replacement sky, and the layered file with the masks and color matching built.
Master Photoshop, Lightroom and Photography
Join PHLEARN PRO for $12.99 a month or $99.99 a year. Cancel anytime, with a 100% money-back guarantee.





