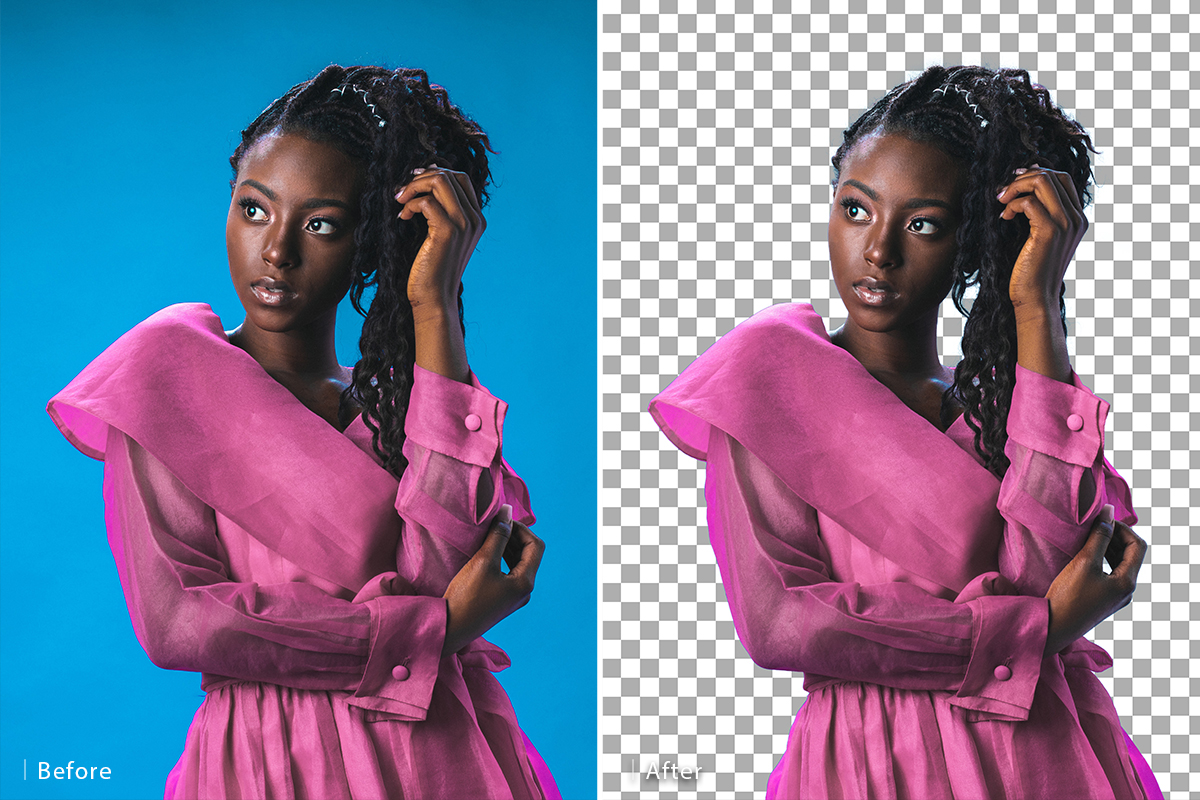

Download Assets
This tutorial includes select and mask sample assets. Downloads are free with a PHLEARN account.
- Download the sample images and PSDs from every free tutorial on PHLEARN
- New free tutorials published every week
- One free account — sign up once, then download anything
description
A simple, uncomplicated background is the single biggest factor in how well Photoshop’s Select and Mask workspace can cut a subject out. On a clean backdrop the whole thing — selection, hair refinement, and a new background dropped in behind — takes a couple of minutes and produces a genuinely convincing edge, especially around hair. Covers the Quick Selection start, outputting to a layer mask, refining the hair edge, and finishing with a spotlight effect.
Enjoying This Free Tutorial?
We publish a new free tutorial every week, each one with sample images and PSDs you can download and follow along with. Sign up and they land straight in your inbox, along with early word on sales, events and subscriber-only offers.
How to Cut Out a Person Fast with Select and Mask
A simple, uncomplicated background is the single biggest factor in how well Photoshop’s Select and Mask workspace can cut out a subject. On a clean backdrop, the whole process — selection, hair refinement, and a new background dropped in behind — takes just a couple of minutes and produces a genuinely convincing edge, especially around hair.
Getting Started: Why a Simple Background Matters
Select and Mask can work with a busier background, but it works dramatically better and faster with a simple one.
-
Shoot or Choose a Photo with a Clean Background
A solid, uncomplicated background — a plain colored backdrop, for instance — gives Select and Mask the strongest possible starting point for an accurate, fast selection.
Making the Initial Selection with Quick Selection
Select and Mask’s Quick Selection tool is the fastest way to rough in a selection of a simple background before refining the trickier details.
-
Open Select and Mask
With your background layer selected, go to Select > Select and Mask.
-
Paint Over the Background with Quick Selection
Using the Quick Selection tool in the top-left of the dialog, paint over the background. It automatically extends the selection to similar areas as you paint, quickly picking up the whole backdrop.
Outputting the Selection as a Layer Mask
Rather than applying the selection directly, sending it out as a layer mask keeps every part of the process editable afterward.
-
Set Output To Layer Mask
At the bottom of the Select and Mask dialog, change the Output setting to Layer Mask and click OK.
-
Invert the Mask If Needed
If the mask comes out showing the background instead of the subject, click the mask and press Ctrl + I on PC (Cmd + I on Mac) to invert it, so your subject is the visible part.
Why Hair Refinement Happens Separately
Rather than trying to nail hair detail during the first Quick Selection pass, doing a rough pass first and refining hair in a second, dedicated visit to Select and Mask tends to produce noticeably better results — trying to do everything in one pass often means neither the body outline nor the hair gets the attention it needs.
Building a New Solid Color Background
With the subject masked out, a new background can go in immediately beneath it, even before the hair edge is fully refined.
-
Add a Solid Color Fill Layer Beneath Your Subject
Create a Solid Color fill layer and drag it beneath your masked subject layer, choosing whatever color works for the composition — this can always be changed later by double-clicking the layer.
A Background Color You Can Always Revisit
Because the new background lives on its own Solid Color fill layer rather than being painted directly, double-clicking that layer at any point — even after everything else is finished — lets you try a completely different color without redoing any of the selection or refinement work.
Refining the Hair Edge with Refine Edge
Traces of the original background color often linger in fine hair detail even after a clean-looking initial selection, and Select and Mask’s Refine Edge brush is built specifically to fix that.
-
Reopen Select and Mask on the Layer Mask
Click back on your subject’s layer mask and go to Select > Select and Mask again.
-
Paint Over Hair with the Refine Edge Tool
Select the Refine Edge tool and paint directly over the hair. It automatically detects and removes leftover background color from fine, wispy edges like hair strands, producing a far more natural result than the initial Quick Selection alone.
Finishing the Composite with a Spotlight Effect
A final lighting touch behind the subject helps the new background feel intentional rather than just a flat color swap.
-
Add a Brightening Curves Layer
Create a Curves adjustment layer above the background, brighten it, and invert its mask so the brightness is hidden until you paint or gradient it in.
-
Use a Radial Gradient for a Spotlight
Select the Gradient Tool, choose the Radial Gradient option, and drag out from a point directly behind your subject on the Curves layer’s mask. This creates a soft, glowing spotlight effect that can be resized with Free Transform afterward.
Resizing the Spotlight to Fit Your Composition
The radial gradient’s size and position aren’t locked in once it’s drawn — using Free Transform on the Curves layer’s mask afterward lets you enlarge, shrink, or reposition the glow until it sits naturally behind your subject rather than looking obviously centered or too small.
Common Mistakes to Avoid With This Technique
The most common mistake is trying to perfect hair detail during the initial Quick Selection pass instead of handling it separately with Refine Edge afterward — doing both at once tends to shortchange one or the other. The second is forgetting to check whether the mask needs inverting after the first Select and Mask pass, which can leave the wrong part of the image visible entirely. If leftover background color still shows in the hair after Refine Edge, going back through Select and Mask a second time with a more deliberate, careful pass over just the hair usually resolves it.
More Free Photoshop Tutorials
If you want to build on this selection and compositing technique, these free tutorials are a good next step:
- How to Select Subjects and Refine Edges in Photoshop
- How to Create and Use Layer Masks in Photoshop
- Use Advanced Selection Tools to Add Graphics to a Photo in Photoshop
Why This Technique Works
Splitting the cut-out process into two separate visits to Select and Mask — a fast Quick Selection pass for the overall shape, then a dedicated Refine Edge pass for hair — plays to what each tool actually does best rather than asking one tool to solve two very different problems at once. Outputting straight to a layer mask, rather than deleting the background outright, is what keeps the whole edit reversible: a mask can be repainted, re-refined, or swapped for a different background entirely without ever touching the original photo. The radial gradient spotlight at the end is a small touch, but it’s what separates a flat color swap from a composite that reads as deliberately lit, which matters as much to how convincing the result looks as the quality of the cut-out itself, the same principle behind any broader approach to changing or removing a background in Photoshop.
Final Thoughts
On a clean, simple background, this entire workflow — select, refine hair, swap the background, add a spotlight — genuinely takes just a couple of minutes, which makes it worth reaching for any time a subject was photographed against an uncomplicated backdrop. As backgrounds get busier, the same core steps still apply; they just take a bit more patience with the Quick Selection and Refine Edge passes to get the same clean result.
New Free Tutorials View All »











Enjoying This Free Tutorial? Go Further with PRO.
Unlock Full Sample Files, PSDs, and Hundreds of Masterclasses!

Download full project assets, original PSDs, and RAW images for every lesson
Unlimited access to our complete library of PRO Photoshop & Lightroom courses
Instant 4K Ultra HD streaming on all devices, anytime, anywhere
Full access to our entire library of Photoshop Actions, Presets, and LUTs
Flexible monthly and annual membership plans
Cancel anytime with zero hassle or commitments