

A 5-in-1 reflector is the cheapest real lighting control a photographer can buy, and it does five separate jobs from one collapsible disc. This free photography tutorial walks through all five surfaces: the translucent diffuser that softens harsh light by a stop or two, the silver side for a strong neutral bounce, gold for warmth, white when silver is too much, and black for subtracting light to deepen shadows.
We publish a new free tutorial every week, each one with sample images and PSDs you can download and follow along with. Sign up and they land straight in your inbox, along with early word on sales, events and subscriber-only offers.

How a 5-in-1 Reflector Can Improve Your Photography Today
A 5-in-1 reflector is one of the simplest and least expensive tools a photographer can own, and it earns that reputation by doing five distinct jobs with light using nothing more than fabric stretched over a collapsible frame. This walkthrough covers what each of its five surfaces actually does and when to reach for one over another.
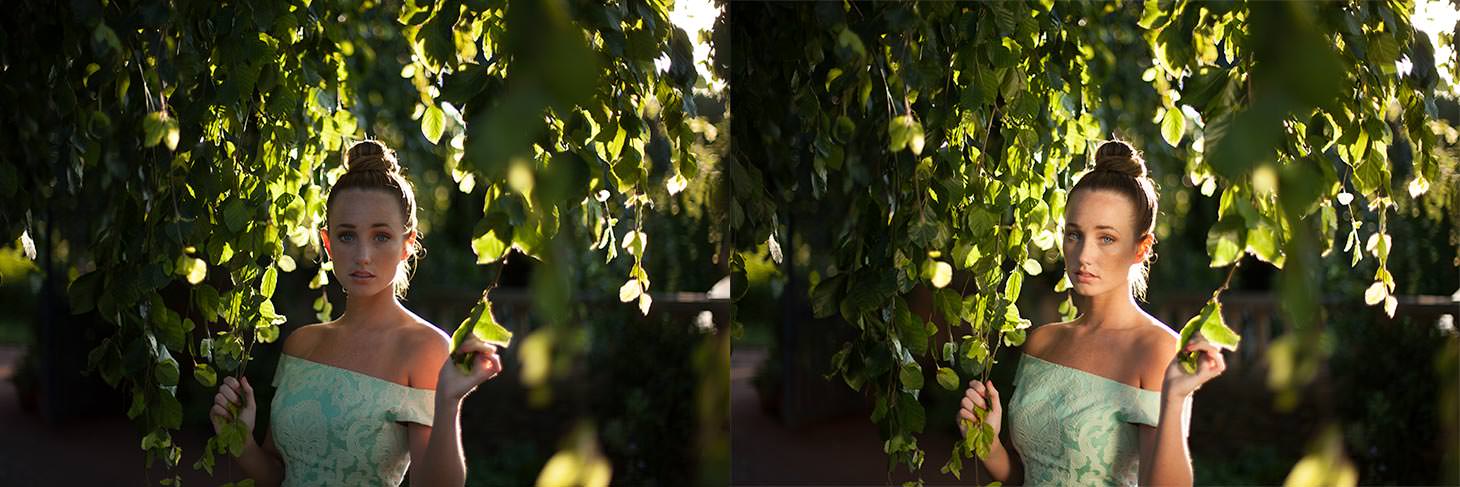
What a 5-in-1 Reflector Actually Is
The reflector gets its name from the five different lighting effects built into one collapsible unit: a removable outer zip-up cover with silver on one side and gold on the other, an inner core with white on one side and black on the other, and a translucent diffuser panel underneath everything.
Why a 5-in-1 Reflector Is a Good Starting Investment
Because a single unit folds down into one compact disc and covers five distinct lighting jobs, it gives a photographer without any strobes or continuous lights a real amount of creative control over a scene for a very small cost.
Using the Diffuser to Soften Harsh Light
Removing the zip-up cover entirely reveals the translucent panel underneath, which changes the character of harsh light rather than reflecting it.
-
Hold the Diffuser Between the Light Source and Your Subject
Remove the outer cover to expose the translucent diffuser panel, then hold it between the light source — whether a strobe or the sun — and your subject to soften harsh, direct light before it reaches them.
Why a Diffuser Panel Cuts Light Rather Than Blocking It
The translucent material reduces the amount of light passing through by roughly one to two stops, depending on the specific reflector, rather than eliminating it outright. That’s what turns a harsh, directional light source into something noticeably softer while still letting enough light through to properly expose the subject.
Using the Silver Side to Bounce Light Back
With the cover back on, the silver side is the most straightforward of the reflective surfaces.
-
Position the Silver Side to Bounce Light Onto Your Subject
Angle the silver side of the reflector to catch available light, such as sunlight, and bounce it back onto your subject to fill in shadows and add brightness.
Using the Gold Side for Warm Light
The gold side bounces roughly the same amount of light as the silver side, but changes its color temperature in the process.
-
Use Gold for a Warmer Bounce
Swap to the gold side of the reflector when you want the bounced light to carry a warm cast, such as when shooting around sunset and looking to enhance that naturally warm light.
Using the White Side for a Softer Bounce
Not every situation calls for the strength of the silver side, and that’s where the white inner surface comes in.
-
Switch to White When Silver Is Too Strong
Use the white side of the reflector, found on the inner core beneath the removable cover, when the silver side is reflecting more light onto your subject than you actually want.
Using the Black Side to Add Shadow
The black side works in the opposite direction of the other four surfaces, subtracting light rather than adding it.
-
Use Black to Deepen Shadows Near Your Subject
Position the black side of the reflector close to your subject to absorb some of the ambient light falling on them, deepening shadows and adding more contrast for a creative effect.
Why You’d Ever Want to Remove Light
Not every portrait benefits from more fill light — sometimes deeper, harder shadows are the more flattering or more dramatic choice. The black side gives you a way to shape light in that direction just as easily as the other four sides let you add brightness or warmth.
Getting Comfortable Through Practice With Multiple Reflectors
Because the results of each surface are visible in real time while shooting, a 5-in-1 reflector is one of the easiest lighting tools to learn through direct experimentation.
-
Practice With More Than One Reflector at Once
Use two 5-in-1 reflectors together while moving through different locations and lighting conditions, comparing the different looks each surface produces since you can see the effect on your subject immediately rather than waiting to review images later.
More Free Photoshop Tutorials
Once you’ve got the lighting captured on location, these free tutorials cover the editing side:
- How to Color Correct Photos in Adobe Camera Raw
- How to Color Grade in Photoshop Using Camera Raw
- Three Ways to Use Blend If in Photoshop
Why This Approach Works
A 5-in-1 reflector earns its place in a photography kit because it solves five different lighting problems with a single, inexpensive, collapsible tool: soften harsh light with the diffuser, add neutral or warm fill with the silver or gold side, tone down an overly strong bounce with white, or subtract light entirely with black to deepen shadow for a more dramatic look. Because every effect is visible immediately while shooting, it’s also one of the fastest tools to learn through direct trial and error rather than needing to understand lighting theory first. That combination of affordability, versatility, and instant visual feedback is exactly why so many photographers, from beginners to working professionals, keep at least one within reach on every shoot.
Final Thoughts
If you’re building a lighting kit and don’t yet own any strobes or continuous lights, a 5-in-1 reflector is a genuinely capable starting point rather than just a beginner’s compromise. Learning to read the light already available in a scene and choosing the right side of the reflector to shape it — soften it, bounce it, warm it, or take some of it away — is a skill that carries over directly to working with more advanced lighting equipment later on.
Related Tutorials
New Free Tutorials View All »












Enjoying This Free Tutorial? Go Further with PRO.
Unlock Full Sample Files, PSDs, and Hundreds of Masterclasses!

Download full project assets, original PSDs, and RAW images for every lesson
Unlimited access to our complete library of PRO Photoshop & Lightroom courses
Instant 4K Ultra HD streaming on all devices, anytime, anywhere
Full access to our entire library of Photoshop Actions, Presets, and LUTs
Flexible monthly and annual membership plans
Cancel anytime with zero hassle or commitments