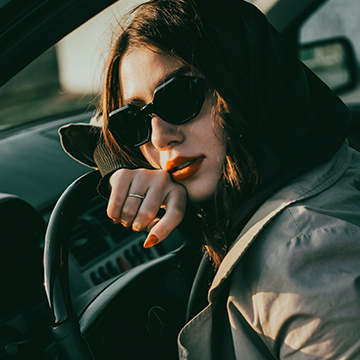
Color Grading & Correction
Good color grading is what separates a technically correct edit from a finished one. This free playlist covers color correction and grading across Photoshop and Camera Raw — from foundational tools to specific creative looks.
What You’ll Learn
Nine tutorials covering color grading tools and techniques across Photoshop and Adobe Camera Raw.
- Grade with Camera Raw’s newest tools How to Color Grade in Photoshop using Camera Raw and How to Use the Point Color Tool in Adobe Camera Raw cover the most precise color tools Adobe currently ships.
- Get targeted control over tone How to Use The Clarity & Dehaze Tool in Photoshop explains two of the most misused sliders in the program.
- Build a specific creative look How to Add a Film Border to Any Image in Photoshop, How to Add Textures to Any Photo in Photoshop, and How to Add Color Gradients to Any Object in Photoshop cover finishing touches that define a style.
- Work in black and white deliberately How to Create Black & White Images in Adobe Camera RAW goes beyond a simple desaturation.
- Build and reuse your own looks How to Create and Import LUTs in Photoshop and How to Use Color Grading Presets in Adobe Camera Raw turn a one-off grade into something repeatable across a whole shoot.
Who This Series Is For
Photographers who are comfortable with basic exposure and color correction and want to move toward an intentional, consistent grade rather than eyeballing each image individually.
It also suits anyone building a signature style for their work — several tutorials here focus on repeatable presets and LUTs specifically so a look can travel across an entire shoot, not just one photo.
How Long It Takes
Nine tutorials, 15-20 minutes each — about 2.5 hours total.
Frequently Asked Questions
Do I need a PHLEARN PRO membership for this playlist?
No — every tutorial here is free to watch.
Do I need Adobe Camera Raw specifically, or does this work in Lightroom too?
Camera Raw and Lightroom share the same color engine, so the techniques transfer directly; a few tutorials note minor interface differences.
What’s the difference between a LUT and a preset?
How to Create and Import LUTs in Photoshop covers this directly — in short, a LUT is a portable color transform that works across software, while a Lightroom/Camera Raw preset is specific to Adobe’s ecosystem.
Where to Go Next
ON THIS PAGE
PHLEARN PRO
Want full-length courses on color grading and retouching together? PRO membership unlocks the complete PHLEARN library, with sample files.
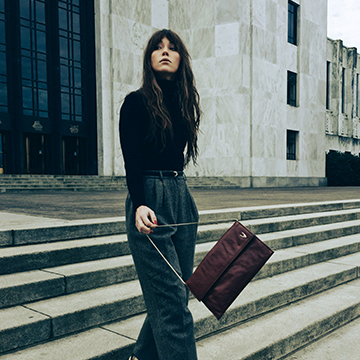

Create the perfect film look! Learn how to use masks and textures to make your photos look like real film. We’re even giving away a free drag-and-drop PSD with three realistic border styles so you can get amazing results fast!
Photoshop | Visual Effects | Easy | 15 mins | 1 video
5 Sample Images | 1 Sample PSD
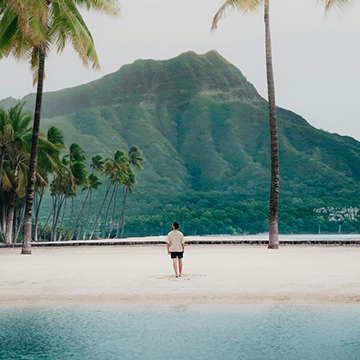
Learn how to use Photoshop 2026’s new Clarity and Dehaze adjustment layer to instantly cut through atmospheric fog and restore incredible detail to your photos.
Photoshop | Photo Editing | Easy | 15 mins | 1 video
1 Sample Image | 1 Sample PSD

Learn how to transform photos using realistic textures, blending modes, and non-destructive color grading in Photoshop for a professional, high-quality finish.
Photoshop | Visual Effects | Medium | 15 mins | 1 video
4 Sample Images | 2 Sample PSDs
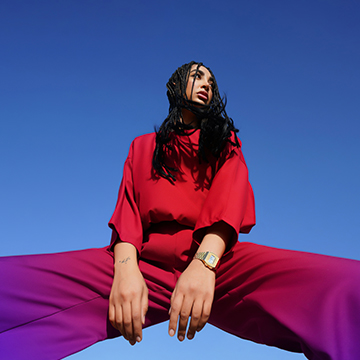
Learn to change any color in Photoshop while keeping skin tones natural! Use Hue/Saturation and masking to add professional gradients for a stunning multi-tone look.
Photoshop | Visual Effects | Medium | 15 mins | 1 video
1 Sample Image | 1 Sample PSD
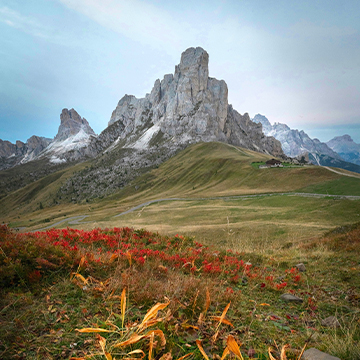
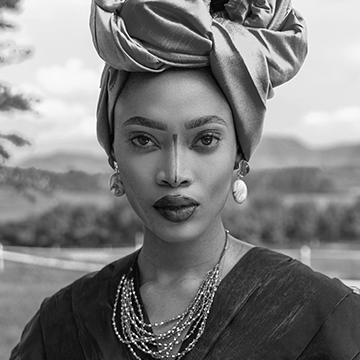

Create, export, and import LUTs in Photoshop!This tutorial teaches you how to make a custom color effect, save it, and use it across various programs. Plus, download the included LUT.
Photoshop | Photo Editing | Medium | 15 mins | 1 video
2 Sample Images | 2 Sample PSDs | 1 Photoshop LUT