Retouching & Portrait Editing
Retouching is mostly a small set of ideas — dodge and burn, frequency separation, targeted fixes on skin — applied with a steady hand. This free playlist collects every one of them — newest tutorials first — so you can start with whatever problem is in front of you, or begin with dodge and burn and frequency separation and build from there.
What You’ll Learn
Twenty-four free tutorials covering the whole of portrait retouching, listed newest first. Two of them are the foundation everything else leans on — How to Dodge & Burn in Photoshop and How to Use Frequency Separation in Photoshop — so if you are new to retouching, start with those two and then work the list however you like.
- Shape light without committing a single pixel How to Dodge & Burn in Photoshop and How to Dodge and Burn in Photoshop – Day 19 build the Curves-and-mask technique most of the retouching here depends on, then add Blend If so the effect lands only where light already is.
- Separate texture from color How to Use Frequency Separation in Photoshop sets the technique up with Apply Image; Advanced Skin Retouching in Photoshop – Day 24 puts it to work evening out skin tone while the pores survive.
- Know which repair tool to reach for How to Use the Clone Stamp Tool in Photoshop and Generative Fill vs Clone Stamp vs Spot Healing Brush cover what each tool is actually good at — and where each one falls apart.
- Work a full portrait start to finish How to Retouch a Portrait in Photoshop – Day 23 walks the complete basic workflow; How to Retouch a Portrait with Just the Brush Tool! shows how much of it comes down to brush control alone.
- Fix the skin problems clients notice Marks, blemishes five different ways, redness and wrinkles — plus How to Create Skin Texture from Scratch in Photoshop for when smoothing has gone too far and detail has to be rebuilt.
- Eyes, teeth and glasses Dark circles and eye brightening, eye color and sharpness, teeth whitening, and cloning eyeglass glare away without AI-generating the eyes.
- Hair and facial hair How to Retouch Hair in Photoshop handles strays and clean edges; How to Remove Facial Hair in Photoshop rebuilds believable skin texture underneath.
- Reshape without it showing How to Use Face-Aware Liquify in Photoshop covers facial features with sliders; How to Use the Liquify Tool in Photoshop shapes hair and creased clothing non-destructively on a Smart Object.
- Finish the file Color correct the portrait with Color Balance across highlights, midtones and shadows, then sharpen it with masked High Pass layers — one pass for hair and clothing, a finer one for eyes and lips.
Who This Series Is For
Photographers who retouch their own portraits and want the actual techniques behind convincing skin work, not a list of filters. Dodge and burn and frequency separation are the two ideas here; most of the rest is a targeted application of one or both.
It also suits anyone who has tried “one-click” smoothing, found the results looking plastic, and wants to understand why a masked, layered approach holds up better.
Everything here works in any recent version of Photoshop. The AI-driven approaches to the same problems live in AI & Generative Tools in Photoshop.
How Long It Takes
Twenty-four tutorials, most of them 10-20 minutes — roughly six hours end to end. The list runs newest first, so the top is where the current tools and techniques are. Nothing here requires watching anything before it, which makes it just as useful as a reference you come back to when a specific problem lands on your desk.
Frequently Asked Questions
Do I need a PHLEARN PRO membership for this playlist?
No — every tutorial in this playlist is free.
What order are these in?
Newest first, so the most current techniques are at the top. Each tutorial stands on its own, so you can start anywhere. If you are learning retouching from scratch, watch How to Dodge & Burn in Photoshop and How to Use Frequency Separation in Photoshop first — the rest of the list assumes those two.
Is there an AI shortcut for any of this?
For some of it, yes — and deliberately not here. This playlist teaches the manual, masked techniques that hold up at full resolution and cost no generative credits. For Generative Fill and the AI retouching tools, see AI & Generative Tools in Photoshop.
What’s the difference between this and the Color Grading & Correction playlist?
This playlist fixes the subject — skin, eyes, hair, shape. Color Grading & Correction handles the look of the whole frame once the retouching is done.
Where to Go Next
In This Playlist
- Perfect Skin Tones With the Camera Raw Vectorscope
- How to Use the Clone Stamp Tool in Photoshop
- How to Use the Liquify Tool in Photoshop
- Advanced Skin Retouching in Photoshop – Day 24
- How to Retouch a Portrait in Photoshop – Day 23
- How to Dodge and Burn in Photoshop – Day 19
- How to Fix Glare on Eyeglasses in Photoshop
- Generative Fill vs Clone Stamp vs Spot Healing Brush: Tools Explained
- How to Dodge & Burn in Photoshop
- How to Remove Redness from Skin in Photoshop
- How to Color Correct Portraits in Photoshop
- Eliminate Dark Circles and Brighten Eyes in Photoshop
- How to Remove Marks on Skin in Photoshop
- How to Whiten Teeth in Photoshop
- How to Use Frequency Separation in Photoshop
- How to Remove Facial Hair in Photoshop
- How to Create Skin Texture from Scratch in Photoshop
- How to Enhance Eyes in Photoshop
- How to Retouch a Portrait with Just the Brush Tool!
- The Best Way to Sharpen Portraits in Photoshop
- 5 Easy Ways to Remove Blemishes
- How to Retouch Hair in Photoshop
- How to Use Face-Aware Liquify in Photoshop
- How to Remove Wrinkles in Photoshop
Want the Full Retouching Library?
PHLEARN PRO includes complete portrait retouching courses, sample RAW files, and new lessons every month.

Camera Raw’s new Vectorscope panel gives you an objective read on skin tone. Learn to isolate skin with a mask and correct Temperature, Tint, and Saturation using its built-in reference line.
Photoshop | Retouching | Medium | 1 video
3 Sample Images | 3 Sample PSDs | 1 PDF Guide
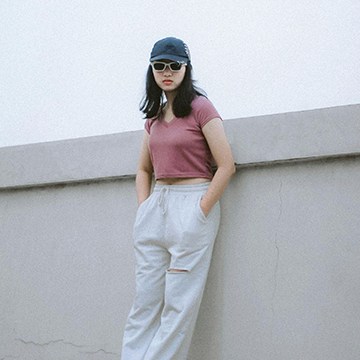
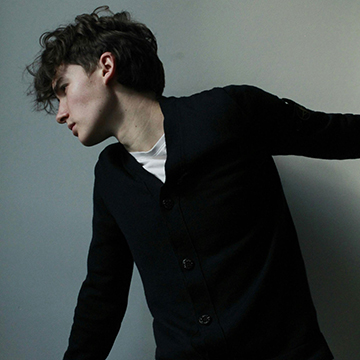
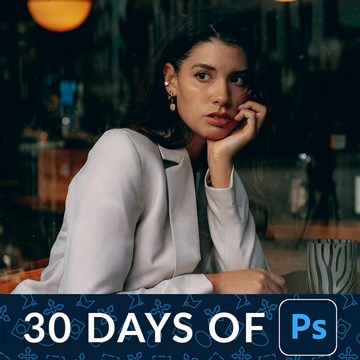
It’s day 24! Learn advanced Photoshop retouching using the Remove Tool and frequency separation. Make sure to download our free action to even out skin tone!
Photoshop | Retouching | Advanced | 15 mins | 1 video
1 Sample Image | 1 Sample PSD | 1 Photoshop Action
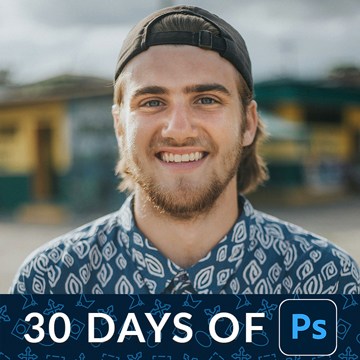
In Day 23 of 30 Days of Photoshop, we’ll teach you the basics of retouching! Learn how to remove blemishes and smooth out skin tones, creating a cleaner image while preserving all the beautiful, natural details.
Photoshop | Retouching | Medium | 30 mins | 1 video
1 Sample Image | 1 Sample PSD
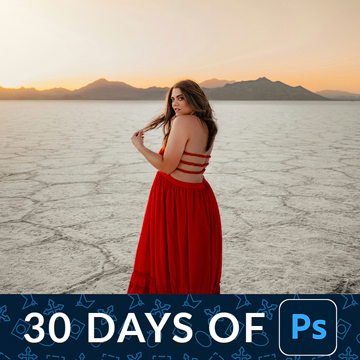
Learn how to dodge and burn in Photoshop, recovering details and adding beautiful shape and dimension to your photos.
Photoshop | Photo Editing | Medium | 15 mins | 1 video
1 Sample Image | 1 Sample PSD

Learn to remove glare from glasses in Photoshop! This tutorial uses the Clone Stamp Tool to copy and warp facial features for realistic results, without just using AI.
Photoshop | Photo Editing | Medium | 15 mins | 1 video
1 Sample Image | 1 Sample PSD

The Clone Stamp copies, the Spot Healing Brush blends, and Generative Fill invents. See the same object removal run through all three tools, where each one breaks down, and which to reach for if you want to avoid an AI tag.
Photoshop | Photo Editing | Easy | 15 mins | 1 video
1 Sample Image | 1 Sample PSD
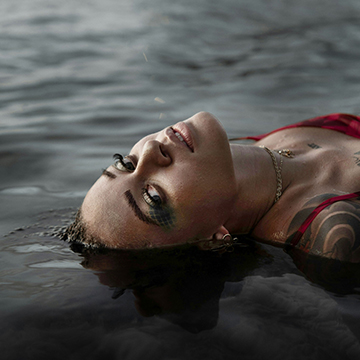
Build dodging and burning on Curves adjustment layers rather than the Dodge and Burn tools. Even out the light, carve individual highlights for depth, and let Blend If target them for you — all of it fully editable.
Photoshop | Retouching | Medium | 30 mins | 1 video
1 Sample Image | 1 Sample PSD
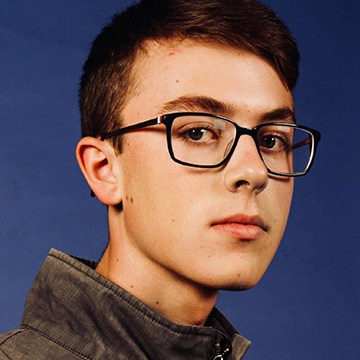
Explore all the possibilities with the new Adjustment Brush Tool in Photoshop Beta.
Photoshop | Retouching | Medium | 15 mins | 1 video
4 Sample Image | 4 Sample PSDs

Learn how to color correct your portraits using Color Balance Adjustment Layers to achieve natural-looking skin tones and enhance the overall mood of your image.
Photoshop | Photo Editing | Easy | 15 mins | 1 video
4 Sample Images | 4 Sample PSDs

Transform your photos from tired to vibrant with this easy-to-follow Photoshop tutorial on eliminating dark circles.
Photoshop | Retouching | Easy | 15 mins | 1 video
3 Sample Images | 3 Sample PSD

Use the included Frequency Separation Action to remove any blemishes from skin
Photoshop | Retouching | Easy | 30 mins | 1 video
1 Sample Image | 1 Sample PSD | 1 Photoshop Action
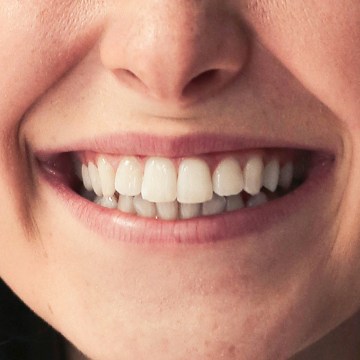
Learn how to help teeth look brighter and whiter in any photograph using these easy Photoshop techniques.
Sample Image Included
Photoshop | Retouching | Easy | 15 mins | 1 video
Sample Images
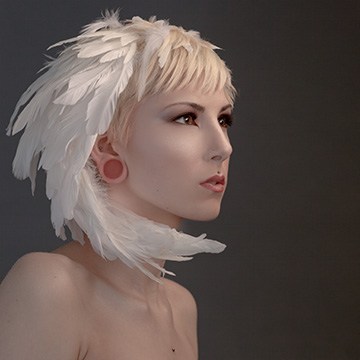
Transform your photos with Frequency Separation! This amazing Photoshop tool lets you retouch images with ease, smoothing out skin and enhancing details. Say goodbye to blemishes and hello to stunning photos that truly stand out!.
Free Frequency Separation Action & Sample Images Included
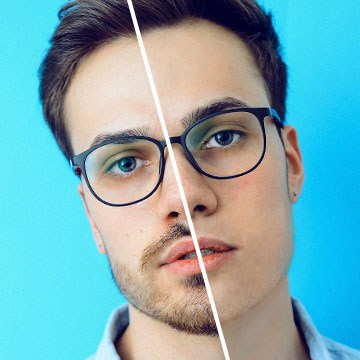
Learn how to remove facial hair from a portrait while preserving all of the natural tones and texture in skin!
Sample Images
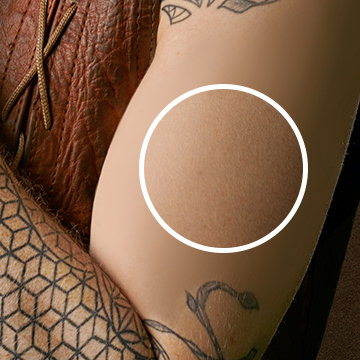
Learn how to create skin texture from scratch in Photoshop using professional tools and techniques and the included free Photoshop Brushes!
Sample Image & PSD Included
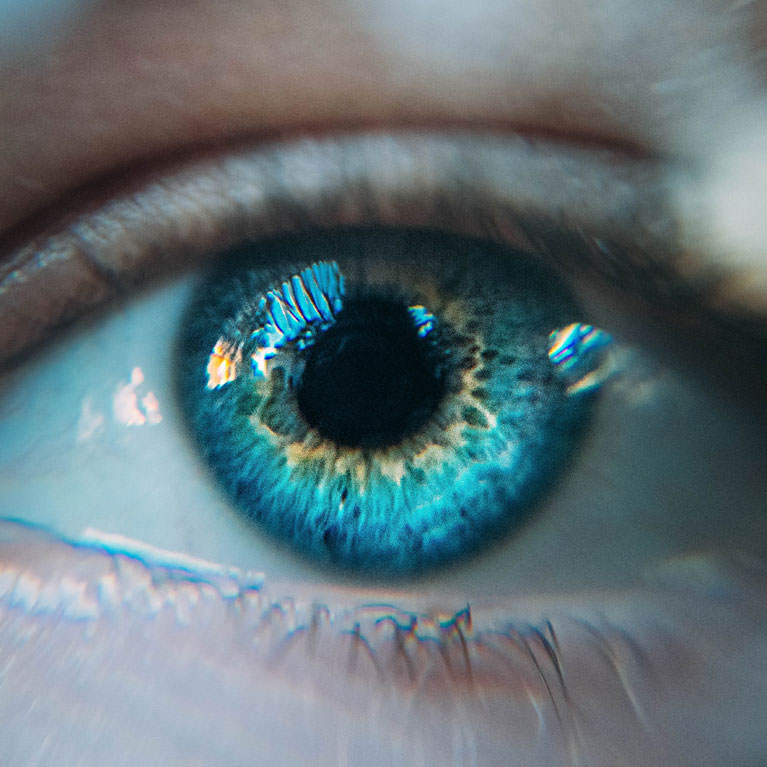
Learn to help eyes look their best by enhancing highlights with Curves, enhancing and adding color with Solid Color Fill, and by applying professional level sharpening with Unsharp Mask.
Sample Images Included
Photoshop | Retouching | Easy | 15 mins | 1 video
1 Sample Image

Learn how to color correct skin using Selective Color Adjustment Layers to isolate and adjust individual color channels to dial in the perfect look for your portraits.
Sample Images Included
Photoshop | Retouching | Easy | 30 mins | 1 video
1 Sample Image
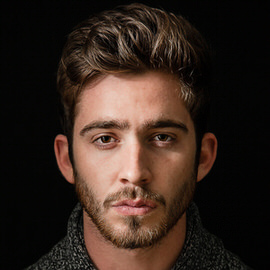
Sharpening is an important last step when finishing an edit. In this tutorial, we show you when and how to sharpen an image using our tried and tested method.
Sample Images Included
Photoshop | Retouching | Easy | 15 mins | 1 video
1 Sample Image
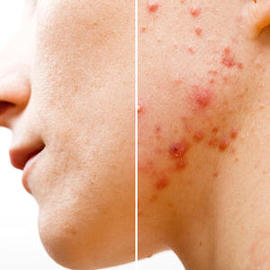
A portrait doesn’t need to be all clear skin and perfect hair. But whether you want to remove distractions from an everyday photo, or smooth skin until it’s flawless for a studio portrait, these 5 tools will make your life easier.
Sample Images Included
Photoshop | Retouching | Easy | 30 mins | 1 video
1 Sample Image
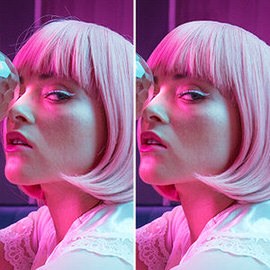
Retouching hair can make a huge difference in a photo. Messy hair results in a messy image. Learn three powerhouse techniques to retouch any type of hair. Don’t forget to download the sample image, and upload your version below!
Sample Images Included
Photoshop | Retouching | Medium | 30 mins | 1 video
Retouch Hair Assets

The Face Aware Liquify tool is a new addition to Photoshop CC 2015 with the recent Version 5.0 update. In today’s episode, learn how to adjust facial features using Face-Aware Liquify.
