
Download the Sample Image
Download Assets
This tutorial includes sample images and a PDF guide. Downloads are free with a PHLEARN account.
- Free sample files with every tutorial on PHLEARN
- New tutorials published every week
- Unlimited downloads with your free PHLEARN account
Description
2020 Edition
This lesson is from the original 30 Days of Photoshop. Photoshop has changed a great deal since — there is an updated version of this lesson in the 2025 Edition: How to Use Blend If in Photoshop, Day 17.
Blend If is one of the most useful tools in Photoshop, but one that not many people know about. Learn how to use Blend If to add color and exposure effects to only the highlights, midtones, or shadows of any image. Precision blending in just a few clicks!
This is Day 14 of our 30 Days of Photoshop series. If you enjoyed it, follow along with all 30 episodes as we explore the magic of Photoshop together!
Continue Watching 30 Days of Photoshop
Enjoying This Free Tutorial?
We publish a new free tutorial every week, each one with sample images and PSDs you can download and follow along with. Sign up and they land straight in your inbox, along with early word on sales, events and subscriber-only offers.
Exposure Blending with Blend If
Blend If is one of the most useful and least understood features in Photoshop. It lets you make any layer visible only in the highlights, midtones or shadows of your image, which means you can brighten dark foregrounds without blowing out the sky, or warm the highlights without touching the shadows. If you have ever wrestled with an overexposed or underexposed photo, this is the tool that fixes it in a few slider moves.
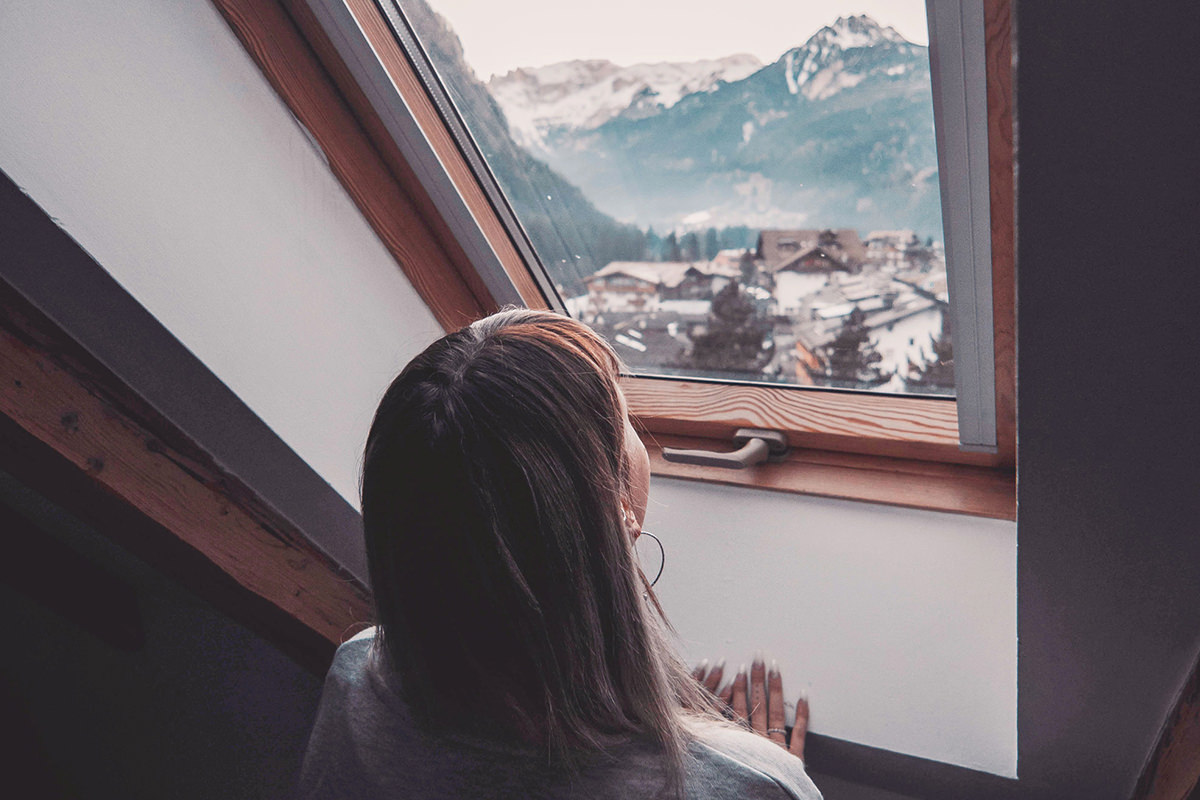
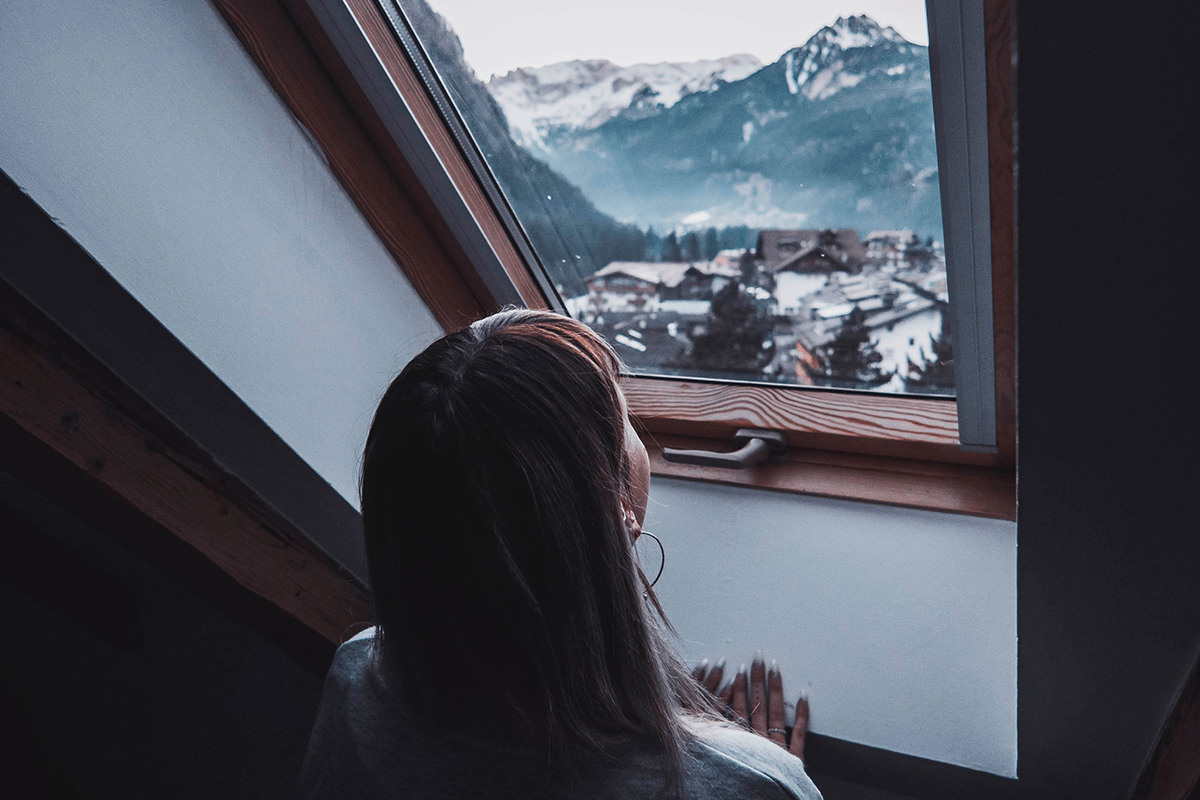
The sample image is a common situation: the foreground is dark because the camera exposed for the bright window behind it. Any time you have that kind of split exposure, Blend If comes into its own.
Where to Find Blend If
-
Open the Layer Style Dialog
Double-click in the empty gray area of any layer in the Layers panel, or click the fx icon at the bottom and choose Blending Options. Blend If lives at the bottom right of the dialog under Advanced Blending.
-
Meet the Two Sliders
The top slider, labeled This Layer, controls visibility based on the brightness of the layer itself. The bottom slider, Underlying Layer, controls visibility based on the brightness of everything beneath it. Most of the time you will use the bottom one.
How the Sliders Work
To see the effect clearly, create a new layer and paint three swatches on it: white, red and black. Open Blending Options and try each slider.
-
Drag This Layer from the Left
The black swatch disappears first, then the red, then everything that isn’t pure white. Photoshop is hiding the layer’s own dark pixels. Drag from the right and the order reverses: white goes first, then red, then everything that isn’t pure black.
-
Drag Underlying Layer from the Left
Now the painted layer disappears wherever the image beneath it is dark and stays only over the bright areas, like the sky. Drag from the right and it hides over the bright areas and remains in the shadows.
-
Hold Alt/Option to Feather the Transition
A single slider gives a harsh cutoff. Hold Alt/Option and drag one half of the slider away from the other. Now you have two markers, and the layer fades smoothly between them instead of switching on and off. This is the step that makes Blend If look natural.
-
Combine Both Ends
You can split both ends of a slider and use both sliders at once, limiting a layer to a narrow band of tones. Click Cancel when you are done experimenting and delete the test layer.
Brighten the Shadows Without Blowing Out the Highlights
-
Add a Curves Adjustment Layer
Add a Curves adjustment layer and drag the middle of the curve up until the dark foreground has the detail you want. Ignore the sky for a moment; it will get too bright.
-
Hide the Curve from the Highlights
Double-click the Curves layer to open Blending Options. On the Underlying Layer slider, hold Alt/Option and drag the right-hand white marker toward the left. The brightening fades out of the highlights and stays in the shadows. Click OK.
-
Fine-Tune
Toggle the layer on and off. You should see lifted shadows and an untouched sky. If the transition looks uneven, reopen Blending Options and move the split markers further apart for a softer blend.
Warm the Highlights with Color
-
Add a Second Curves Layer for Color
Add another Curves adjustment layer. Switch to the Red channel and lift it slightly, then switch to the Blue channel and pull it down slightly. The whole image warms up.
-
Hide the Color from the Shadows
Open Blending Options for this layer, hold Alt/Option on the Underlying Layer slider and drag the left-hand black marker toward the right. The warmth now lives only where the light is falling, which reads like warm sunlight coming through the window.
Why This Beats a Layer Mask
A layer mask has to be painted and edited by hand. Blend If is driven by the tones in the image, so it adapts automatically and can be adjusted at any time with two sliders. It works on regular layers, type layers, fill layers and adjustment layers alike.
Where to Use Blend If Next
Once you are comfortable with exposure blending, Blend If becomes a go-to tool for compositing (dropping a texture only into the shadows), retouching (limiting a sharpening layer to the midtones) and color grading (cinematic cool shadows and warm highlights). Pair it with the Levels and Curves lesson from earlier in the series and you can control almost any tonal problem without a single brushstroke.
Related Tutorials






Enjoying This Free Tutorial? Go Further with PRO.
200+ PRO courses. 1,000+ practice files. One membership.

Unlimited access to every PRO course
New PRO courses every month
Layered PSDs and RAW files to follow along
100+ Lightroom Presets, LUTs, Actions and Brushes
Stream in up to 4K, with captions and chapters
Watch on any device: desktop, tablet or phone
4.93 average from 3,900+ reviews · 2M+ students