
Download Sample Images
Download Assets
This tutorial includes sample images and a PDF guide. Downloads are free with a PHLEARN account.
- Free sample files with every tutorial on PHLEARN
- New tutorials published every week
- Unlimited downloads with your free PHLEARN account
description
2020 Edition
This lesson is from the original 30 Days of Photoshop. Photoshop has changed a great deal since — there is an updated version of this lesson in the 2025 Edition: How to Change the Color of Anything in Photoshop, Day 8.
When you need to change the color of something in a photo, look no further than Hue/Saturation Adjustment Layers! Learn how to use Hue/Saturation to target specific colors in an image, and then make adjustments to the hue, lightness, and saturation to change those colors to whatever you want.
This is Day 7 of our 30 Days of Photoshop series. Follow along with all 30 episodes as we explore the the magic of Photoshop together!
Continue Watching 30 Days of Photoshop
30 days of photoshop

Sign up to receive email updates to keep you going, sample images to follow along, and a printable calendar to keep track of your progress!
Change Any Color
Hue/Saturation
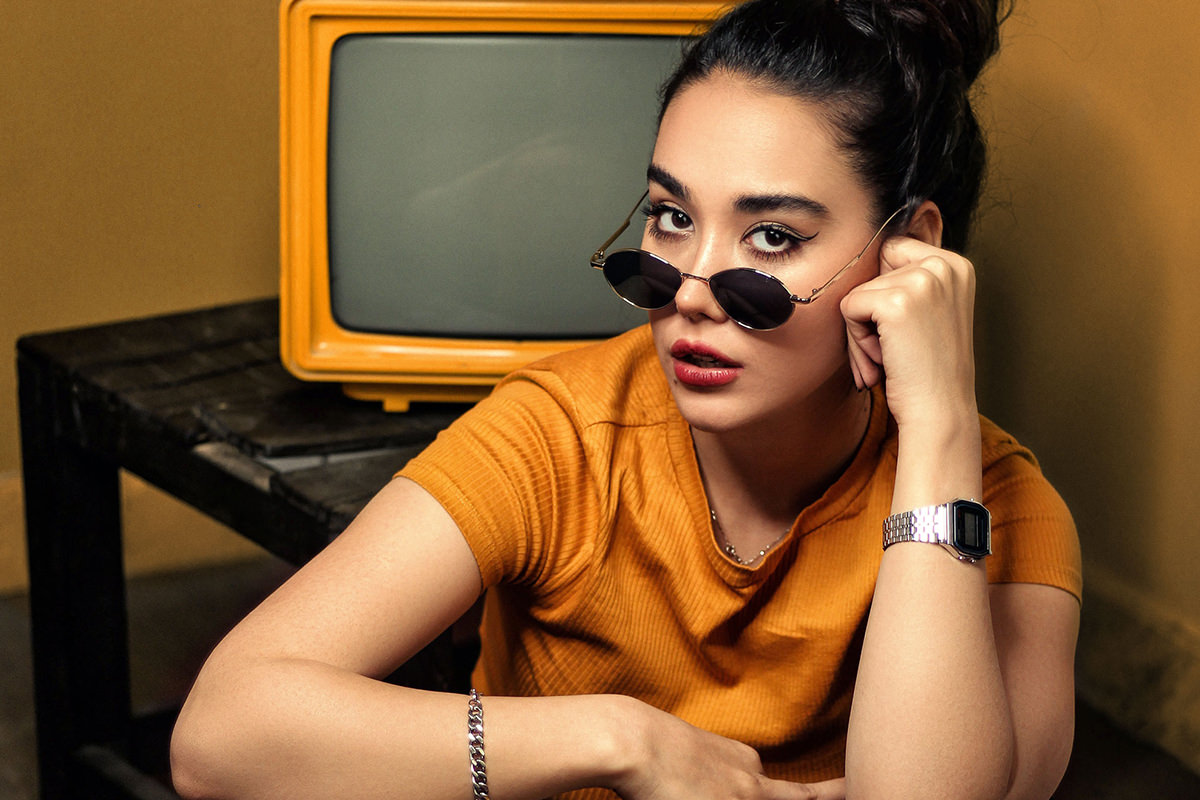
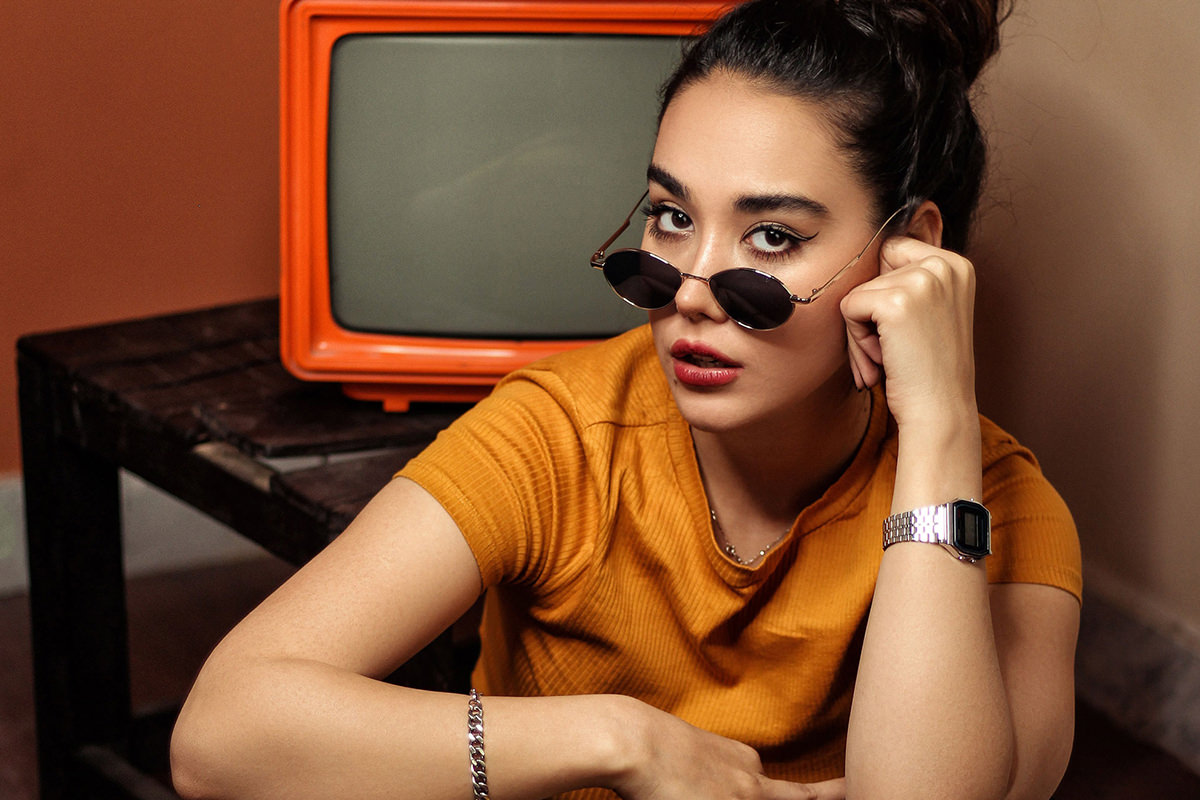
One of the most commonly used Adjustment Layers in Photoshop, Hue/Saturation has a wide variety of applications. Want to change the color of a background to match a subject’s wardrobe? Need to provide a client with product photos in a variety of different color options? Have a subject with some skin redness that you want to clear up? Hue/Saturation Adjustment Layers can handle each of these situations (and more!) with ease.
Hue, Lightness & Saturation
So what is the difference between hue, lightness, and saturation and why do we need a slider for each?
Hue is just another word for color. This slider will determine whether something will appear green, purple, or orange–any color along the spectrum.
Saturation is the intensity of the chosen color. As you push this slider to the right, the color will appear more bright, pure, and vivid. Push it to the left, and the color will begin to appear more gray and dull, eventually shifting to a purely gray value.
Lightness describes the amount of black or white that is mixed with thee hue. Add more black and the color will appear darker. More white and it will appear brighter.
Not only will a Hue/Saturation Adjustment Layer allow you to dial in each of these attributes, it also allows you to select a specific color range from a photo that you want to change. Let’s say that you wanted to change a red wall to yellow to match a subject’s shirt. You can use the eyedropper tool and sliders near the bottom of the dialog to select only the reds in the wall, and then use the top three sliders to shift the color to yellow.
New Free Tutorials View All »











Enjoying This Free Tutorial? Go Further with PRO.
Unlock Full Sample Files, PSDs, and Hundreds of Masterclasses!

Download full project assets, original PSDs, and RAW images for every lesson
Unlimited access to our complete library of PRO Photoshop & Lightroom courses
Instant 4K Ultra HD streaming on all devices, anytime, anywhere
Full access to our entire library of Photoshop Actions, Presets, and LUTs
Flexible monthly and annual membership plans
Cancel anytime with zero hassle or commitments