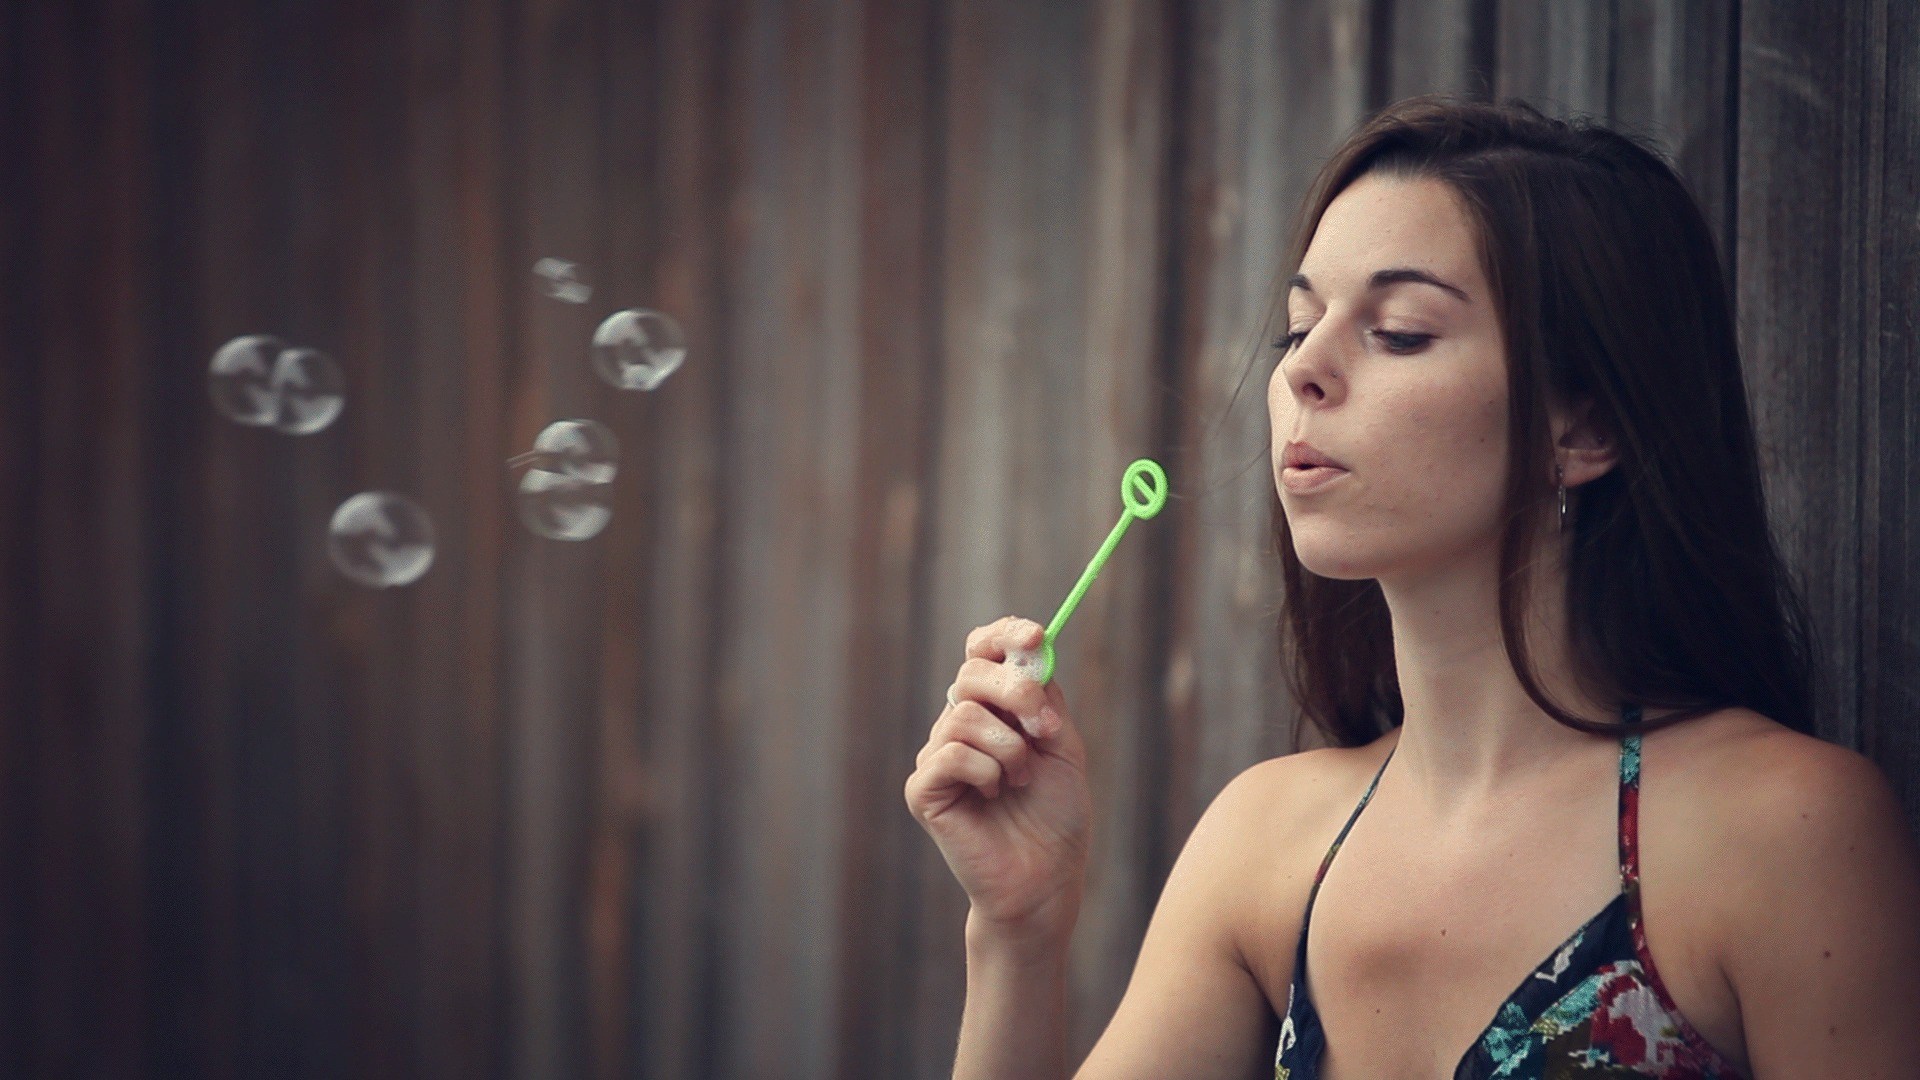

A cinemagraph is mostly a still photo with one part of the frame looping forever, and whether that loop convinces is decided before you open Photoshop. Learn why video mode beats a burst of stills by a wide margin, what makes an action loop seamlessly rather than visibly reset, and how a few short three-to-five-second takes give you everything the editing half needs.
We publish a new free tutorial every week, each one with sample images and PSDs you can download and follow along with. Sign up and they land straight in your inbox, along with early word on sales, events and subscriber-only offers.
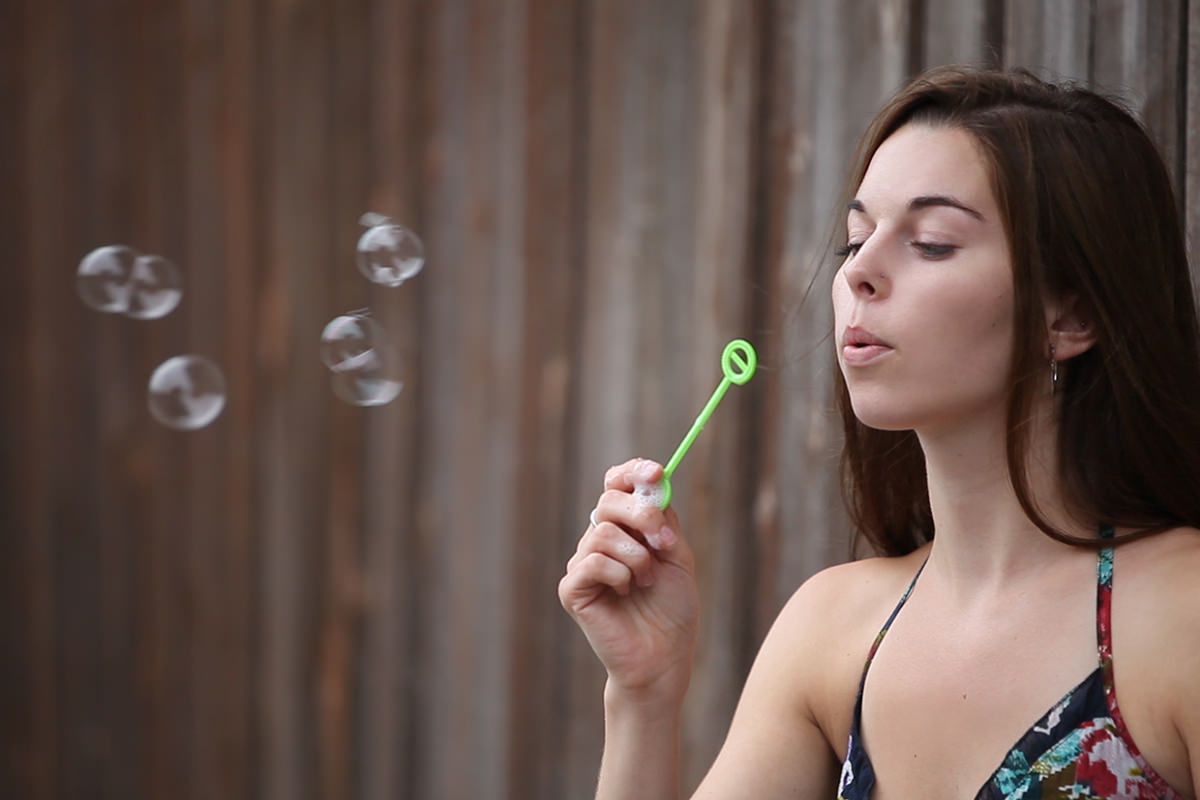
How to Create a Cinemagraph: Part 1 (Shooting the Footage)
A cinemagraph is that strange, captivating in-between: mostly a still photo, except for one small part of the frame that loops forever. Before any of that looping magic happens in Photoshop, it starts with a camera and a repeatable action, and getting the footage right in-camera is what makes the Photoshop half in part two actually work.
Shoot in Video Mode, Not Stills
The single biggest decision for a good cinemagraph is shooting video rather than a burst of still photos. Video mode can capture 24, 30, or even 60 frames per second, while shooting stills, even in a fast continuous-fire mode, usually tops out around 5 to 10 frames per second. That gap matters: the more frames you have of your moving element, the smoother and more convincing the eventual loop will look.
-
Set Your Camera to Video Mode
If your camera shoots video, use it. A camera with a longer lens, such as a 70 to 200mm zoom, works well, but a phone that shoots video is a perfectly good substitute if that is what you have on hand.
Why Frame Rate Makes the Difference
A cinemagraph only reads as smooth because there is enough motion data to loop convincingly. Shooting stills at 5 to 10 frames per second leaves large gaps between frames, so the final loop can look choppy or stuttery. Video mode’s higher frame rate gives you far more material to work with when you get to the editing stage.
Your Camera Does Not Have to Be a DSLR
It is tempting to assume you need professional gear for this, but the format is forgiving. What matters is that whatever you are shooting with can record video, not the size or resolution of the sensor doing it.
-
Use Whatever Video-Capable Camera You Have
A phone camera works fine for this. A dedicated video camera or DSLR will generally give you cleaner quality, but the core technique, recording a short repeatable action in video mode, is identical either way.
Choose an Action That Repeats Naturally
The subject and action you pick matter as much as the camera settings. You want something that can loop seamlessly, an action that does not look jarring or obviously reset when it starts over. In this case, a continuous stream of bubbles was chosen specifically because bubbles moving through frame loop naturally: there is no single obvious start or end point that makes the repeat look broken.
-
Pick a Continuous or Cyclical Motion
Favor actions that are already repetitive or continuous, such as bubbles, flowing water, blowing hair, or drifting steam, over one-time actions like a person walking through frame, which will visibly reset every time the loop restarts.
Why the Loop Point Matters
Whatever action you choose, think ahead to how it will look when it loops back to the beginning. A one-off action, like someone walking past the camera, will read as an obvious repeat every time it restarts. A continuous motion disguises that seam and keeps the illusion of something that is simply always happening.
Avoid Actions That Only Happen Once
This point is worth repeating because it is the most common way a first cinemagraph attempt falls flat. If your subject does something once and then it is over, such as a wave, a jump, or a single footstep, the loop will have nowhere natural to restart, and every repeat will feel like a hard cut rather than a seamless continuation.
-
Test Your Idea Mentally Before Shooting
Before you hit record, picture the clip looping in your head. If you can imagine an obvious snap back to the start, look for a different action or a different framing that hides it.
Examples of Loop-Friendly Motion
Bubbles drifting through frame, water flowing past a fixed point, steam curling upward, hair moving in the wind: all of these share the same quality. They look much the same at any given moment, so the viewer cannot easily tell where one loop ends and the next begins.
Recording Multiple Short Clips
With the camera set and the action chosen, the actual shooting is quick and low-pressure. The real work happens later, in Photoshop.
-
Record Several Short Takes
Hit record and capture roughly three to five seconds of your subject performing the repeatable action. Record several takes in a row so you have options to choose from when you get to editing.
-
Keep Each Recording Short
There is no need to record long clips. A three-to-five-second window is plenty of material for the masking and looping work that comes next, and shorter clips are also easier to scrub through when you are deciding which take to use.
Continue With Part 2
With your footage recorded, the second half of this series covers the Photoshop work: trimming the clip, masking the motion, and exporting a looping GIF. Continue with Creating a Cinemagraph in Photoshop: Part 2.
More Free Photoshop Tutorials
These free tutorials cover related animation and color techniques worth exploring next:
- How to Create a Cinemagraph in Photoshop and After Effects
- How to Create Animated GIFs Using AI in Photoshop
- How to Color Grade in Photoshop Using Camera Raw
Why This Approach Works
A cinemagraph lives or dies on its footage, not its Photoshop work. If you shoot stills instead of video, you simply will not have enough frames to build a smooth, believable loop no matter how carefully you mask things out later. And if you choose a subject that does not repeat naturally, such as a one-time gesture or someone crossing the frame, the seam where the loop restarts will always be visible, breaking the illusion the whole format depends on. Choosing a continuous, cyclical motion like bubbles or flowing water solves that problem before it starts, which is exactly why it is worth spending a few extra minutes thinking about your subject before you ever press record. Get this part right, and the Photoshop GIF work that follows becomes far more forgiving.
Final Thoughts
This first half of the process is deceptively simple: set your camera to video, pick an action that loops naturally, and record a handful of short takes. It is easy to rush past this stage since none of it happens in Photoshop, but the footage you bring in determines almost everything about how good the final cinemagraph looks. Once you have a few solid takes of a continuous, repeatable motion, you are ready to move into part two, where the actual masking and looping happens.
New Free Tutorials View All »











Enjoying This Free Tutorial? Go Further with PRO.
Unlock Full Sample Files, PSDs, and Hundreds of Masterclasses!

Download full project assets, original PSDs, and RAW images for every lesson
Unlimited access to our complete library of PRO Photoshop & Lightroom courses
Instant 4K Ultra HD streaming on all devices, anytime, anywhere
Full access to our entire library of Photoshop Actions, Presets, and LUTs
Flexible monthly and annual membership plans
Cancel anytime with zero hassle or commitments