Photo Editing Tutorials for Photoshop & Lightroom
Learn to make any photo better: light and exposure, contrast and clarity, shadows and highlights, cropping and composition, and full start-to-finish edits of portraits, landscapes, weddings, food, and travel photos. Free and PRO video tutorials from Aaron Nace, with new lessons every week.
What You’ll Learn
Photo editing is the bridge between the picture you took and the picture you saw. These tutorials cover the whole edit: getting light, exposure, and contrast right, shaping the image with crop and composition, and finishing complete edits of every kind of photo. Pick the problem in front of you and start there.
- Light and exposure. Fixing over- and underexposed photos, recovering blown highlights and muddy shadows, and finding the detail hiding in a RAW file.
- Contrast, clarity, and haze. Curves, Levels, Clarity, Dehaze, and Texture, and when each one adds punch instead of crunch.
- Dodge and burn for depth. Shaping light by hand to guide the eye and give a flat photo dimension.
- HDR and blended exposures. Merging brackets in Lightroom and Camera Raw, manual blends, and luminosity masks for high-contrast scenes.
- Crop and composition. Composition guides, cropping for impact, and using light and color to direct attention.
- Complete edits, start to finish. Portraits, landscapes, weddings, food, travel, and family photos, taken from RAW file to final image.
Where to Start
If you are new to editing, start with 30 Days of Photoshop, which teaches the tools in the order they build on each other. Then try How to Correct Exposure in Photoshop and How to Use Contrast and Clarity in Photoshop, the two adjustments almost every photo needs. Lightroom-first editors should begin with the Lightroom Learning Path, and photographers who shoot as well as edit with the Photography & Photo Editing Learning Path. For complete edits, the PRO courses Advanced Portrait Editing and Advanced Landscape Editing take one photo from RAW file to finished image.
Free and PRO Tutorials
Free tutorials are complete lessons, not previews. PRO tutorials go deeper and longer, and they include the sample images, RAW files, actions, and presets used in the lesson so you can follow along on the exact same file. For the complete edits here, that means the original RAW file, so you can compare your result to Aaron’s. A PHLEARN PRO membership unlocks every PRO tutorial on the site, including all of the ones in this category.
Frequently Asked Questions
Should I edit in Photoshop or Lightroom?
Both, for different jobs. Lightroom is faster for global adjustments across many photos: exposure, white balance, and a consistent look for a whole shoot. Photoshop is for the work that needs layers and precision: dodging and burning, blending exposures, removing objects, and retouching. Most professionals cull and correct in Lightroom, then send the images that need more into Photoshop.
Should I shoot and edit in RAW?
Yes, whenever you can. A RAW file keeps far more highlight and shadow detail than a JPEG, so exposure and white balance corrections hold up without banding or noise. Open RAW files in Lightroom or Camera Raw first, then move into Photoshop for detailed work.
What version of Photoshop do these tutorials use?
The newest tutorials are recorded in Photoshop 2026. The core techniques, layers, masks, Curves, and Camera Raw, work the same way in every recent version, so older tutorials still apply. When a tool has changed, the tutorial says so.
Do I need to know the basics before starting?
For most of these, yes: you should be comfortable with layers and layer masks. If you are not, Tools & Techniques and 30 Days of Photoshop will get you there in a couple of weeks.
Where to Go Next
Once a photo is corrected, the next steps are specialized. Color & Tone is the fastest way to develop a recognizable style. Retouching covers skin, hair, and portrait work in depth, and Object Removal & Cleanup handles distractions. Photo Effects adds light, glow, and film looks, and Compositing is where editing turns into image-making.
New to Editing?
Start with 30 Days of Photoshop. It teaches every tool these tutorials assume you already know, one short lesson a day.
On This Page
PHLEARN PRO
Every PRO tutorial in this category, with sample and RAW files, plus the full PRO library.

In this episode we show you how to correct Color and Exposure at the same time and we also go over an awesome method for sharpening landscapes.
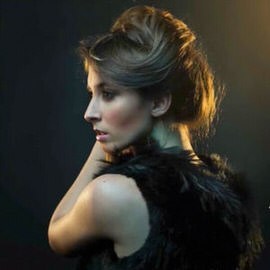
It can be hard to capture detail in both the Shadows and Highlights of an image because the dynamic range of most cameras is too small. We show you an amazing trick to recover Shadow detail in Photoshop without disturbing the Highlights.
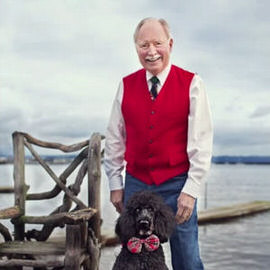
In this tutorial we show you how to use the Pen Tool to cut out your subject, and then do some work to recovery detail in the sky.

Today we’re using this incredible image from Chris to show how to use Photoshop to bring back detail into the Shadows of an image and then doing some Coloring and stylizing.
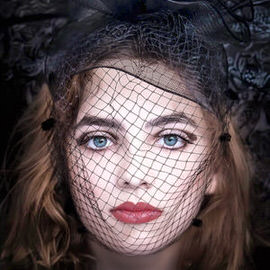
Camera sensors are very powerful tools that capture tons of information, you just need to know how to massage that information out of it. This episode shows you how to bring out those details from your Shadows.
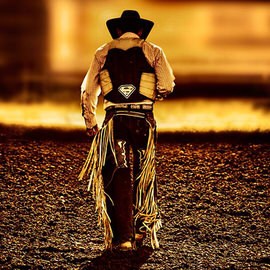
The most basic rules of composition are rather simple but can be extremely difficult to master. Here are a few less orthodox compositional suggestion that might help you make the most of your next photoshoot.
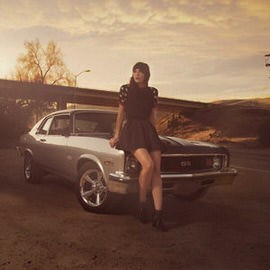
In today’s episode we start off with an image that has been resized for the Web and saved as a .jpg. It is a very small and compressed image yet we are still able to bring out a ton of detail.
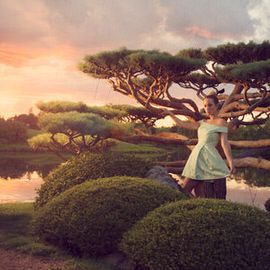
Sunrise and sunset are both amazing times to own a camera. Take advantage of this light as often as you can. There is a reason that it is called “golden hour”. It will turn your photos into gold.

For extreme speed-editing Exposure we’re editing this image by Aleksandar Jaredic, and we only have five minutes to do so!

A student on a Death Valley photography workshop I recently taught groused, “My problem is that when I take a picture of a sand dune, it looks like a sand dune. It doesn’t look like art.”

It’s always great to have shadows in your photographs to add definition, but sometimes they become too dark and Subtract from the detail in your image.

In order to make the existing Highlights in this image stand out even more, first we make the Lights and Midtones of the image darker using a Levels Adjustment Layer.

These will make the biggest Difference! Curves can be used to easily adjust Light Levels and Colors in your images.
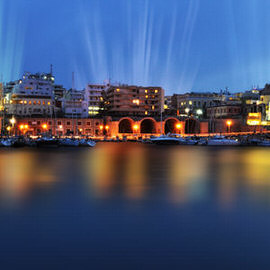
Today we work on a user submitted landscape image. We are going to add some lights and effects requested by Sam.

We are going to focus on what to edit in Photoshop. The first thing I noticed when looking at this photo is that the paintings in the Background are a little distracting.
Photoshop | Photo Editing | Easy | 15 mins | 1 video