Photoshop Tutorials
In this episode we cover everything you know to create custom brushes from scratch as well as use them to enhance your images!
Sunrise and sunset are both amazing times to own a camera. Take advantage of this light as often as you can. There is a reason that it is called “golden hour”. It will turn your photos into gold.
Today we are going over some great techniques that can be applied to most images to make them a bit more interesting. By adding Color and Contrast to the image as a whole you can make your subject stand out a bit better in a few easy steps.
If you have a Color cast that is a result of a Light being a different color than the rest of the Lights in the image, you will need to get a bit more in Depth when editing to remove it. That is what today’s episode is all about.
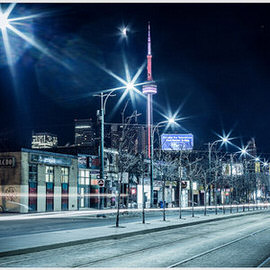
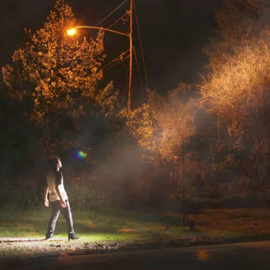
We noticed that this image by phamily member Quintino has a cool Light trail that resembles a heart monitor’s pulse. It made us think, how could we add more of these to the image?
By creating a New Layer and making sure Content Aware has been checked, we can use the Patch Tool to simply select and remove the horizontal power lines.
Photoshop has an impressive arsenal of Tools when it comes to creating and refining masks.
We came across this tutorial by Juan Melara that shows how to get the Colors often seen in summer blockbuster movies. Today we’re going to show you how to achieve a very similar affect on your images with techniques that can be used in Photoshop.
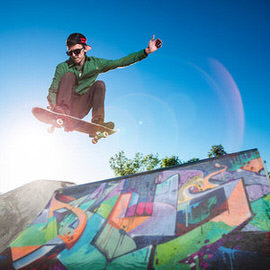
Sometimes you can use Compositing techniques for a simple yet cool effect like adding graffiti into a photo.
Sometimes people get in the way while you’re taking photos. In today’s episode we show you how to make it look like they weren’t even there with the Clone Stamp tool.
Using Curves Adjustment Layers along with Layer Masks is a great way to Draw the eye to a certain place.
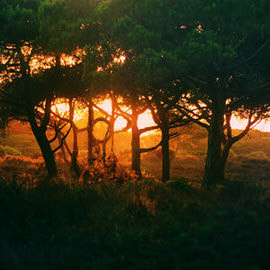
Today we’re going to be making the branches in this image look like the word “hope”.
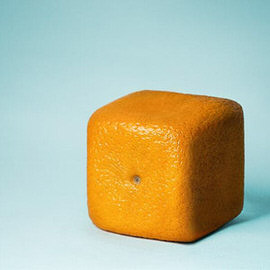
Andri Geroisa did a great job of photographing this orange and Phlearn will tap into dodging and burning to make product look perfect in Photoshop.
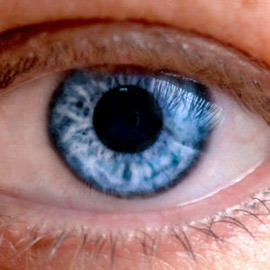
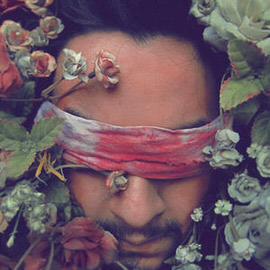
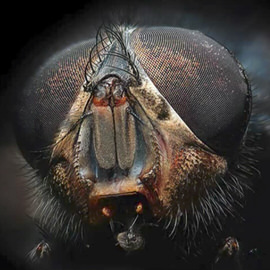
These minuscule, and red squiggly lines are usually very unnoticeable, but when there is an involvement of a macro shot such as this one by Fernando Braga, they can become a Distraction of interfering with your great eyeball shot.
We’re going to go over a quick and easy technique as well as a harder technique that has a more refined result.
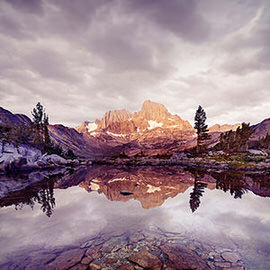
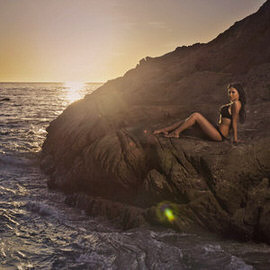
Photographing a sunset can be really tricky, but we have some wonderful tips for you.
How to add patterns to images in Photoshop giving them dimension and perspective.
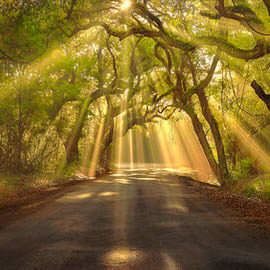
Here is some great Insight on creating beams of light in Photoshop. Check it out.
After adding Adjustment Layers to our photographer to pump up the blues and yellows, we can further intensify this image by adding Color Blurs.
For extreme speed-editing Exposure we’re editing this image by Aleksandar Jaredic, and we only have five minutes to do so!
Learn how to create a shallow depth of field effect in Photoshop.
Today we are going to show you how to combine multiple images for exposure, removing elements, and cleaning up your images.
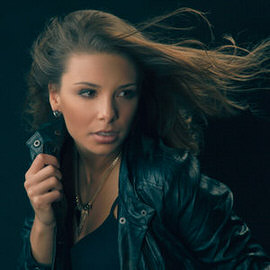
Learn how to use the Brush Tool to apply makeup in Photoshop. We create a custom brush to achieve the exact look we need.
These are the three major variables that go into creating a composite. To create a believable end result, the color, light, and perspective has to match as much as possible between the images you’re compositing.
Although it is sometimes frowned upon, the combining of multiple Exposures can really take your photos to the next Level when used in good taste.
Even great photos can usually be improved in Photoshop. There are some things that simply can’t be controlled during a photoshoot that end up being distractions in the final image. Let’s take a look at correcting them.
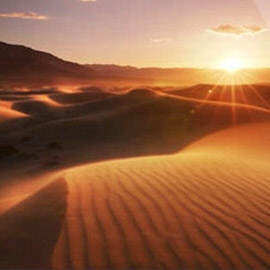
A student on a Death Valley photography workshop I recently taught groused, “My problem is that when I take a picture of a sand dune, it looks like a sand dune. It doesn’t look like art.”
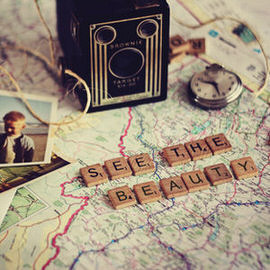
In today’s episode we bring you a fun technique to change letters in photographs.
We’ve focused on Retouching a lot here at Phlearn, taking care of zits, applying Makeup in Photoshop, you name it. But we’ve never covered taking care of larger Scale blemishes and redness, such as rosacea or in this case red powder.
