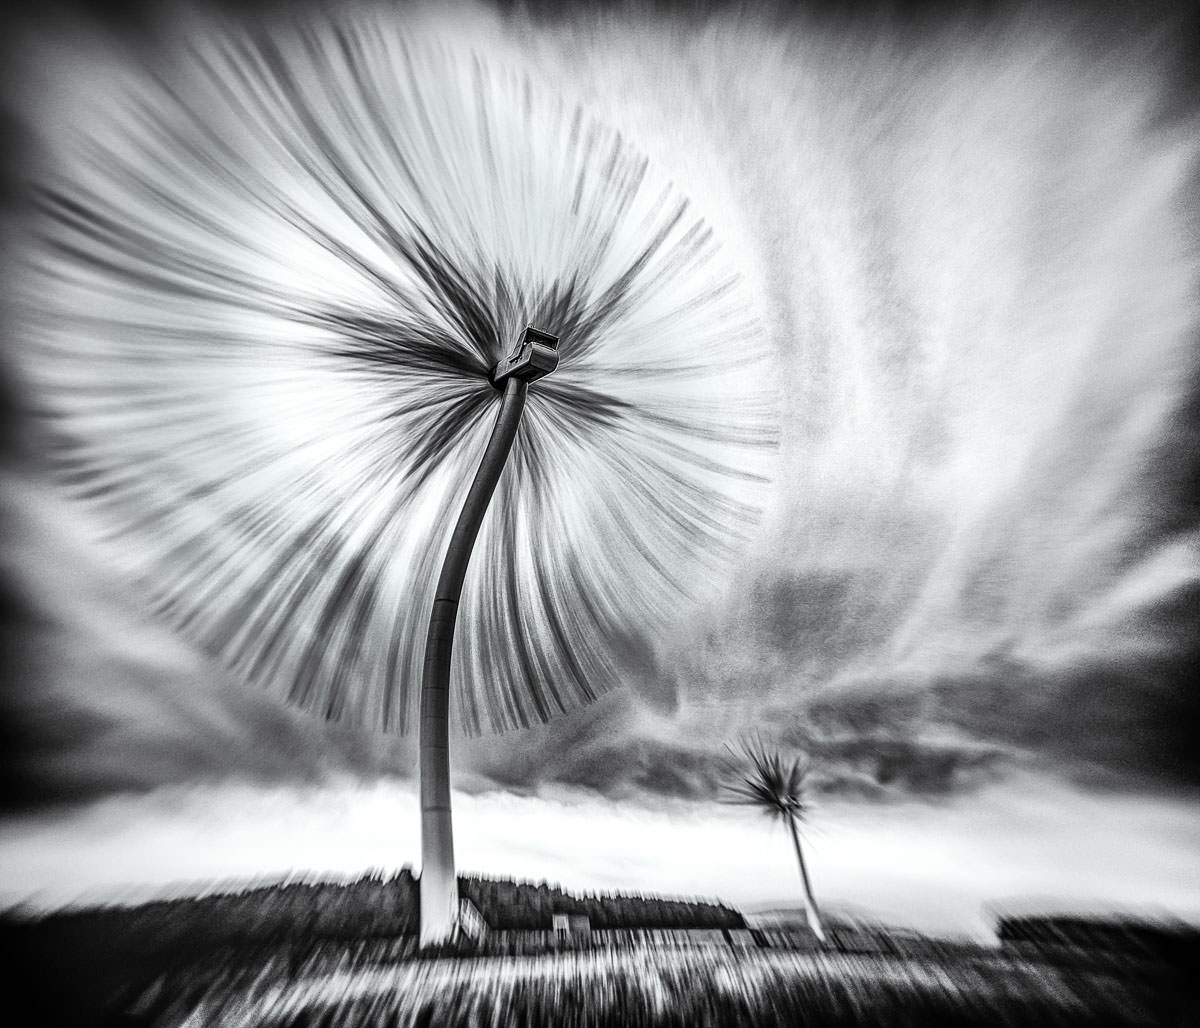
How I Created This Surreal Image of a Turbo Dandelion Wind Farm
With excitement and a sense of possibility I began my dawn hike. Step by squelchy step, across marshy moorland in Northumberland – England’s northernmost county.
Originally published June 13, 2017, by Derek Snee. Updated October 16, 2026, by PHLEARN Staff: For this wind turbine photography project, Derek Snee shot 300 time-lapse frames of one turbine and stacked them into a single image that looks like a dandelion seed head. Derek’s text stays; the update adds a step-by-step photo sequence, The Shot box, a numbers strip and kit cards.
I was walking in a mythical land of giants. And yet, on this cold morning, their existence was not in doubt. Indeed, the giants warmly welcomed me in their BFG fashion of whooping and waving their arms around. Wind turbines tend to do that.
Reality is merely an illusion, albeit a very persistent one.
Albert Einstein
300
frames in the time-lapse
2
seconds between each shot
15
finalists in the Art of Building POTY 2016
The Goal
The challenge I had set myself was to make a wind turbine look like a dandelion seed head! An organic, fuzzy looking, ‘turbo dandelion’ set against a turbulent sky. (Should I drink less coffee?)
The challenge I had set myself was to make a wind turbine look like a dandelion seed head!
Derek Snee
Time Stacking
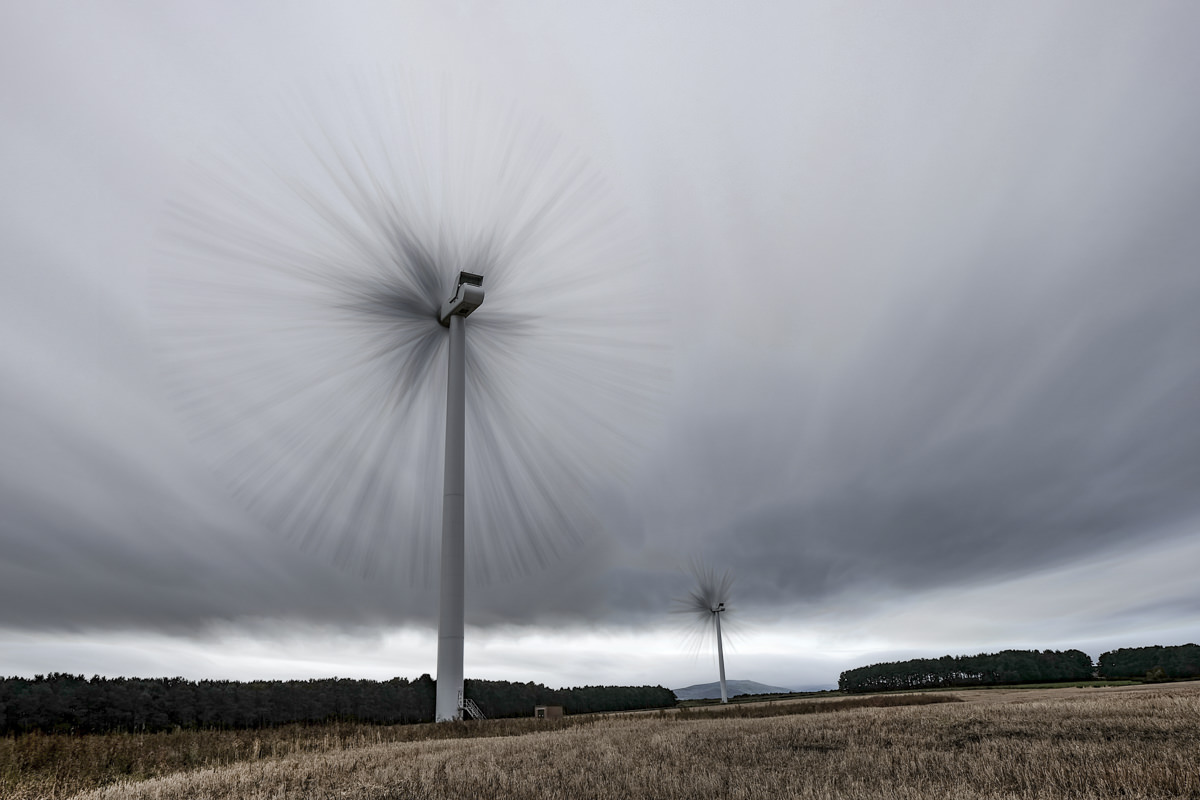
For this I needed a large set of digital images, which I would capture by interval shooting (time-lapse). In post, they would be stacked and blended into one image.
Scouting the Location
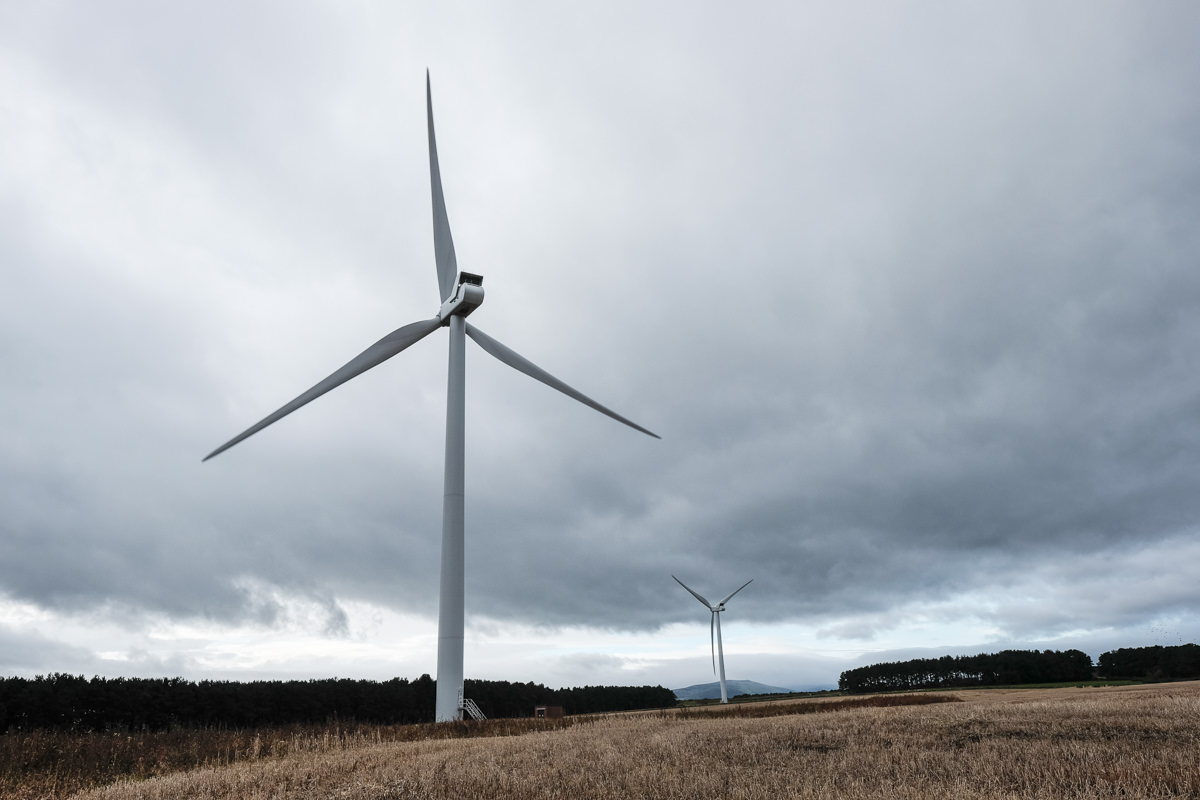
While I had previously visited this location, I had not pinpointed the exact place from which I would shoot. So, with the sun rising in the southeast, I scouted the west side of the moor until I found a turbine set against moody clouds.
Wind Turbine Photography: Gear and Camera Settings
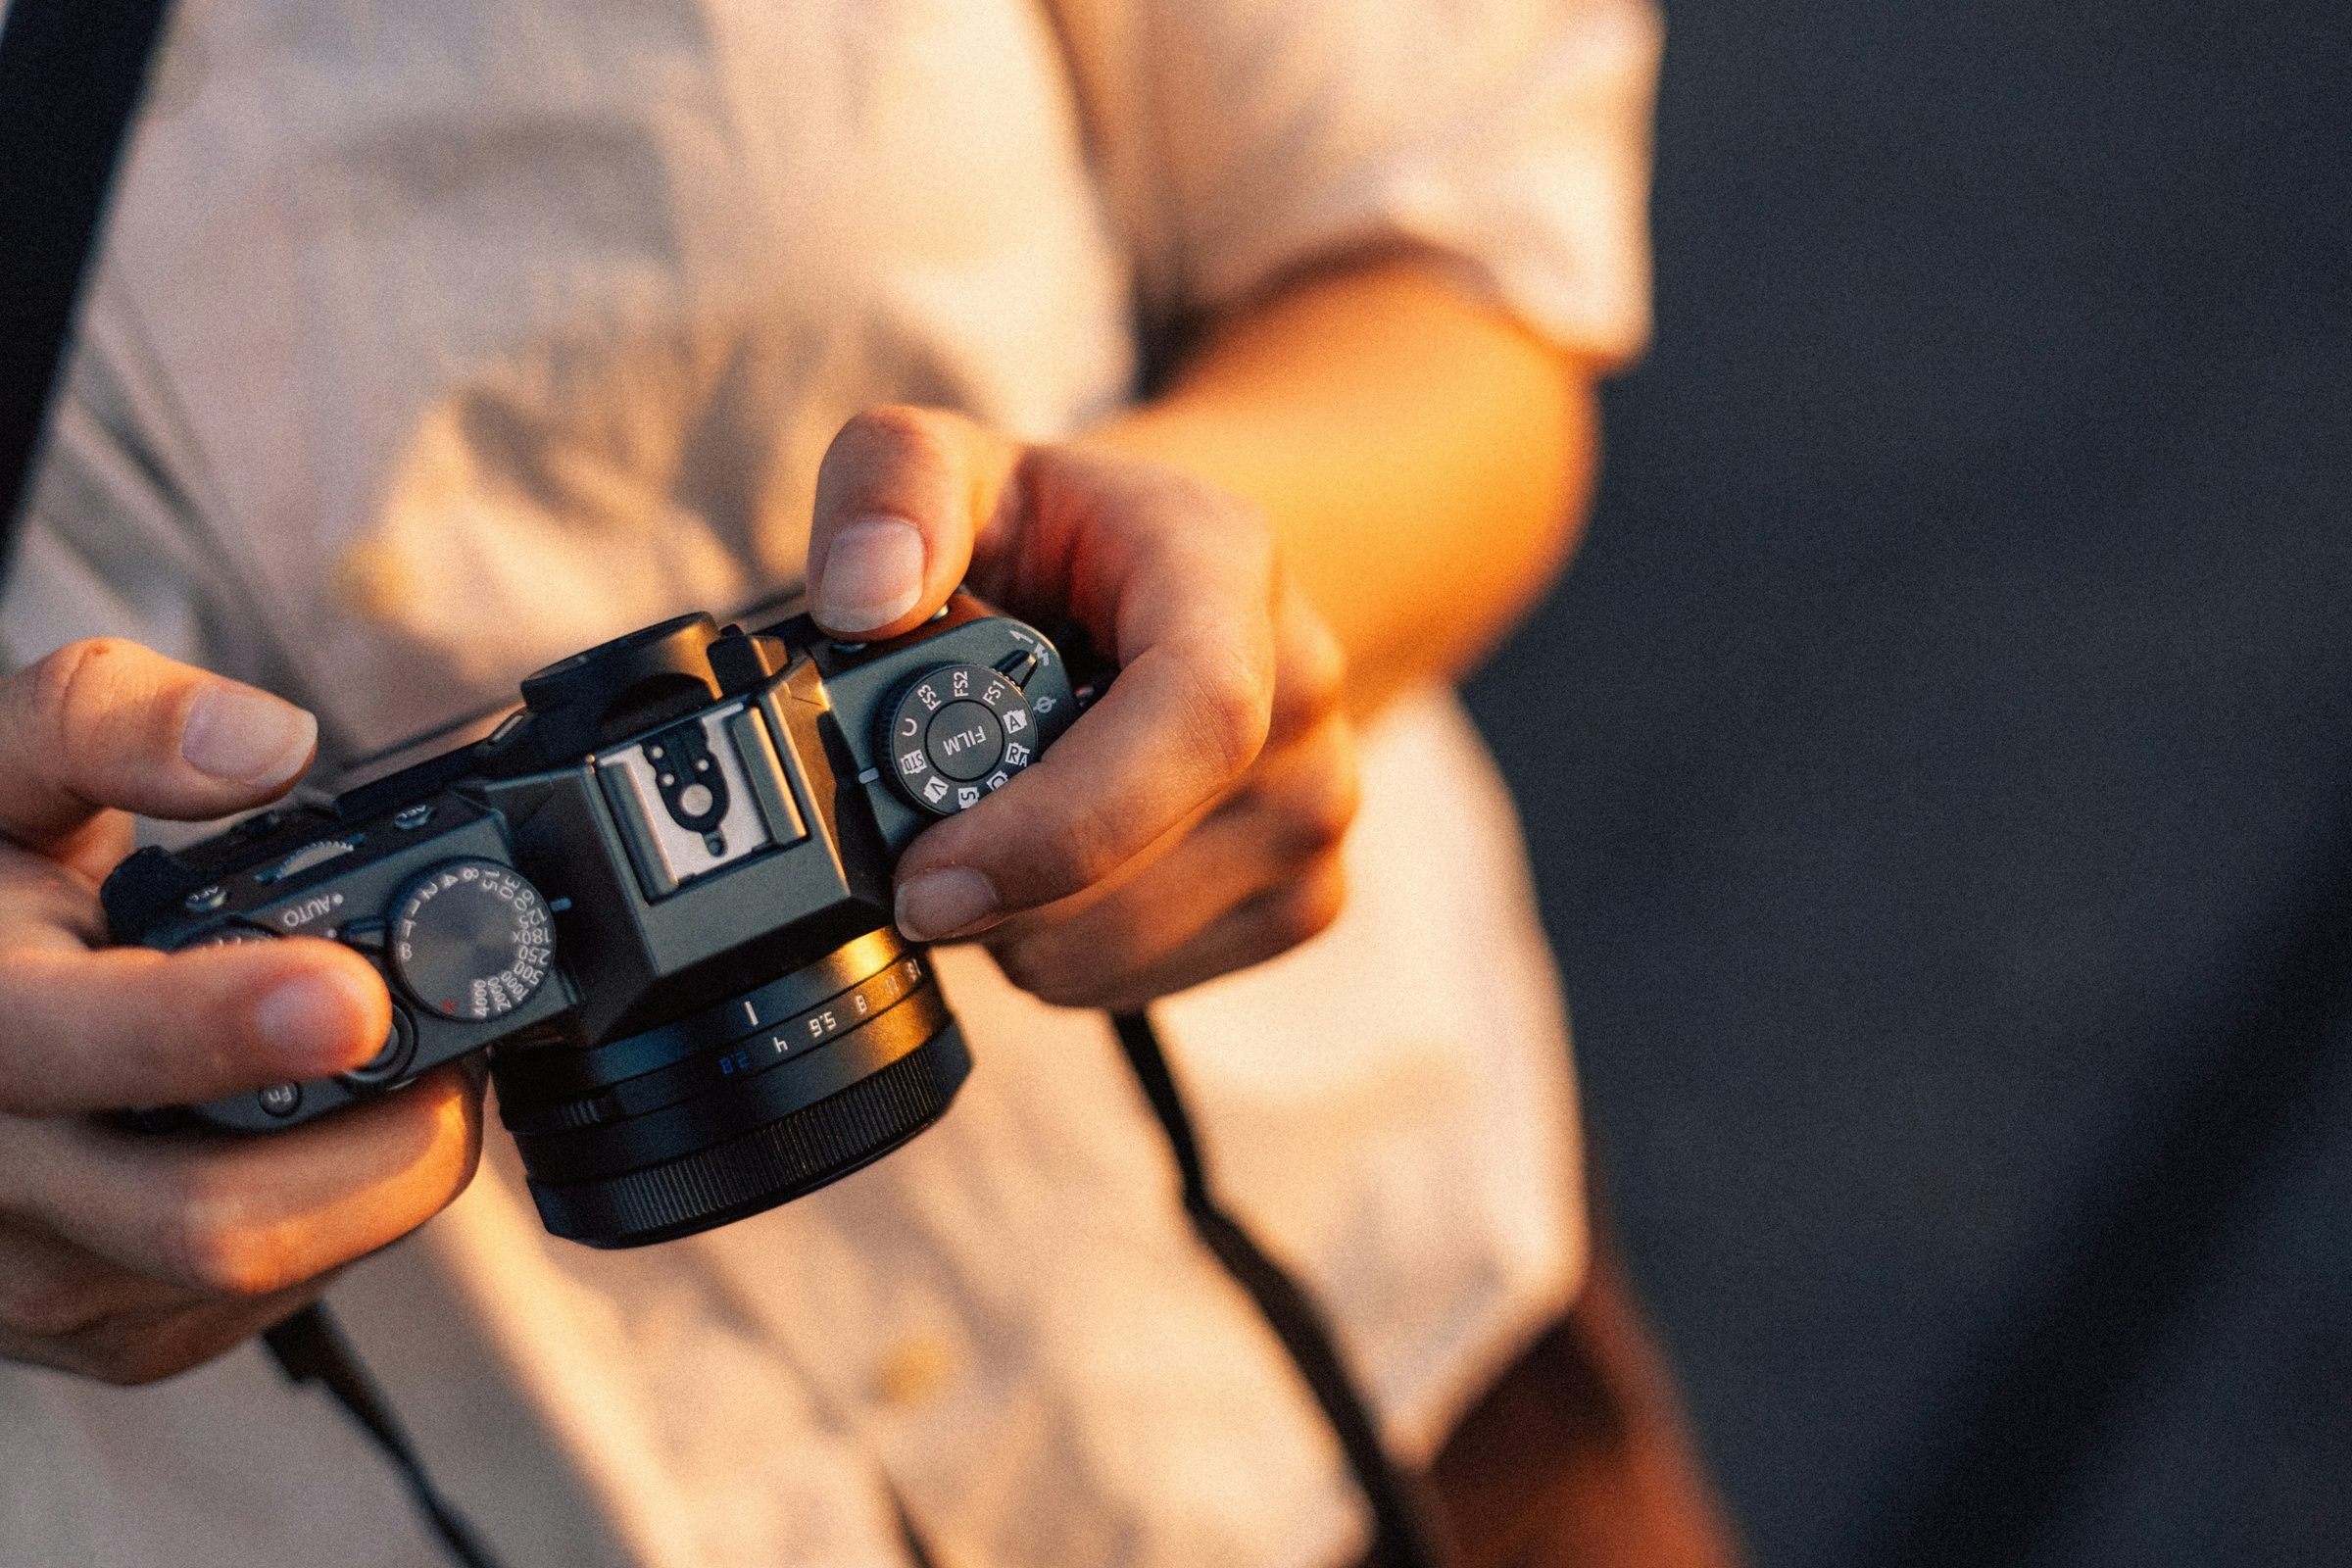
- CameraFujifilm X-T1
- LensFujinon 16mm f/1.4
- Settingsf/8, 1/160, ISO 200, JPEG Fine
Store links in this article are affiliate links, so PHLEARN may earn a commission. As an Amazon Associate, PHLEARN earns from qualifying purchases.
Gear

16.3MP APS-C X-Trans CMOS II Sensor, Full HD 1080p Video Recording
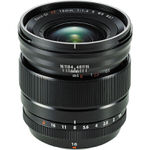
Aperture Range: f/1.4 to f/16, 24mm (35mm Equivalent), Floating Focus System
To minimize weight and decisions, I took one compact system camera and a lens – a Fuji X-T1 & Fuji 16mm. My only other carry was a sturdy old Manfrotto tripod.
Image Quality
I chose to shoot JPEGs (Fine) to keep the image file size low – and thereby help my aging laptop to batch process 300 images relatively quickly. Three hundred RAW files would be too unwieldy.
Exposure Settings
I wanted to capture some motion blur in the turbine blades, to help achieve a soft dandelion head effect. With my camera set to ISO 200 (to minimize noise) and Aperture Priority, I selected an aperture of f/8. This resulted in a shutter speed of 1/160 – slow enough to allow motion blur and helpful in getting unshaken shots in the wind.
Manual Focusing
Switching to Manual, I locked in these settings, and manually focused on my main subject – vital steps to ensure the same exposure and focus across all images.
Interval Shooting (Time-Lapse) Settings
Within my camera’s menu I found Interval Shooting, then set the interval (i.e. the delay between each shot) to two seconds and number of times (i.e. the number of images required) to 300. Key considerations for these were avoiding camera shake and having enough images to help me achieve an organic, soft look to the rotation of the turbine blades.
Northern Exposure
To help ensure stability in the wind, I set my tripod low, legs splayed wide, I also used my body as a windshield, though with a cold easterly wind on my back, I quickly chilled. My feet were getting wet too – I had forgotten to bring my wellies! Thankfully, a warm beanie and fishing mittens preserved enough vital warmth to save the shoot.
From 300 to 1
Back at base camp (studio), I quaffed hot coffee and set my camera bag aside for an hour to acclimatize before removing the SD card, then loading and backing up my images.
“Creativity is allowing yourself to make mistakes. Art is knowing which ones to keep.”
Scott Adams
Now it was time for some fun – the transformation of 300 stills into one image of a ‘turbo’ dandelion. It was also time to ask quite an important question – one that begins and ends in one word. How?
The answer emerged through experimentation, mistakes (aka learning), and more coffee. I took some familiar tools and some unfamiliar tools and just played. However, the beginning was not promising – my JPEGs looked flat and a little underexposed.
The answer emerged through experimentation, mistakes (aka learning), and more coffee.
Derek Snee
Some basic editing in Lightroom to adjust the lighting was certainly required. These edits were then synchronized to the other 299 images in the set – ready for exporting, then stacking and blending in StarStaX – a free to download app.
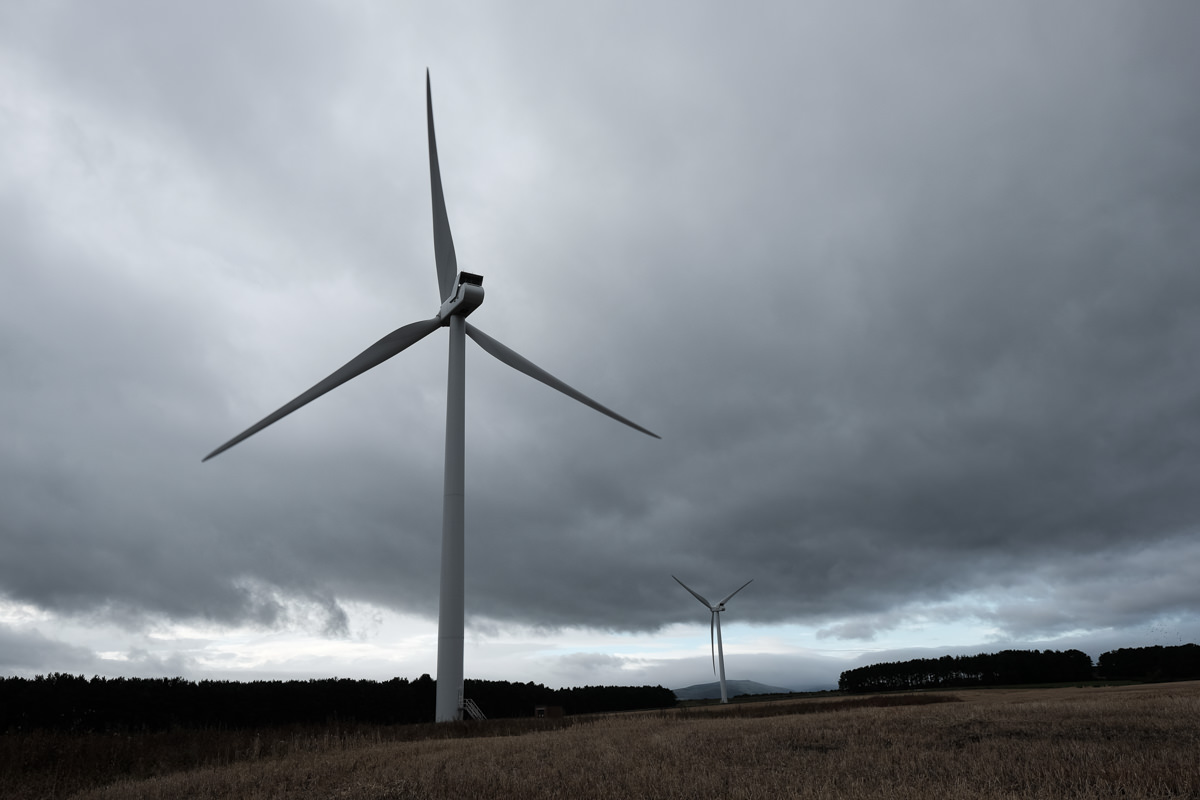
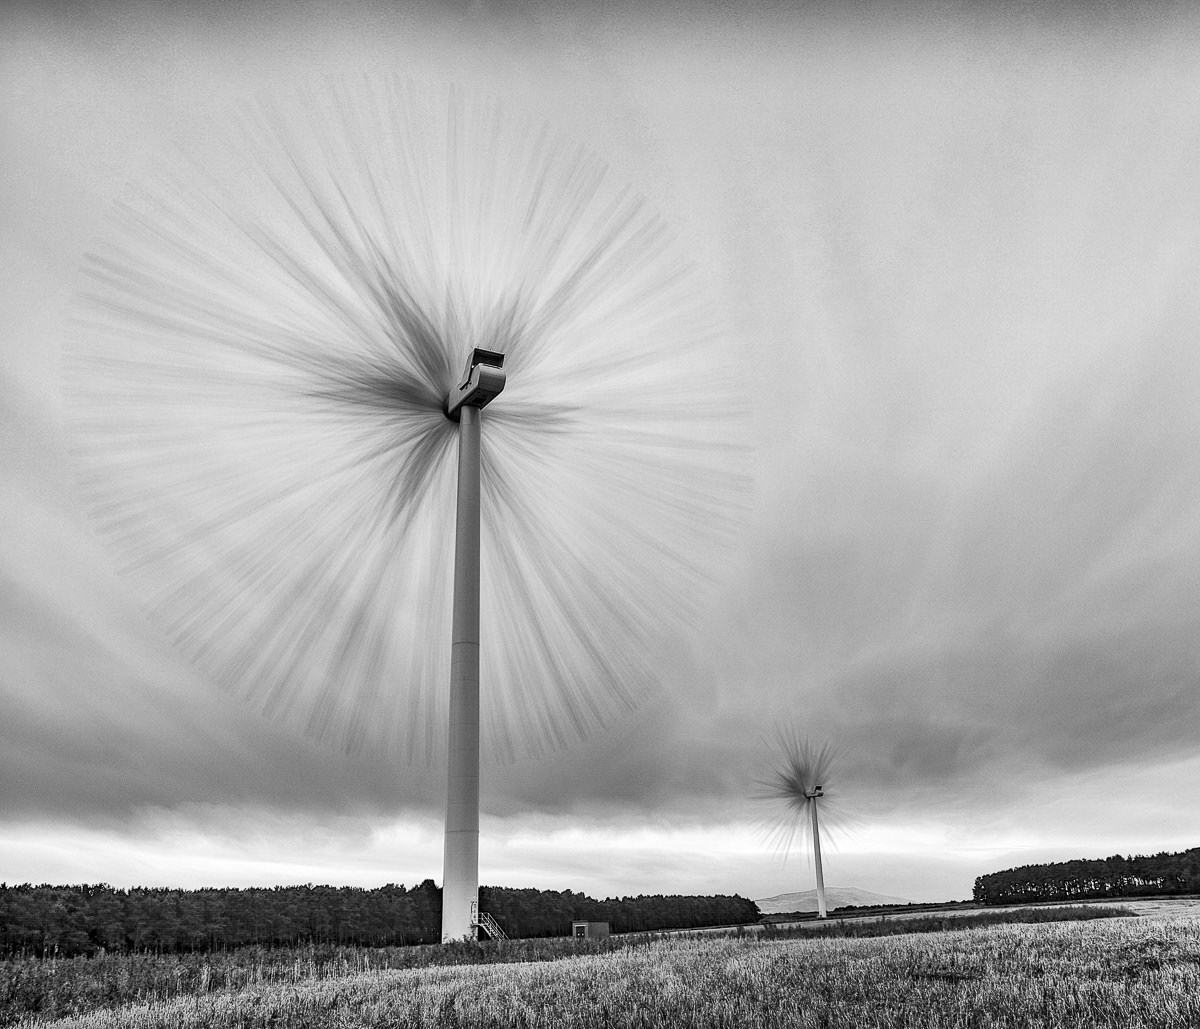
Using Google Nik plugins, Silver Efex Pro 2 and Analog Efex Pro, I converted the image to monochrome and then experimented with motion blur to the foreground.
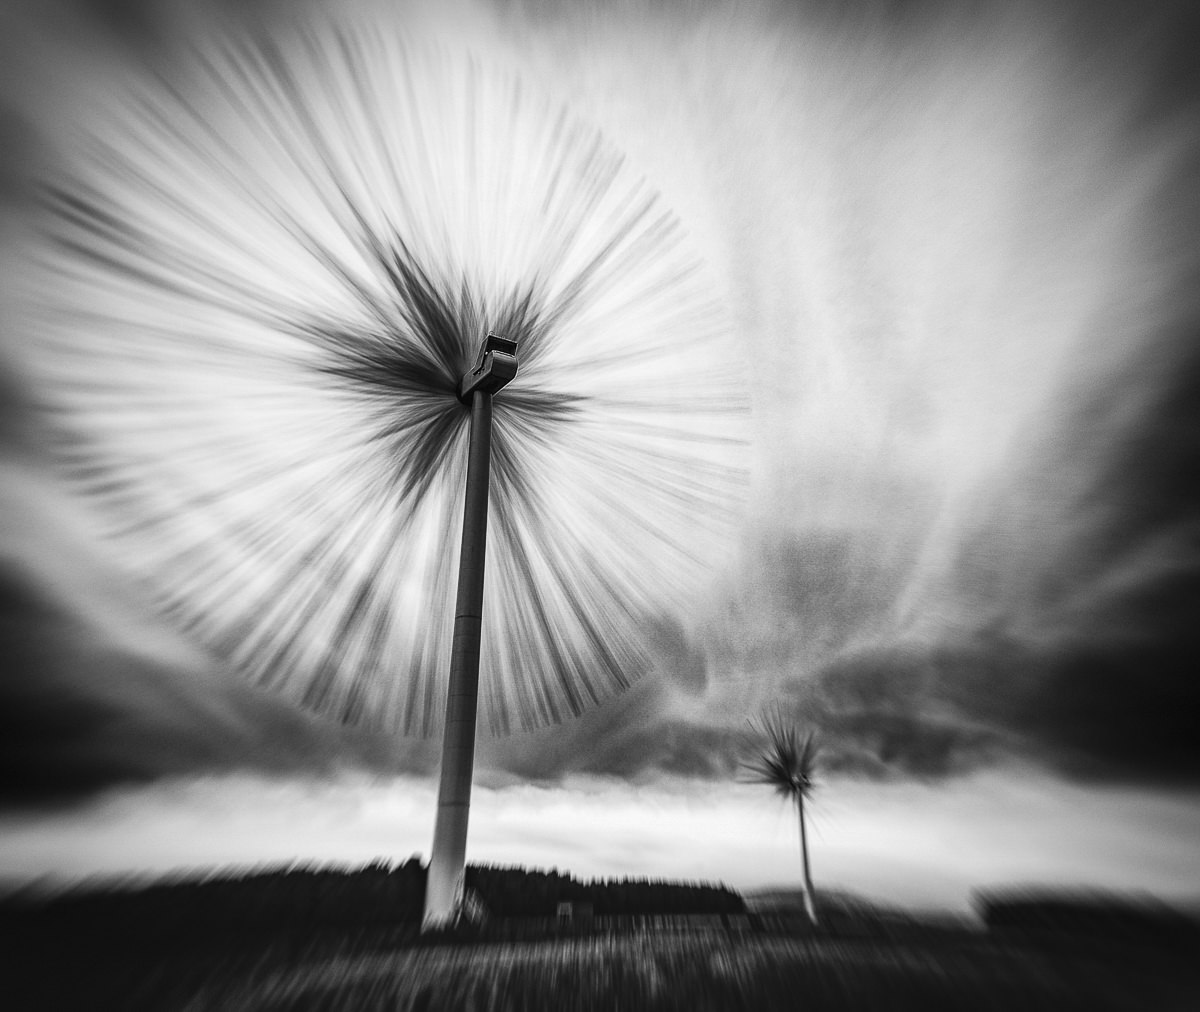
However, the image still did not look organic enough. So I turned to Photoshop to bend and shape the turbine. Using Puppet Warp, I found it quite tricky to get the curve in the turbine column to look how I wanted. After several attempts – and a sanity break – the turbine finally morphed into a ‘turbo dandelion.’ All that remained to be done – in Lightroom – was to add a little more drama to the lighting and clouds.
The title I chose for the final image was The Turbo Dandelion Wind Farm.
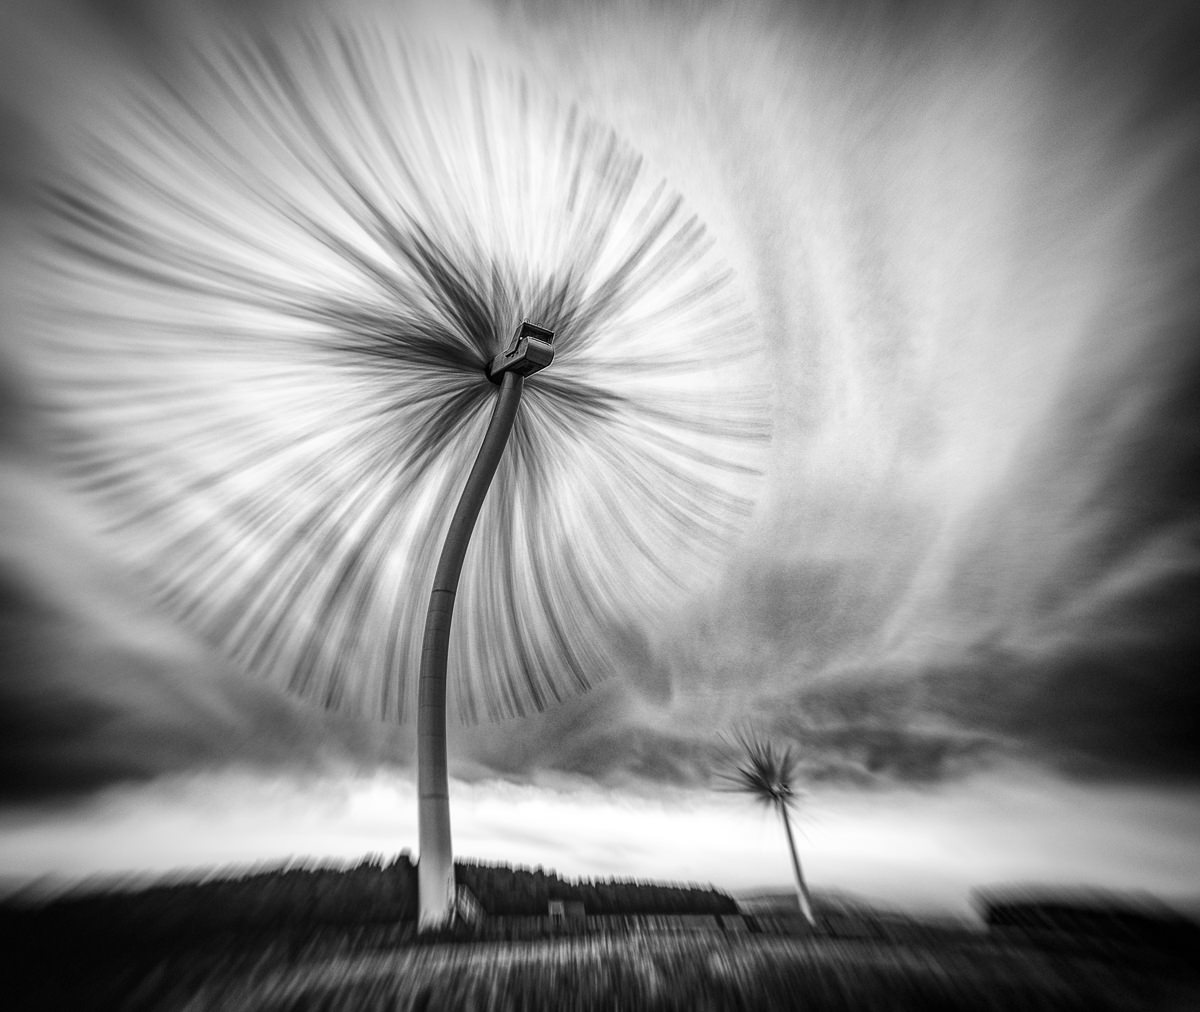
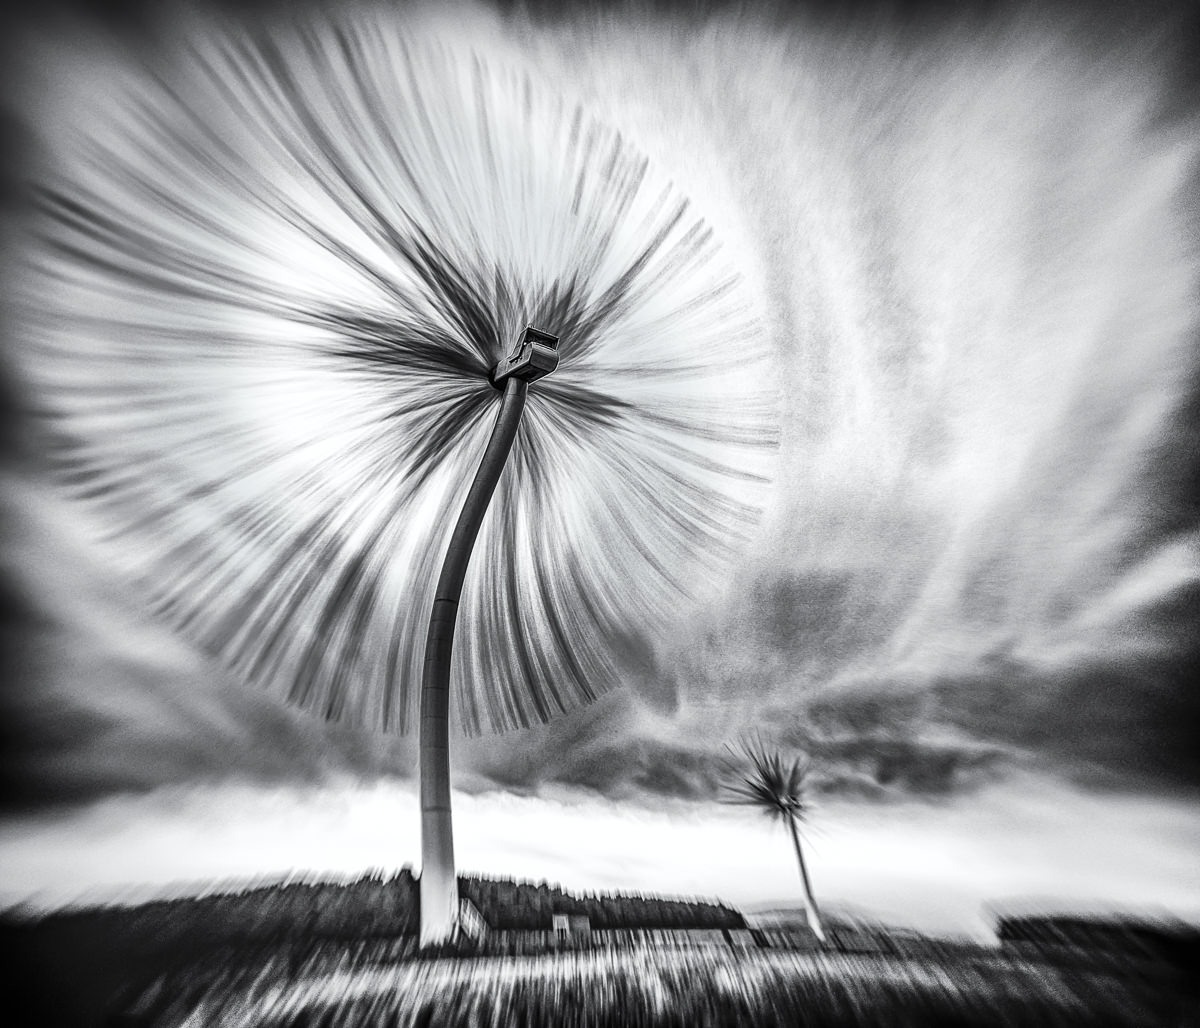
The Turbo Dandelion Wind Farm reached the final 15 images of the Art of Building POTY 2016 and received widespread media coverage. If you’d like to see more of Derek’s work, check out his website.
Common Questions About Wind Turbine Photography
How did Derek Snee make a wind turbine look like a dandelion? By time stacking. He shot 300 frames of one turbine, two seconds apart, edited the light in Lightroom and synchronized the edits to the other 299, then stacked and blended them in StarStaX, a free app. He converted the result to black and white with Silver Efex Pro 2, added motion blur to the foreground with Analog Efex Pro, bent the turbine column with Puppet Warp in Photoshop and added a little more drama to the light and clouds in Lightroom.
What camera settings did he use? A Fujifilm X-T1 and Fujinon 16mm f/1.4 at ISO 200 and f/8 in Aperture Priority, which gave 1/160 of a second: slow enough for some blur in the blades and fast enough for sharp shots in the wind. He then switched to Manual to lock that exposure, focused manually so all 300 frames matched, and shot JPEG Fine so his laptop could batch process them.
What is time stacking? Capturing a large set of images with the camera’s interval shooting (time-lapse) setting, then stacking and blending them into one image in post. Derek set the interval to two seconds and the number of shots to 300, enough frames to give the turning blades a soft, organic look.
How do you keep a camera steady in strong wind? Derek set his tripod low with the legs splayed wide and used his body as a windshield. The cold easterly wind chilled him quickly, and he had forgotten his wellies on the marshy moor; a warm beanie and fishing mittens saved the shoot.