30 Days of Lightroom
Thirty free tutorials that take you from setting up your workspace and importing your first catalog all the way to advanced masking, color grading, and batch editing. Along the way you will edit portraits, landscapes, weddings and food, build your own presets, and finish with a complete start-to-finish workflow.
What You’ll Learn
Most photographers use maybe a fifth of Lightroom, and usually the wrong fifth — heavy on sliders, light on the organizational work that actually saves time. This series runs thirty days from importing your first catalog to finishing and exporting for print and web, one lesson a day, in the order the work actually happens.
- Set up a catalog properly Import, folder structure, keywords and collections — the part everyone skips and later regrets when they can’t find a photograph from three years ago.
- Develop with intent Exposure, contrast, white balance, tone curve and the HSL panel, taught as decisions rather than slider positions.
- Master local adjustments Radial and linear gradients, the brush, and the AI-driven subject, sky and background masks that changed how local work is done.
- Handle color Color grading, calibration and the difference between correcting color and creating a look.
- Fix real problems Noise reduction, lens corrections, perspective and transform tools, and spot removal on genuinely awkward images.
- Build and use presets Making your own, applying them intelligently, and why a preset is a starting point rather than a finish.
- Work faster Sync, auto-sync, virtual copies, snapshots and the batch habits that turn a day of editing into an hour.
- Export correctly Sharpening for output, color space, sizing and file format for print, web and client delivery.
Who This Series Is For
Anyone who opens Lightroom and pushes sliders until the photo looks acceptable. That works, up to a point, and then it stops working — usually when you have four hundred images from one shoot and no system for getting through them.
It suits complete beginners, because it starts at import and assumes nothing. It also suits people who have used Lightroom for years without ever learning the catalog properly, which is more common than anyone admits.
If you already work in Photoshop, this fits alongside it rather than competing. Lightroom handles volume, organization and global adjustments; Photoshop handles the images that need real intervention.
What You Need
- Lightroom Classic The series is built around Classic. Most techniques translate to the cloud version, though the catalog lessons are Classic-specific.
- Your own photographs Sample files are provided, but the series is far more useful applied to your own catalog.
- A reasonable GPU Optional, but AI denoise and AI masking are noticeably faster with one.
- Thirty short sessions Rather than a handful of long ones.
A calibrated monitor is worth considering if you intend to print. It is not required to follow along.
How Long It Takes
Thirty days as designed — one lesson per day, each short enough to finish and immediately apply to a few of your own images before the next.
The daily structure is doing real work here. Lightroom skills are habits, and habits form through repetition spread over time rather than through one long sitting. People who binge the series generally report remembering the develop lessons and forgetting the catalog ones, which is precisely backwards from what saves you time later.
Frequently Asked Questions
Is this series free?
Check the badge next to the title at the top of this page — it shows whether this series is free or included with a PRO membership.
Lightroom Classic or the newer Lightroom?
The series is built around Lightroom Classic, which is still what most working photographers use for volume and catalog management. The develop and masking lessons apply almost identically in the cloud version; the catalog, folder and import lessons are Classic-specific.
Do I need Photoshop as well?
No. Everything here is done in Lightroom. If you do have Photoshop, the two complement each other — Lightroom for organizing and global work, Photoshop for images needing detailed retouching or compositing.
Do I have to do it in order?
It is built to be followed in order, and the early catalog lessons genuinely underpin everything after. If you already have a working catalog you can start at the develop lessons, but the organizational days are the ones people most often wish they hadn’t skipped.
Will presets do this for me?
Partly, and the series covers building and using them. But a preset applies the same adjustment to every image regardless of how it was shot, so it gets you a consistent starting point, not a finished photograph. Knowing what the preset did is what lets you correct it.
Where to Go Next
Start the Series
Thirty days, one lesson at a time. Begin at the introduction and work forward.
On This Page
PHLEARN PRO
Hundreds of tutorials on Lightroom, Photoshop and photography, with sample files throughout.

30 Days of Lightroom is a free 30-part course: catalogs, importing, culling, masking, retouching, color grading, exporting and the mobile app.
Lightroom | Tools & Techniques | Medium | 15 mins | 1 video

Day 1 of 30 Days of Lightroom Classic: what a catalog really is, how to import photos, the four import options, previews and copyright presets.
Lightroom | Tools & Techniques | Medium | 30 mins | 1 video
30 Sample Images

Folders in Lightroom mirror your hard drive; collections group photos across it. Day 2 covers dated project folders, a capture and export structure, and batch renaming.
Lightroom | Workflow & Productivity | Medium | 30 mins | 1 video
30 Sample Images

After a shoot you have a selection problem, not a storage problem. Work in rounds: flags to reject, stars to rank, then a smart collection to hold the keepers.
Lightroom | Workflow & Productivity | Easy | 30 mins | 1 video
30 Sample Images
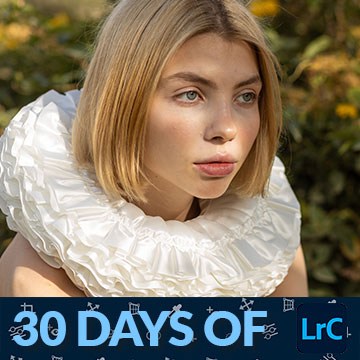
The Basic panel is where almost every edit in Lightroom Classic happens. Read the histogram, work the tone sliders in order, then decide about Presence.
Lightroom | Tools & Techniques | Easy | 30 mins | 1 video
1 Sample RAW File

Masking is how you stop editing the whole photograph. Lightroom has ten mask types: the automatic ones, the manual ones, and the range masks that read the image.
Lightroom | Selections & Masking | Medium | 15 mins | 1 video
1 Sample RAW File

One mask on its own is a blunt instrument. Add and subtract masks in Lightroom Classic and you can light exactly the part of the frame you meant to.
Lightroom | Selections & Masking | Medium | 15 mins | 1 video
1 Sample RAW File
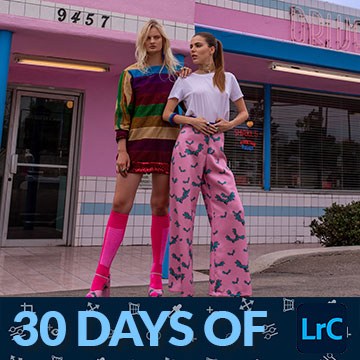
Cropping is the most underrated edit in photography. Deciding what to leave out matters more than anything you do to what stays in the frame.
Lightroom | Tools & Techniques | Medium | 15 mins | 1 video
1 Sample RAW File

The color mixer is what to reach for when color looks flat. Vibrance pushes everything; the mixer lets you move one band of color at a time.
Lightroom | Color & Tone | Medium | 15 mins | 1 video
1 Sample RAW File
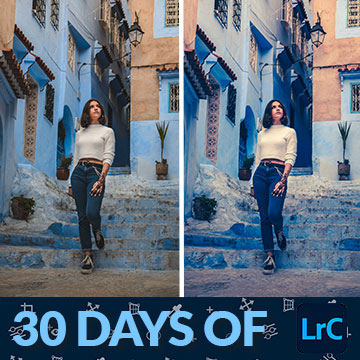
The color grading wheels are the opposite of accurate color: they put a deliberate tint into the shadows, midtones and highlights separately.
Lightroom | Color & Tone | Medium | 15 mins | 1 video
1 Sample Image

The Remove tool in Lightroom Classic does the boring part of retouching for you. Paint the object, let it generate, then refine what it got wrong.
Lightroom | Object Removal & Cleanup | Medium | 15 mins | 1 video
1 Sample RAW File
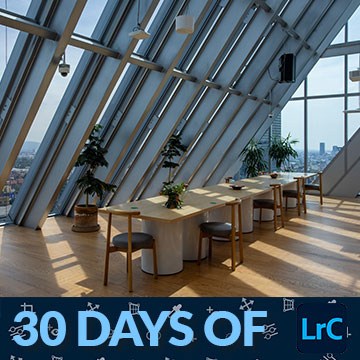
An HDR merge exists because your eyes handle a wider range of brightness than any sensor. Merge two bracketed raws and you get one file with all of it.
Lightroom | Photo Editing | Medium | 15 mins | 1 video
2 Sample RAW Files

Save a preset in Lightroom and it can carry far more than the basic sliders. Masks come with it, which is either exactly what you want or a nasty surprise.
Lightroom | Workflow & Productivity | Medium | 15 mins | 1 video
2 Sample RAW Files | 1 Lightroom Preset

RAW vs JPEG is usually explained badly. What matters is which decisions you can still change afterwards: white balance, recovery, and how far you can push.
Lightroom | Tools & Techniques | Medium | 15 mins | 1 video
1 Sample RAW File | 1 Sample JPEG
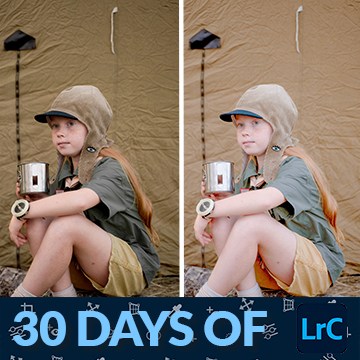
Batch edit photos in Lightroom Classic by editing one properly and syncing the rest. Choose what to sync carefully, because AI masks recalculate per photograph.
Lightroom | Workflow & Productivity | Medium | 15 mins | 1 video
10 Sample Images

Editing portraits has one job: make the viewer look at the face. Quiet the background, shape the light with two radial gradients, then work on the eyes.
Lightroom | Photo Editing | Medium | 30 mins | 1 video
1 Sample RAW File
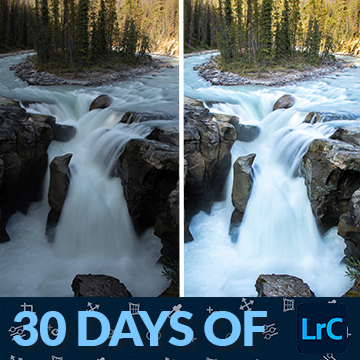
Editing landscapes is about deciding where the viewer should look, then using masks to send them there. Recover the sky first, then build a focal point.
Lightroom | Photo Editing | Medium | 15 mins | 1 video
1 Sample RAW File
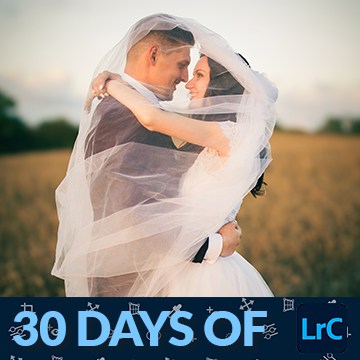
Editing wedding photos has a specific job: warm, a little dreamlike, and the couple unmistakably the subject. Separate them from the background first.
Lightroom | Photo Editing | Medium | 15 mins | 1 video
1 Sample Image

Editing food photos is unusually consistent: quiet the background, protect the food, lift it, then add texture. The same recipe works whatever is on the plate.
Lightroom | Photo Editing | Medium | 15 mins | 1 video
1 Sample Image
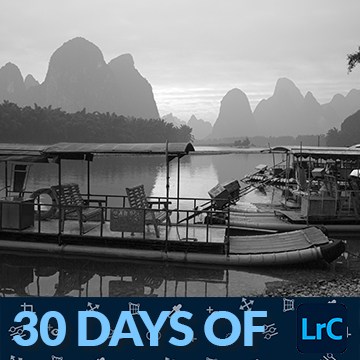
Black and white is not Saturation dragged to zero. Convert properly and the black and white mix lets you decide how bright each original color becomes.
Lightroom | Color & Tone | Medium | 15 mins | 1 video
1 Sample RAW File
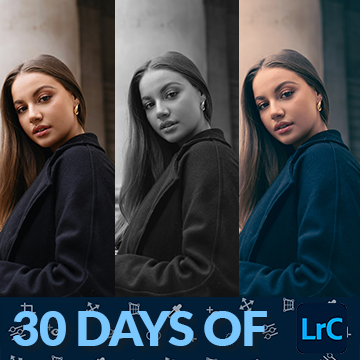
Virtual copies cost nothing on disk and solve the problem of clients wanting more than one version. Each copy carries its own edit, from the same original file.
Lightroom | Workflow & Productivity | Medium | 30 mins | 1 video
6 Sample Images
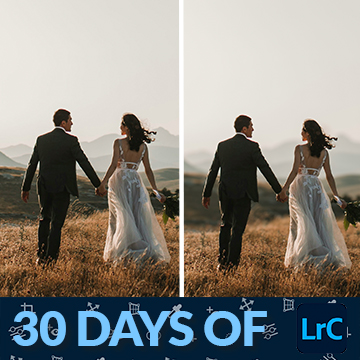
Lens Blur simulates a fast lens after the fact, and it works on the first click most of the time. The refinements are for when the depth map gets it wrong.
Lightroom | Photo Effects | Medium | 15 mins | 1 video
1 Sample Image

Denoise in Lightroom rewrote a twenty-year rule about ISO. It only works on raw, it makes a new DNG, and the amount slider matters more than you expect.
Lightroom | AI & Generative Tools | Medium | 15 mins | 1 video
1 Sample RAW File

Lightroom and Photoshop were built to hand work back and forth, but the handoff has options that decide whether your edits survive. Always open as a copy.
Lightroom, Photoshop | Workflow & Productivity | Medium | 15 mins | 1 video
1 Sample RAW File | 2 Sample PSDs
Adobe ships three programs called Lightroom. The real difference is where your photos live, not what the develop sliders can do. Learn which one fits you.
Lightroom | Tools & Techniques | Medium | 15 mins | 1 video
1 Sample RAW File
The Lightroom desktop app looks stripped back next to Classic, but very little is actually missing. Albums replace folders and the cloud does the filing.
Lightroom | Tools & Techniques | Medium | 30 mins | 1 video
3 Sample RAW Files

Lightroom Mobile is not a companion app. It is the same cloud library on a phone, with the same develop controls, and edits sync both ways automatically.
Lightroom | Tools & Techniques | Medium | 30 mins | 1 video
1 Sample RAW File
Export settings are where a Lightroom edit becomes a real file. Learn the settings that matter for print and for web, then save each one as a preset.
Lightroom | Workflow & Productivity | Medium | 30 mins | 1 video
1 Sample RAW File

A watermark is a business decision more than a design one. Build the template once in Lightroom Classic, save it as a preset, and apply it on export.
Lightroom | Workflow & Productivity | Medium | 15 mins | 1 video
1 Sample Image

Batch rename photos in Lightroom Classic and a shoot stops being a pile of camera numbers. Build a template once and every import follows it from then on.
Lightroom | Workflow & Productivity | Medium | 15 mins | 1 video
15 Sample Images
Adaptive presets read the photograph first. Lightroom finds the sky, the subject or the background itself, then applies the preset only to that part.
Lightroom | AI & Generative Tools | Medium | 15 mins | 1 video
1 Sample Image