
Photo Effects Tutorials for Photoshop
Add light, atmosphere, and style to any photo in Photoshop: glows, light rays, lens flares, motion blur, textures, double exposures, film and vintage looks, glitch and painterly effects, and other visual effects. More than 180 free and PRO video tutorials from Aaron Nace, each building a complete effect from scratch.

Create a cinematic highlight glow in Photoshop with no AI: isolate highlights with Color Range, stack blur layers, then color grade and add grain in Camera Raw.
Photoshop | Photo Effects | Medium | 30 mins | 1 video
2 Sample Images | 2 Sample PSDs | 1 PDF Guide

Recreate the Y2K digicam look in Photoshop with Camera Raw: color and texture tweaks, tone grading, a flash glow effect, and a free XMP preset to reuse.
Photoshop | Photo Effects | Medium | 30 mins | 1 video
1 Sample Image | 1 Sample PSD | 1 XMP Preset | 1 PDF Guide
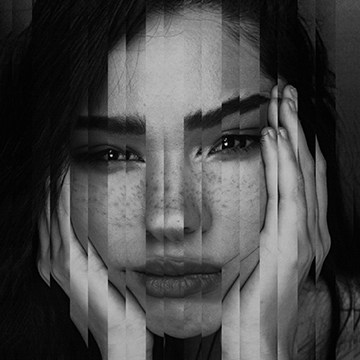
Build a portrait slice effect in Photoshop with the classic step and repeat trick: custom vertical bars, a non-destructive layer mask, and two different looks.
Photoshop | Photo Effects | Medium | 15 mins | 1 video
2 Sample Images | 2 Sample PSDs | 1 PDF Guide
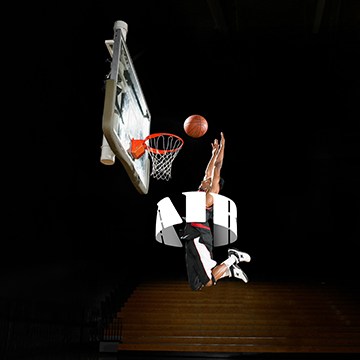
Build a 3D text effect in Photoshop with no AI: set up the text layers, bend them with the Cylinder warp, isolate your subject, and add a realistic cast shadow.
Photoshop | Text & Graphic Design | Medium | 30 mins | 1 video
1 Sample Image | 1 Sample PSD | 1 PDF Guide
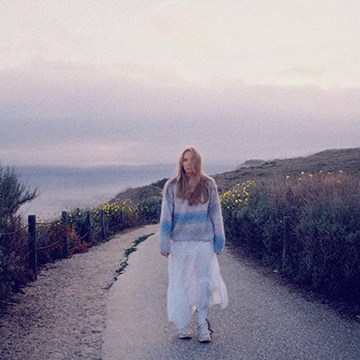
Build a cinematic vintage glow in Photoshop by hand: bloom from your own highlights, realistic film grain, cross-processed color, and faded blacks.
Photoshop | Photo Effects | Medium | 15 mins | 1 video
1 Sample Image | 1 Sample PSD | 1 PDF Guide

Build a pixel stretch effect in Photoshop by hand: isolate and stack a thin slice, stretch it into streaks, bend it to follow your subject, and fade it in.
Photoshop | Photo Effects | Medium | 15 mins | 1 video
3 Sample Images | 3 Sample PSDs | 1 PDF Guide
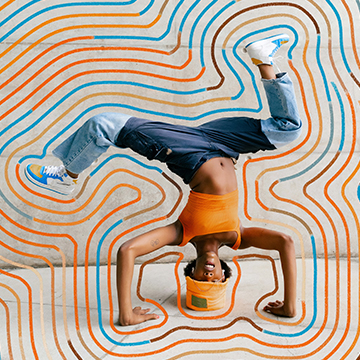
Discover the power of graphics in Photoshop! Blend photography, illustrations, and textures across six unique projects using advanced masking, 3D compositing, and the newest editing tools.
Photoshop | Photo Effects | Medium | 3 hours
25 Sample Images | 7 Sample PSDs

Build a light effect in Photoshop with Path Blur: draw light streaks that sweep past your subject, keep the eyes clear, and stay non-destructive throughout.
Photoshop | Photo Effects | Medium | 15 mins | 1 video
3 Sample Images | 1 Sample PSD | 1 PDF Guide
Add a film border to any image in Photoshop: mask the photo into a real border, unlink the mask to reframe, and add dust and scratches for a true film edge.
Photoshop | Photo Effects | Easy | 15 mins | 1 video
5 Sample Images | 1 Sample PSD | 1 PDF Guide

Add textures to any photo in Photoshop without flattening: pick the right blend mode, invert a texture, place the light, and grade everything together.
Photoshop | Photo Effects | Medium | 15 mins | 1 video
4 Sample Images | 2 Sample PSDs | 1 PDF Guide

Build a double exposure effect in Photoshop with the Screen blend mode: pick images that fit, blend on contrast instead of opacity, then tune the composite.
Photoshop | Photo Effects | Medium | 15 mins | 1 video
3 Sample Images | 1 Sample PSD | 1 PDF Guide
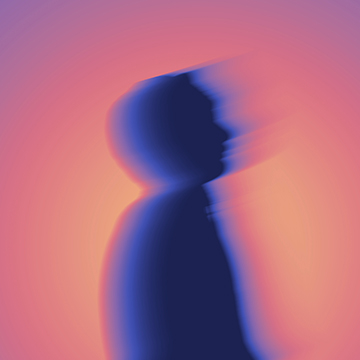
Build a glow motion blur effect in Photoshop from a silhouette up: shape the light, add the motion blur, then map the color so the streaks read as movement.
Photoshop | Photo Effects | Medium | 15 mins | 1 video
2 Sample Images | 1 Sample PSD | 1 PDF Guide
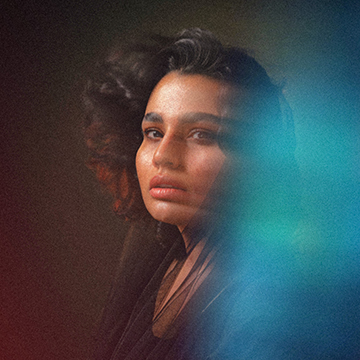
Build an aura effect in Photoshop from three layers of light: blur the background, add the gradient, bring in the glow, then tie it together with color.
Photoshop | Photo Effects | Medium | 15 mins | 1 video
8 Sample Images | 1 Sample PSD | 1 PDF Guide
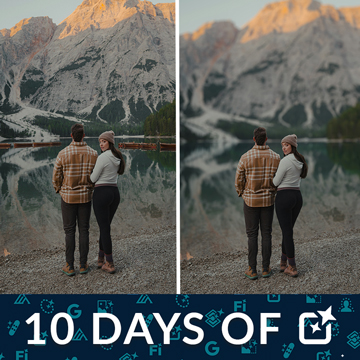
Use Lens Blur and AI Denoise in Lightroom to fix what a cheap lens can’t: add believable background blur, refine the mask, then clear noise without mush.
Lightroom | AI & Generative Tools | Medium | 15 mins | 1 video
1 Sample Image (RAW File) | 2 Sample Images (JPEG File)
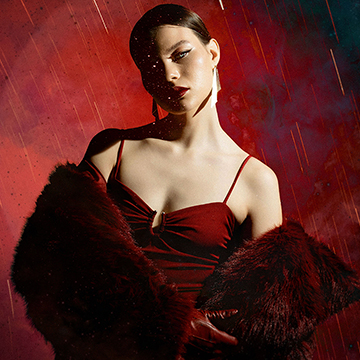
Explore Photoshop Blending Modes to easily create conceptual portraits in Photoshop! We’ll show you how to add texture and light, craft double exposures, and build captivating composites in no time. We’re even including a handy Blending Modes PDF guide to help you get started!.
Photoshop | Compositing | Medium | 2.25 hours
22 Sample Images | 7 Sample PSDs | 1 Blending Modes PDF Guide
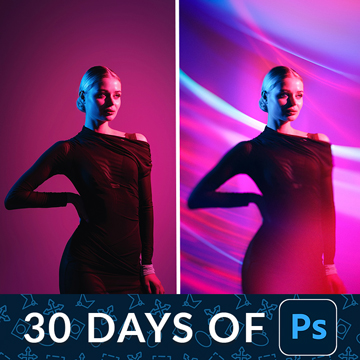
Create a composite in Photoshop that reads as one photograph: match the light, wrap it around your subject, then unify the whole frame with one adjustment.
Photoshop | Compositing | Advanced | 30 mins | 1 video
7 Sample Images | 1 Sample PSD
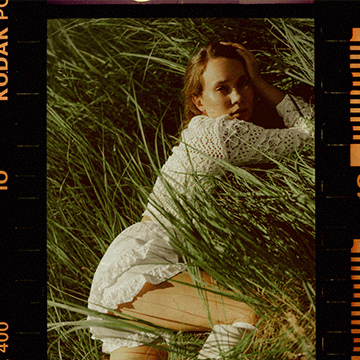
Master cinematic and film effects in Photoshop, Lightroom, and Adobe Camera Raw! Learn to add authentic grain, light leaks, and borders for stunning, artistic digital photos. Follow along easily with over 40 images, 27 textures, and 2 Lightroom presets included in the download.
Photoshop, Lightroom | Photo Effects | Advanced | 4.25 hours
42 Sample Images | 16 Sample PSDs | 27 Textures | 2 Lightroom Presets

Master lighting effects in Photoshop with our top ten techniques! Create cinematic glows, sparkling skin, sun flares, and retro film looks. Learn to intensify highlights, sculpt light, and more!.
Photoshop | Photo Effects | Advanced | 3.75 hours
27 Sample Images | 10 Sample PSDs
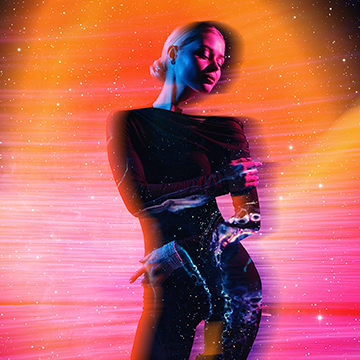
Craft extraordinary surreal portraits, entirely by hand in Photoshop! Discover essential compositing techniques, and as a thrilling bonus, learn how to animate your creations with AI.
Photoshop | Compositing | Advanced | 1.75 hours
21 Sample Images | 5 Sample PSDs
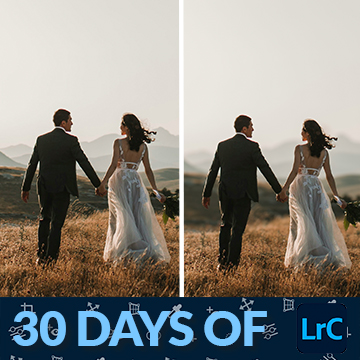
Lens Blur simulates a fast lens after the fact, and it works on the first click most of the time. The refinements are for when the depth map gets it wrong.
Lightroom | Photo Effects | Medium | 15 mins | 1 video
1 Sample Image
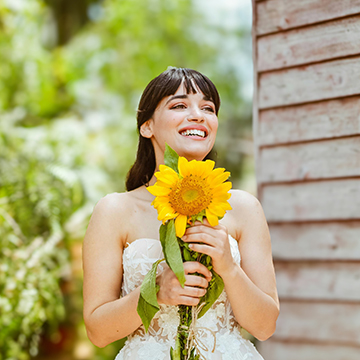
How to use the Lens Blur effect in Photoshop: convert to a Smart Object, open the Camera Raw Filter, set the focal point yourself, then refine the hair edges.
Photoshop | Photo Effects | Medium | 15 mins | 1 video
1 Sample Image | 1 Sample PSD | 1 PDF Guide

Blend If blends two images together based on brightness alone, no masking required. See it used three ways: adding bokeh to a portrait, compositing stars into a night sky, and coloring with a Gradient Map.
Photoshop | Tools & Techniques | Medium | 15 mins | 1 video
5 Sample Images | 3 Sample PSDs | 1 PDF Guide

How to create a speed effect in Photoshop: isolate the subject, remove it from the background, then blur the background along a path with Path Blur.
Photoshop | Photo Effects | Medium | 15 mins | 1 video
2 Sample Images | 2 Sample PSDs | 1 PDF Guide
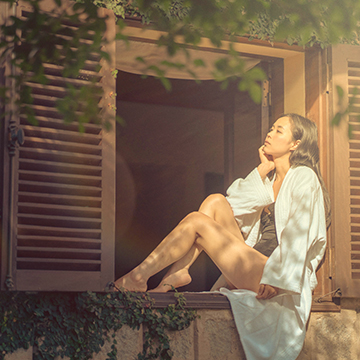
How to create a lens flare effect in Photoshop: layer a real photographed flare in Screen mode, warm it in Camera Raw, then build the haze with gradients.
Photoshop | Photo Effects | Easy | 15 mins | 1 video
2 Sample Images | 1 Sample PSD | 1 PDF Guide

How to create a dream-like color effect in Photoshop: borrow the palette from a photo you love, blur away its detail, then add a gradient map and a highlight blur.
Photoshop | Photo Effects | Medium | 15 mins | 1 video
2 Sample Images | 1 Sample PSD | 1 PDF Guide
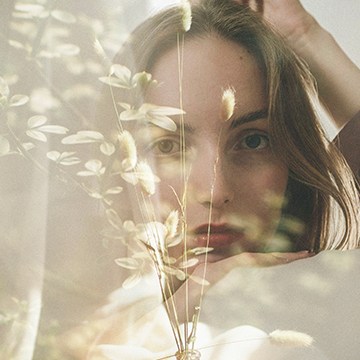
How to create a double exposure effect in Photoshop: blend two frames with Screen mode, control the balance with Levels, flip the overlay, then stack a third.
Photoshop | Photo Effects | Medium | 15 mins | 1 video
4 Sample Images | 1 Sample PSD | 1 PDF Guide

How to blur the background in Lightroom Classic with Lens Blur, across four examples: a clean subject, difficult hair, two subjects, and one that should stay sharp.
Lightroom | Photo Effects | Easy | 15 mins | 1 video
4 Sample Images | 1 PDF Guide

How to create artistic effects using AI in Photoshop: make a partly active selection in Quick Mask, set the fill value, then let Generative Fill paint over it.
Photoshop | Photo Effects | Easy | 15 mins | 1 video
4 Sample Images | 4 Sample PSDs | 1 PDF Guide

How to use Lens Blur in Lightroom Classic: apply it, work the controls, read the depth visualization, and refine by hand where the depth map gets it wrong.
Lightroom | AI & Generative Tools | Easy | 15 mins | 1 video
4 Sample Images | 1 PDF Guide

How to create a motion effect in Photoshop: isolate the subject, stack warped copies behind it, fade each one further back, then add motion blur if you want it.
Photoshop | Photo Effects | Medium | 15 mins | 1 video
1 Sample Image | 1 Sample PSD | 1 PDF Guide

Learn how to create a breathtaking Northern Lights composite in Photoshop by blending different images, matching colors and light, and using essential tools like Levels, Clipping Masks, Smart Objects, and Custom Photoshop Brushes.
Photoshop | Compositing | Advanced | 3.25 hours
7 Sample Images | 1 Sample PSD | 1 Photoshop Brush
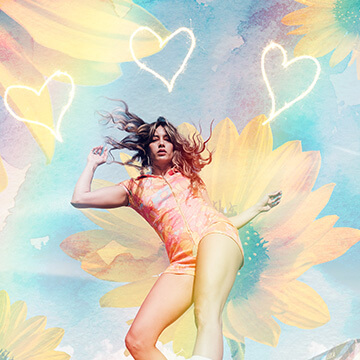
Create a fun photo collage with stock photos.
Photoshop | Compositing | Easy | 15 mins | 1 video
8 Sample Images | 1 Sample PSD | 1 PDF Guide

Add beautiful lighting effects to any photo!
Photoshop | Photo Effects | Easy | 15 mins | 1 video
1 Sample Image | 1 Sample PSD | 1 PDF Guide
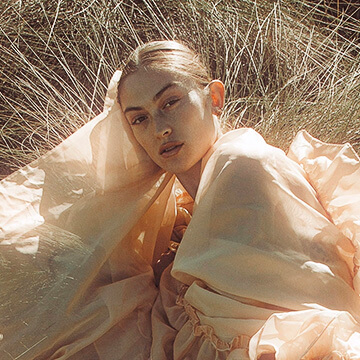
Learn how to create stunning and realistic lighting effects in Photoshop 2022! Create custom lens flares, sun rays, glows, blooms, and more.
Photoshop | Photo Effects | Easy | 1.5 hours
9 Sample Images | 5 Sample PSDs | 1 Photoshop Brush
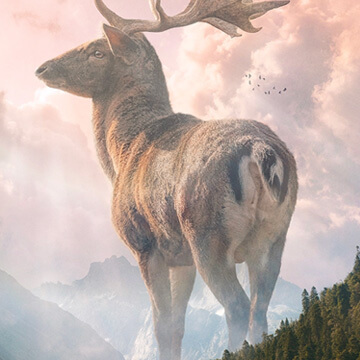
Learn how to create stunning nature composite using only free stock image assets and some Photoshop savvy.
Photoshop | Compositing | Advanced | 2.75 hours
6 Sample Images | 1 Sample PSD | 2 Photoshop Brushes

Learn how to create realistic light rays in Photoshop using Levels, Radial Blur, Layer Masks and more!
Photoshop | Photo Effects | Easy | 15 mins | 1 video
1 Sample Image | 1 Sample PSD | 1 PDF Guide
What You’ll Learn
Good visual effects are built from the same things a photographer works with on set: light, atmosphere, and depth. These tutorials teach the effects as lighting and physics first and Photoshop tricks second, which is why they hold up at full size.
- Light. Glows, highlight bloom, light rays, sun flares, neon, and painting light onto a subject so it matches the scene.
- Atmosphere. Fog, haze, rain, snow, dust, smoke, and depth of field, layered so the subject sits inside them rather than in front of them.
- Elements. Fire, water, lightning, sparks, and particles from stock and from scratch, with the blend modes and masks that make them believable.
- Stylized effects. Double exposure, dispersion and pixel stretch, portrait slice, glitch, 3D and long-shadow text, and film and vintage looks.
- The finish. Grain, vignette, color grading, and sharpening that make an effect feel like part of the photograph.
Where to Start
Begin with the Special Effects Learning Path, which sequences the fundamentals of light and atmosphere before the showpiece effects. For the deep dive, the PRO course Advanced Lighting Effects in Photoshop is the one most people come back to. Many effects here start with a clean cutout, so the selection tutorials in Tools & Techniques are worth a look first.
Free and PRO Tutorials
Free tutorials are complete lessons, not previews. PRO tutorials go deeper and longer, and they include the sample images, RAW files, actions, and presets used in the lesson so you can follow along on the exact same file. A PHLEARN PRO membership unlocks every PRO tutorial on the site, including all of the ones in this category.
Frequently Asked Questions
Why do my effects look pasted on?
Usually because the effect ignores the light already in the photo. Match the direction and color of the existing light, add the effect on its own layer with a soft mask, and let it interact with the subject through blend modes like Screen and Soft Light. The light tutorials here show each step.
Do I need plugins or stock images?
No plugins. A few tutorials use free stock elements for fire, smoke, or particles and show where to find them; most build the effect entirely inside Photoshop with brushes, gradients, and filters.
Which blend modes are used for effects?
Screen and Linear Dodge for light, Multiply for shadows and darkening, Soft Light and Overlay for contrast and color, and Blend If for fitting an effect into the tones of a photo. The blend-mode tutorials in this category explain each.
Where to Go Next
Visual effects sit on top of a solid edit and often a composite. See Compositing for placing subjects in scenes, Color & Tone for the cinematic finish, and Text & Graphic Design for painterly and illustrative looks. The PRO library is at PRO Visual Effects.
Learn Effects in Order
The Special Effects Learning Path teaches light and atmosphere first, then the showpiece effects.
On This Page
PHLEARN PRO
Every PRO tutorial in this category, with sample and RAW files, plus the full PRO library.